Fagor 6H-750BE User Manual
Page 23
21
e n g l i s h
1
2
Installation
Using the oven
1.1 Unpacking. Remove all the protective
packaging elements.
1.2 Mains connection. Always take into account
the data on the reference plate (1.2.1) and
the measurements of the cabinet the oven
will be housed in (1.2.2, 1.2.3).
The appliance must be connected to the
mains with a fi xed single-phase connection
with the neutral-to-neutral (blue) connection
guaranteed (1.2.4). Fit the oven into the
space and centre it (1.2.5). Make sure there
is no excess cable in the upper part (1.2.6).
Screw it to the fi tting using the two screws
supplied (1.2.7). The fi tted furniture or its
surface must be heat-resistant. The time
must be set in order to fi nish the installation.
After a period of inactivity, the machine
will turn to standby and its brightness
will diminish or the screen will switch off,
depending on the model.
2.1 Adjusting the time. When the oven is
switched on, the clock will fl ash (2.1.1).
Adjust the time by pressing the
,
buttons (2.1.2). After a few seconds, or if
the
button is pressed, the time will be
validated. Note: In case of a power cut,
adjust the time again when the power
returns.
2.2 Changing the time
. With the oven
switched off, hold down the
button until
the time starts to fl ash (2.2.1). Adjust the time
by pressing the
, buttons (2.2.2). After a
few seconds, or if the
button is pressed,
the time will be validated.
2.3 Beeper function . Press the
button
until position
is reached (2.3.1). Adjust the
time using the
, buttons (2.3.2). After a
few seconds, or if the
button is pressed,
the time will be validated and the countdown
will begin. When it is complete, a beep will
sound. Press any button to stop the beeper
(2.3.3).
2.4 Before using your new oven for the fi rst
time, heat it up while empty (with no food
in it and with the control turned to
, for
30 minutes at 250ºC). It may produce some
smoke or a bad smell (this is normal and is
caused by the oven heating up grease residue
etc.). When it has cooled down, pre-clean it
by wiping the inside with a damp cloth.
2.5 Accessories. Depending on the model
there is a Deep Tray (2.5.1), Flat Tray (2.5.2)
and Multifunctional Grill (2.5.3) that work
separately. If it also possible to combine
either tray with the Multifunctional Grill
(2.5.4) to make a set. All the accessories
or sets can be used directly or mounted
on the Partial Extraction Grill (2.5.5) or the
Total Extraction Grill (2.5.6, 2.5.7), (2.5.8).
If you have the partial extraction tray, it can
be used separately or together with trays
(3 types) (2.5.9). The Simple Grill is used
separately (2.5.10). If you have telescopic
rails, remove the tray before installing them in
the oven (2.5.11). The telescopic rails extend
automatically due to the weight of the tray
when the oven is opened (2.5.12). Food must
always be placed on a tray on the telescopic
rails (2.5.13). Bear in mind the position of the
grills when installing them. There are anti-
tipping stops at the sides (2.5.14).
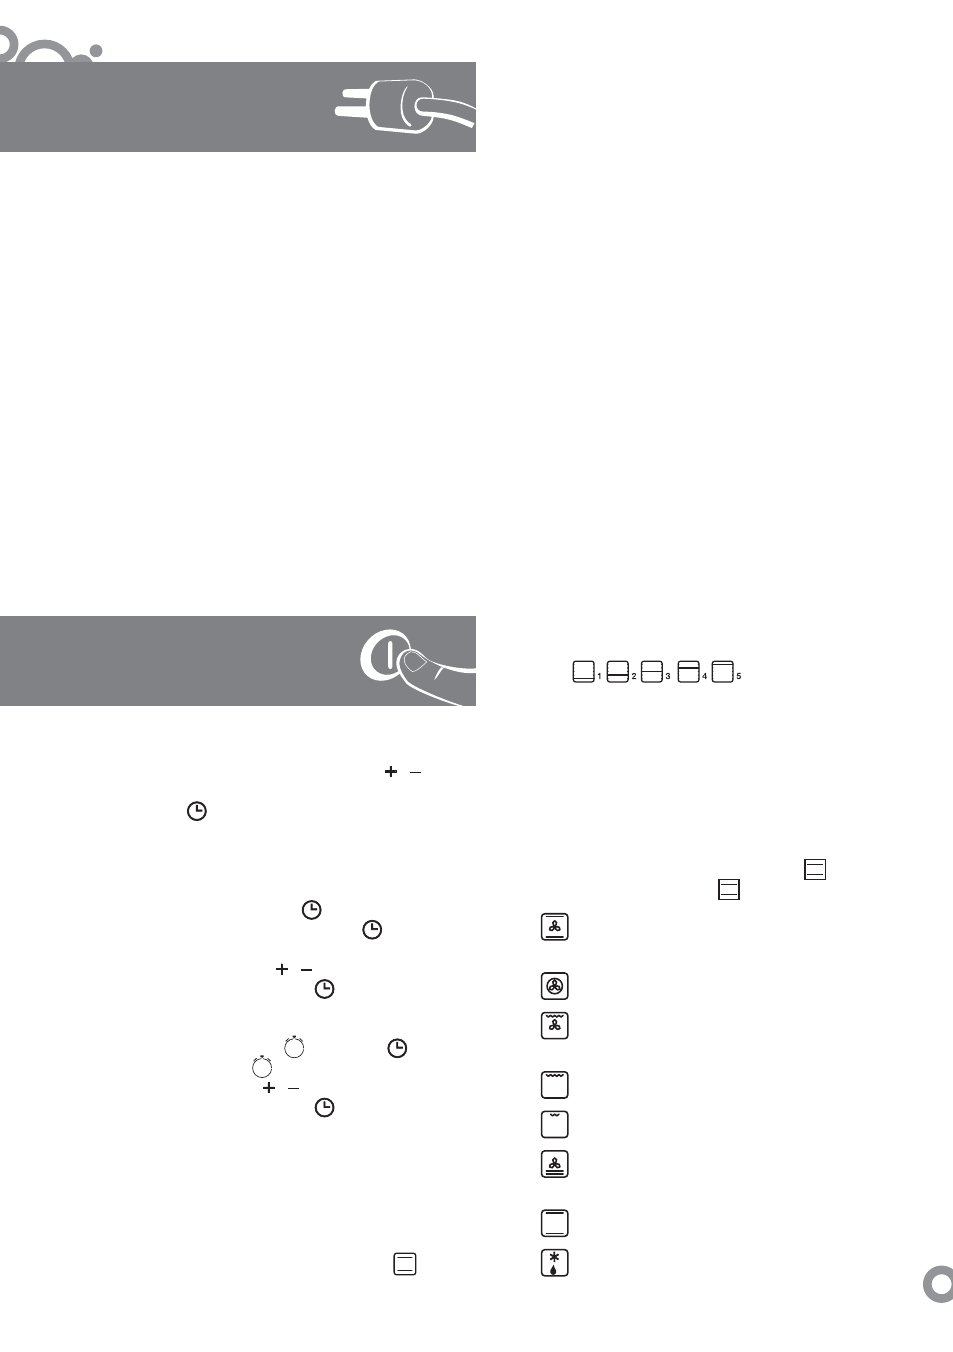
2.6 Accessory positions. The accessories
can be fi tted in 5 different positions
.
2.7 Cooking the food. Place the food in the
oven. Choose the accessory or accessories
to be used and their recommended position,
or consult the cooking table. Close the oven
door.
COOKING
2.8 Selecting the cooking function
. Turn
the function selector
and select the
desired function according to the model.
Traditional fanned heat. For any kind of
dish. Several dishes may be cooked at once
without their fl avours or smells mixing.
Turbo plus. The heat is produced by the
central element.
Fanned high grill. This browns the food,
distributing the heat evenly. Ideal for large-
sized roasts.
High grill. For browning pasta, souffl és and
bechamel sauce.
Low grill. For hamburgers, toast and food
with a small surface area.
High base heat. The heat from the oven
base is evenly distributed. Ideal for paellas or
pizzas.
Traditional heat. For bread, cakes, cakes
with fi lling and lean meat.
Defrost. Rapidly thaws any kind of food.