Vaddio Recessed Ceiling Conversion User Manual
Page 4
CeilingVIEW Recessed Ceiling Installation Kit 341-264 Rev. B
Page 4 of 6
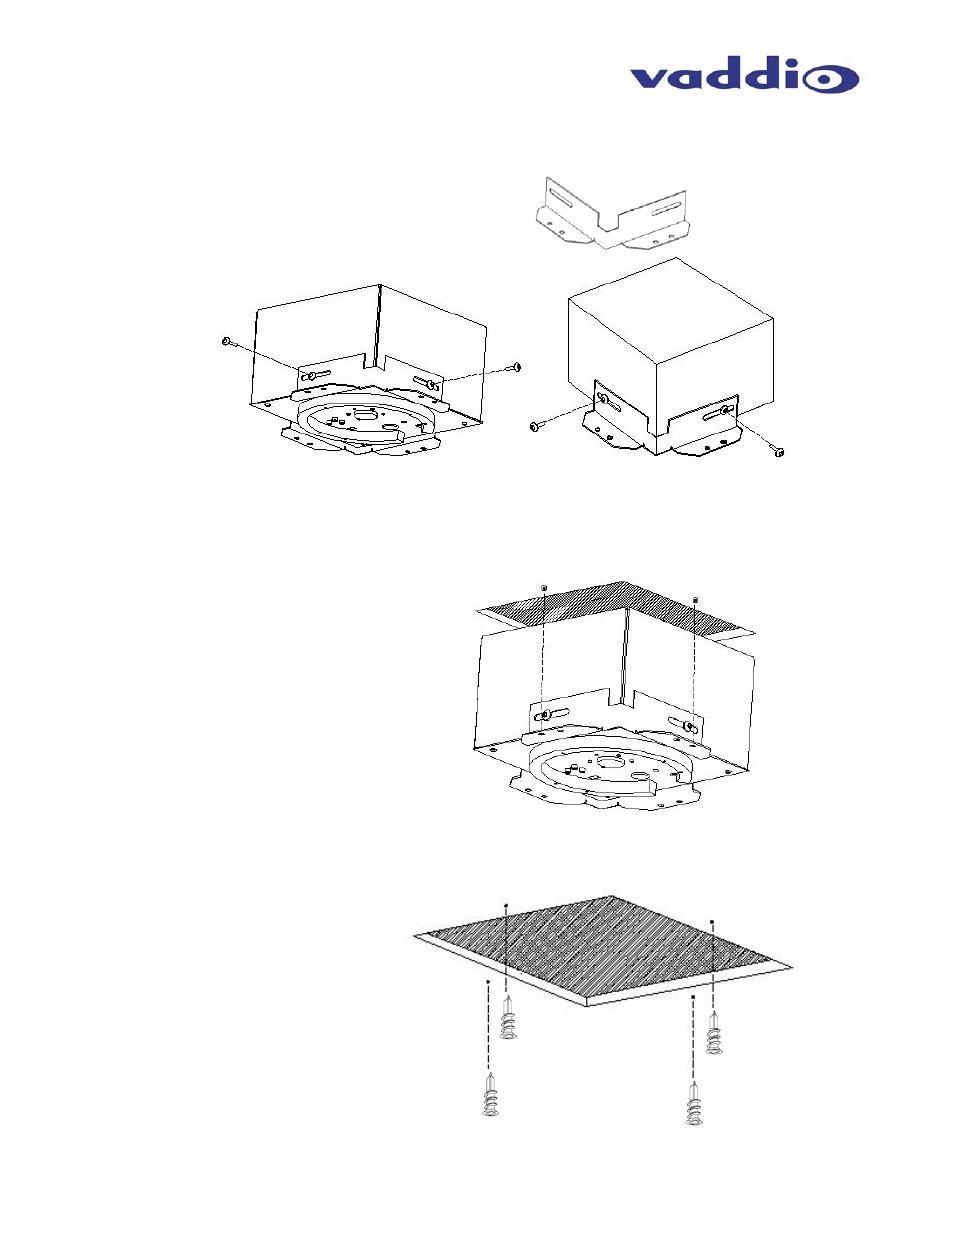
Step 3:
Attach the two (2) aluminum ceiling mount adapter plates with the four (4) – ¼”-20 x ½” Phillips pan head
screws and lock washers.
Step 4:
Raise the module into the rough opening and mark the four (4) dry wall anchor locations.
Step 5:
Using the supplied drywall anchors, insert the anchors into the drywall ceiling (Figure 7).
Figure 5:
Aluminum ceiling mount adapter plate (right)
and shown attached to (below)
Figure 6:
ISO View of CeilingVIEW
module shown marking
locations for drywall anchors
Figure 7:
Drywall anchors attached to
drywall ceiling – pilot holes
maybe required to avoid edge
deterioration on drywall
opening.
Note: Other ceiling types may
need other anchor types (i.e.
toggle bolts) – not supplied.