Chapter 5: prepare for configuration, Establishing a console connection – Avaya P333T-PWR User Manual
Page 23
Issue 1 September 2005
21
Chapter 5: Prepare for Configuration
This chapter provides information on preparing the P333R for configuration, and discusses the
following topics:
●
Establishing a Console Connection
●
●
Establishing a Telnet Connection
●
Establishing a Console Connection
This section describes the procedure for establishing switch access between a terminal and the
Avaya P333T-PWR switch over the serial port provided on the front panel of the P333T-PWR
(RJ-45 connector labeled “Console”). For information on the console port pin assignments, refer
to the Avaya P333T-PWR User Guide.
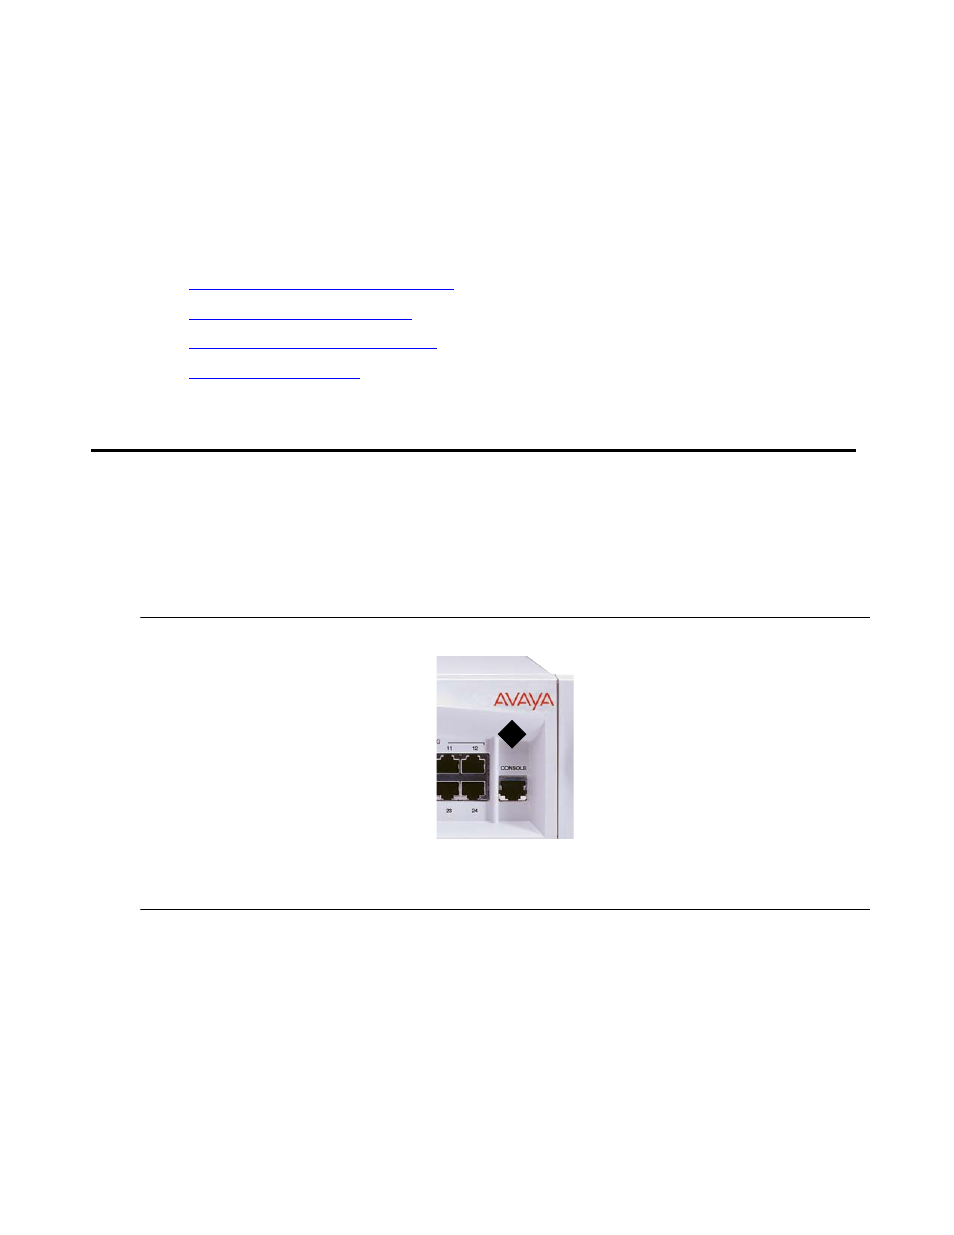
Figure 6: Avaya P333T-PWR Console Port
1. Use the serial cable supplied to attach the RJ-45 console connector to the Console port of
the active switch. Connect the DB-9 connector to the serial (COM) port on your PC/
terminal.
- The master switch is indicated by the SYS LED being ON.
2. Ensure that the serial port settings on the terminal are:
Figure notes:
1. Console port
1