Figure 3, Figure 3: open hinged end, You can now safely connect the cables to the unit – Avaya P333T-PWR User Manual
Page 20
Mount the Device
18 Quick Start for Hardware Installation: P333T-PWR Stackable Switch
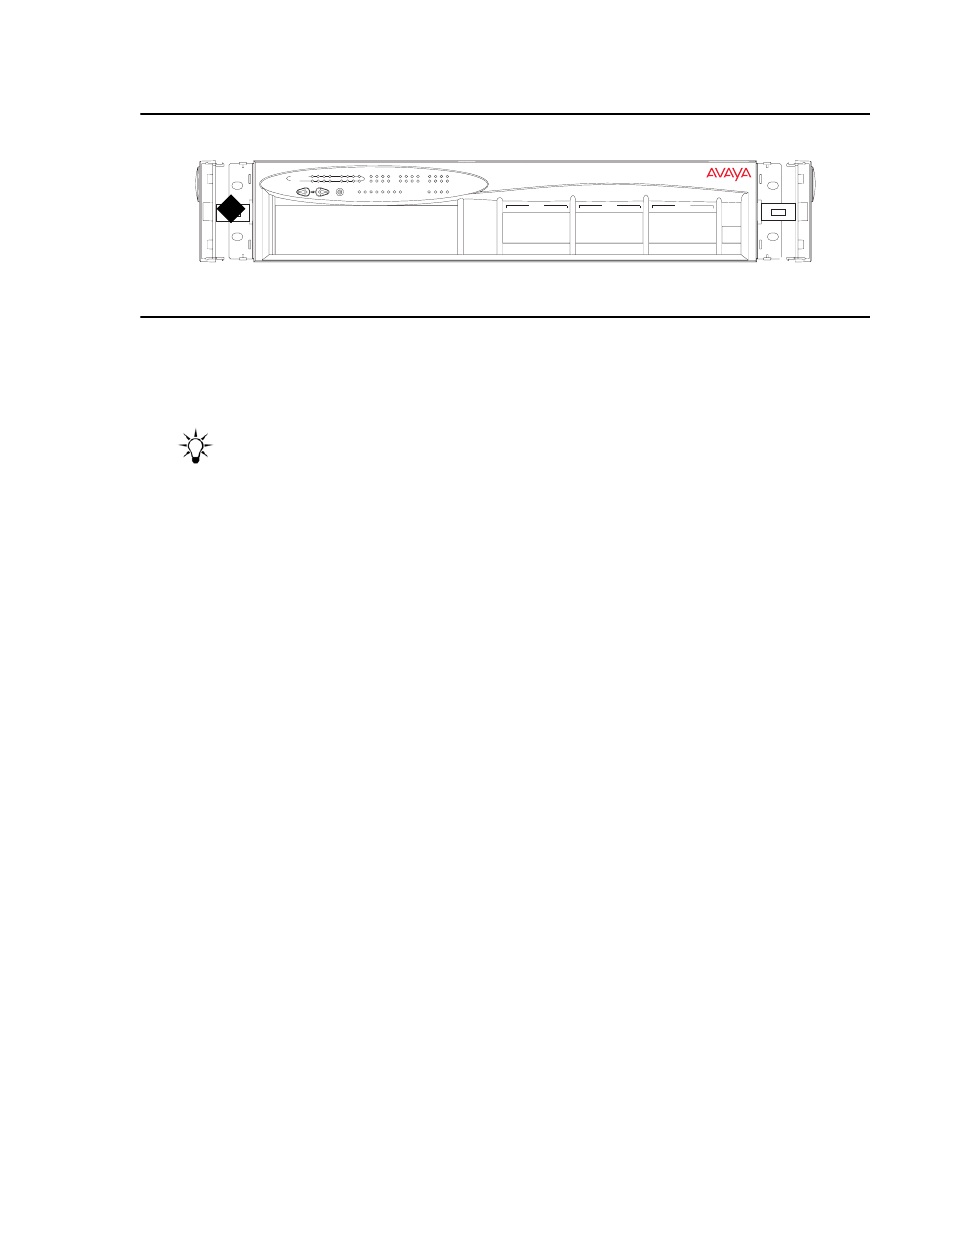
Figure 3: Open hinged end
Figure notes:
1. Open hinged end
2. Position the unit in the rack.
3. Secure the unit to the rack, taking care not to overtighten the screws.
4. Snap closed the hinged ends of the front panel.
Tip:
Tip:
You can now safely connect the cables to the unit.
P333R
EXPANSION
SLOT
51
59
FDX
15
56
64
53
61
52
60
54
62
FIV
55
63
COL
LNK
58
66
57
65
Tx
Rx
1
13
2
3
14
8
20
5
LAG
17
Hspd
FC
4
16
6
18
7
19
10
22
SYS
9
21
OPR PWR
23
11 12
24
13
14
15
16
17
1
LAG
2
3
4
5
CONSOLE
21
18
19
20
23
22
24
9
6
LAG
7
8
11
10
LAG
12
ROUT
1