Sony SA-NS500 User Manual
Page 19
19
GB
Ne
two
rk Co
n
n
e
c
tio
n
s
Note
Before starting this procedure, be aware that your
Wi-Fi network will not be protected until the setting
is complete. After the setting is complete, your
Wi-Fi network will be protected again when you set
a wireless LAN security.
1
Have your wireless network
name (SSID) and Security Key
(if applicable) available for
reference.
Refer to the operating instructions of the
wireless LAN router/access point.
2
Turn the unit on.
3
Press and hold the ALL RESET
button on the bottom of the unit
with a thin object such as a
small pin until the ?/1 indicator
starts flashing.
4
Check that the ?/1 (ON/
Standby) indicator changes
from flashing in green to lit in
green.
5
Connect the unit and a Mac or
PC.
For Mac OS X
Turn on Mac.
Click
icon on the top of the screen.
Turn on the Wi-Fi or AirPort. Then select
[Open Network Preferences...].
Select [Sony_Wireless_Audio_Setup]
from the network list.
For Windows 7
Turn on PC.
Click
icon on the bottom of the
screen.
Select [Sony_Wireless_Audio_Setup]
from the network list.
For Windows Vista
Turn on PC.
Click
icon on the bottom of the
screen.
Click [Connect to a network].
Select [Sony_Wireless_Audio_Setup]
from the network list.
6
Access the [Sony Network
Device Setting] screen.
For Mac
Start Safari and select [Bonjour] under
[Bookmarks], then select [SA-NS500].
For PC
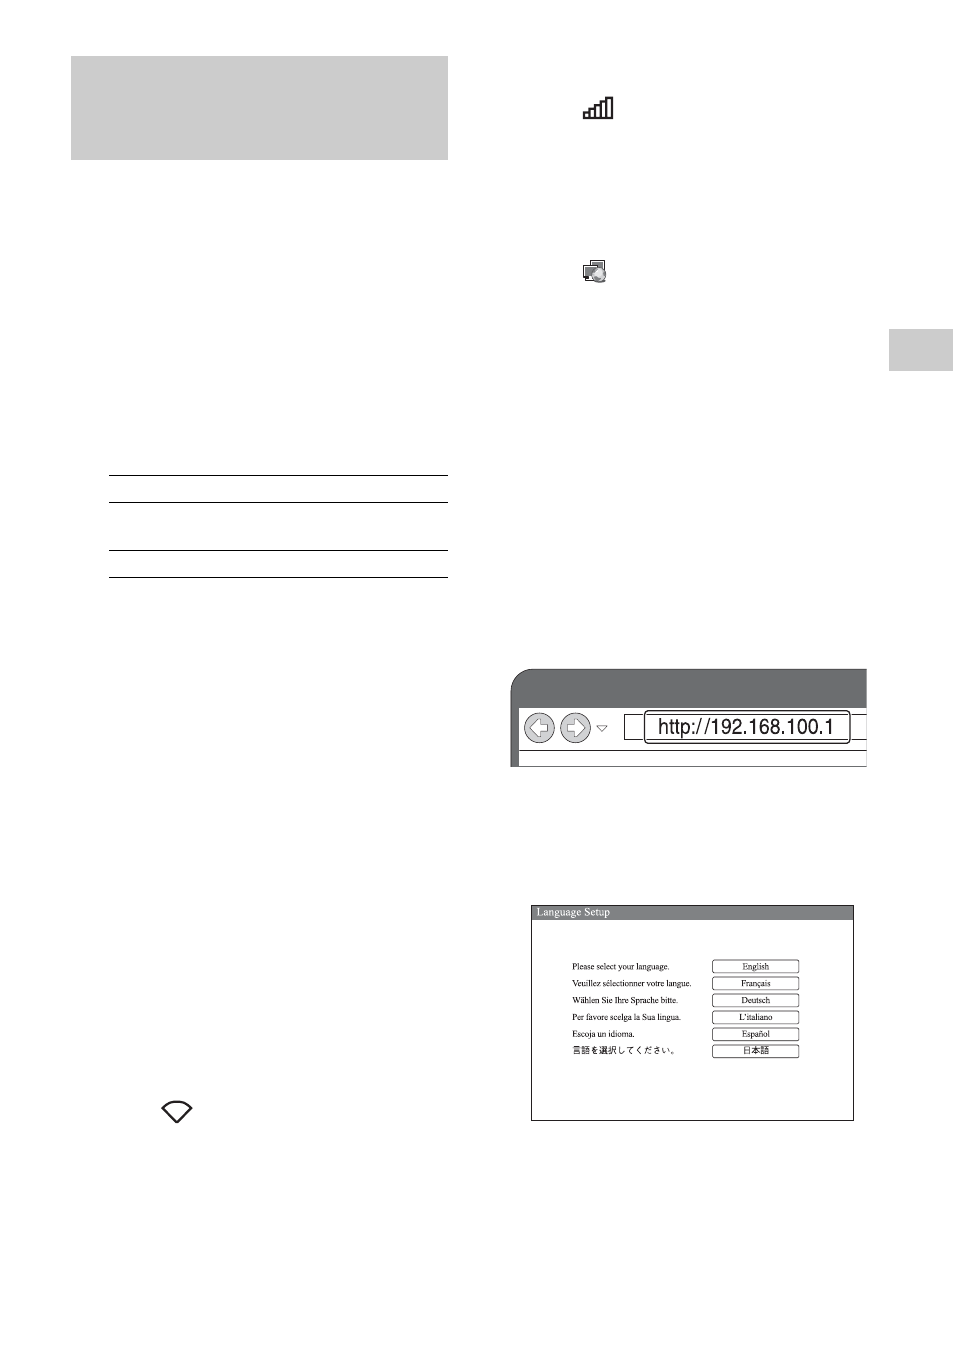
Start the browser and input either of the
following URLs into the browser’s
address bar.
7
Select the desired language
when the [Language Setup]
screen appears.
Option 3: Manual setting
method using an Access Point
Scan (for PC/Mac)
SSID (Wireless Network Name)
Security Key (WEP or WPA key)