Sony STR-DN1030 User Manual
Page 42
42
US
D:\NORM'S JOB\SONY HA\SO130039\STR-DN1030_PMRF
06\4420297142_US\US04GET_STR-DN1030-CEL.fm
masterpage: Left
STR-DN1030
4-420-297-14(2)
3
Press
V/v repeatedly to select
“Auto Cal.”, then press
or
b.
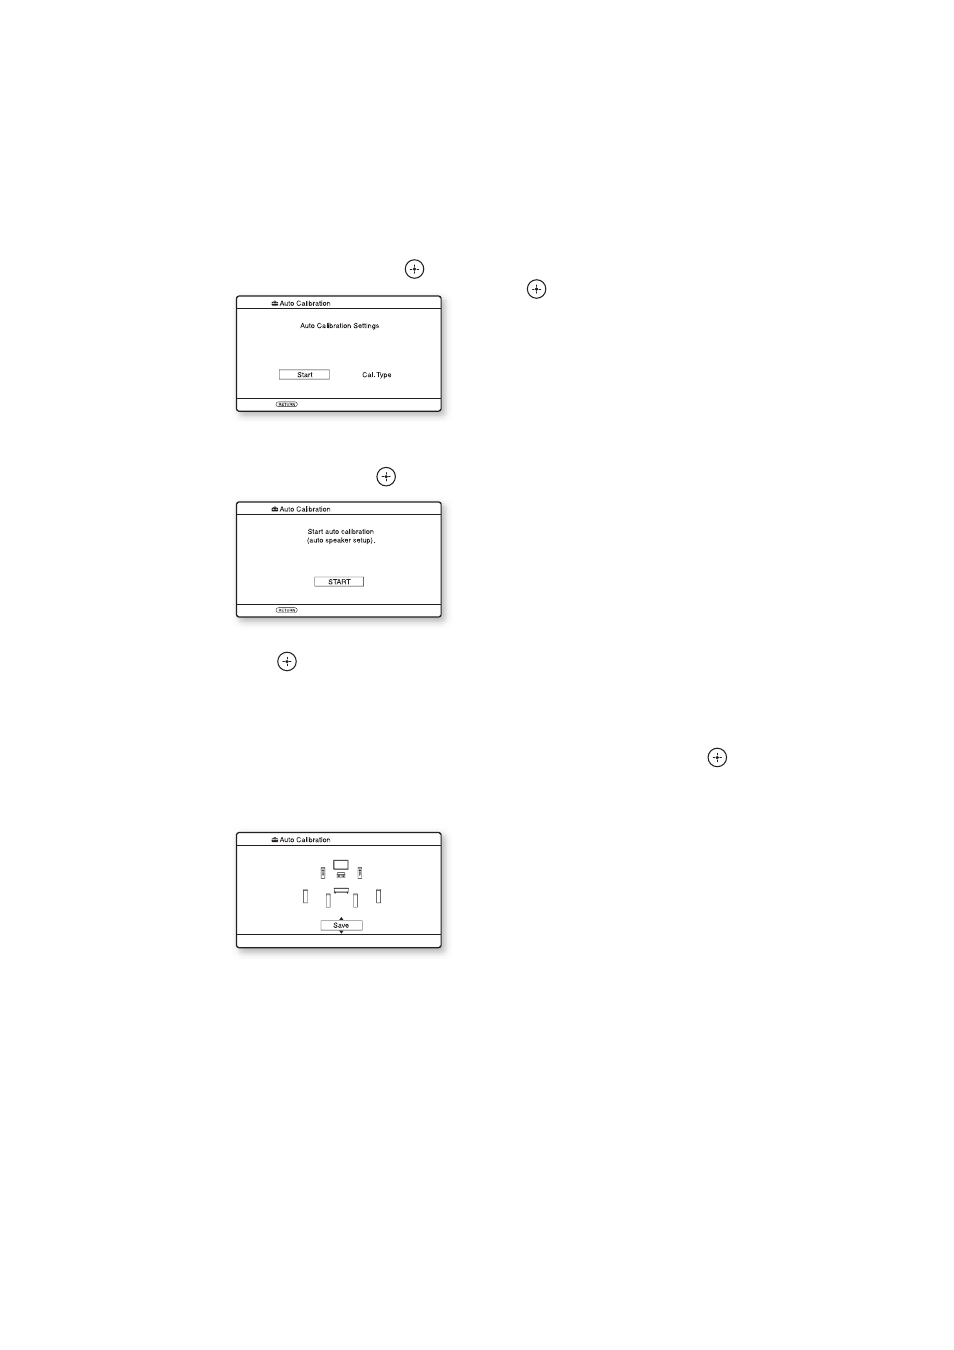
4
Press
B/b repeatedly to select
“Start”, then press
.
5
Press
to select “START”.
6
The measurement starts in five
seconds.
The measurement process will take
approximately 30 seconds with a test
tone.
When the measurement ends, a beep
sounds and the screen switches.
Note
If an error code appears on the screen, see
“Message list after Auto Calibration
measurement” (page 44).
7
Press
V/v repeatedly to select
the item you want, then press
.
• Retry: Performs the Auto Calibration
again.
• Save: Save the measurement results and
exits the setting process.
• Warning: Displays warning related to
the measurement results. See “Message
list after Auto Calibration
measurement” (page 44).
• Exit: Exits the setting process without
saving the measurement results.
8
Save the measurement result.
Select “Save” in step 7.
Notes
• The A.P.M. (Automatic Phase Matching)
function is activated after you save the
measurement result.
• The A.P.M. function does not work in the
following cases.
– The calibration type is set to “Off” when
using the “Cal. Type” Auto Calibration
– When Dolby TrueHD or DTS-HD signals
with a sampling frequency of more than
48 kHz are being received.
9
Press
B/b repeatedly to select
“Cal. Type”, then press
.
• Full Flat: Makes the measurement of
frequency from each speaker flat.
• Engineer: Sets to “the Sony listening
room standard” frequency
characteristics.
• Front Reference: Adjusts the
characteristics of all the speakers to
match the characteristics of the front
speaker.
• Off: Sets the Auto Calibration equalizer
level and the A.P.M. function to off.
Tip
You can select the calibration type after you
have performed the Auto Calibration and
saved the settings.