P. 63), N (p. 63) – Sony HDR-UX5 User Manual
Page 63
63
Uti
liz
in
g
Re
co
rd
in
g
Me
d
ia
The disc will be formatted in the
recording image quality and format you
selected.
When the disc is formatted, you can
start recording on the disc.
To format a disc with SD (standard
definition) image quality
• Select the recording format, VIDEO mode
or VR mode, for DVD-RW (p. 15). If you
format DVD-RW during Easy Handycam
operation (p. 30), the recording format is
fixed to VIDEO.
• Select the aspect ratio, [16:9 WIDE] or
[4:3], for DVD+RW.
b
Notes
• Use the AC Adaptor as the power source to
prevent your camcorder from running out of
power during formatting.
• Do not apply shock or vibration to your
camcorder, and do not disconnect the AC
Adaptor during formatting.
• When you use a double-sided disc, formatting is
required on each side. You can format each side
in the different recording format.
• In the case of DVD+RW with SD (standard
definition), you cannot change the movie aspect
ratio midway. Format the disc again to change
the aspect ratio.
• You cannot format a disc that has been
protected on other devices. Cancel the
protection with the original device, and then
format it.
Formatting deletes all images on a
“Memory Stick Duo.”
1
Turn on your camcorder.
2
Insert the “Memory Stick Duo” to
be formatted into your
camcorder.
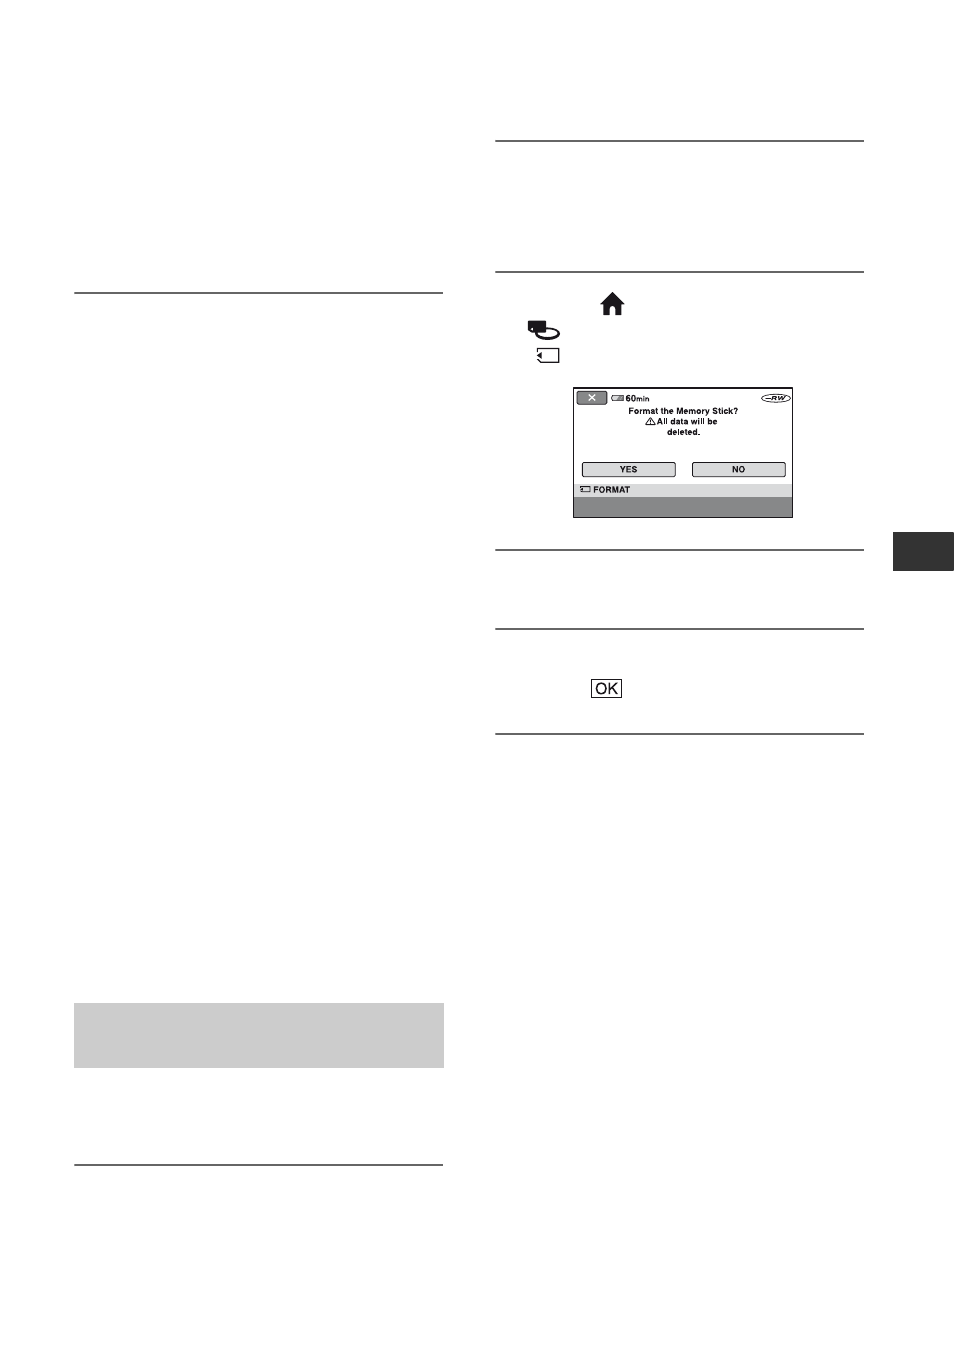
3
On the
(HOME MENU), touch
(MANAGE DISC/MEMORY)
t
[
FORMAT].
4
Touch [YES]
t [YES].
5
When [Completed.] appears,
touch .
b
Notes
• Even the still images protected with another
device against accidental deletion are also
deleted.
• Do not attempt the following operations when
[Executing...] is on the screen:
– To operate the POWER switch or buttons
– To remove the “Memory Stick Duo”
Formatting the “Memory Stick
Duo”