Creating the playlist (continued) – Sony HDR-UX5 User Manual
Page 52
52
Creating the Playlist (Continued)
2
Touch [ERASE].
To erase all the scenes from the Playlist,
touch [ERASE ALL]
t [YES] t [YES]
t
.
3
Select the scene to be deleted from the list.
The selected scene is marked with
.
Press and hold the image on the LCD
screen to confirm the image.
Touch
to return to the previous
screen.
4
Touch
t [YES] t
.
z
Tips
• The original scenes are not changed even if you
erase the scenes from the Playlist.
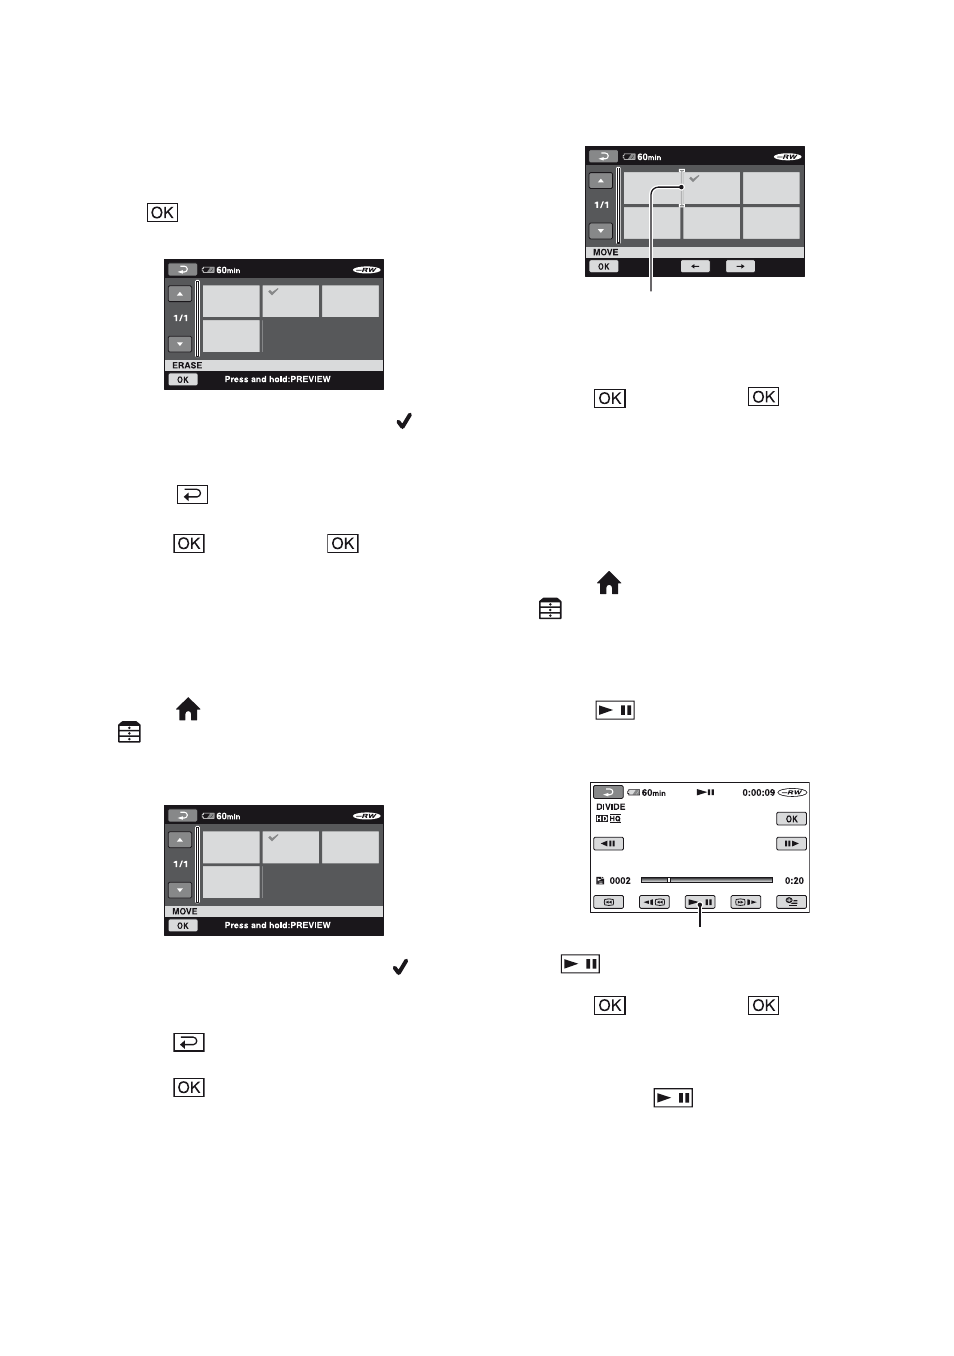
To change the order within the Playlist
1
On the
(HOME MENU), touch
(OTHERS)
t [PLAYLIST EDIT].
2
Touch [MOVE].
3
Select the scene to be moved.
The selected scene is marked with
.
Press and hold the image on the LCD
screen to confirm the image.
Touch
to return to the previous
screen.
4
Touch .
5
Select the destination with [
T]/[t].
Press and hold the image on the LCD
screen to confirm the image.
6
Touch
t [YES] t
.
z
Tips
• When you select multiple scenes, the scenes are
moved following the order appeared in the
Playlist.
To divide a movie within the Playlist
1
On the
(HOME MENU), touch
(OTHERS)
t [PLAYLIST EDIT].
2
Touch [DIVIDE].
3
Select the scene to be divided.
The playback of the selected scene starts.
4
Touch
at the point where you want
to divide the movie into scenes.
The movie pauses.
5
Touch
t [YES] t
.
b
Notes
• A slight difference may occur from the point
where you touch
and the actual dividing
point, as your camcorder selects the dividing
point based on about half-second increments.
z
Tips
• The original movies are not changed even if you
divide the movie in the Playlist.
Destination bar
Play and pause toggles as you press
.