Getting started, Performing initial setup, Detaching the front panel – Sony MEX-DV1700U User Manual
Page 12: Performing initial setup detaching the front panel, Attaching the front panel
12
Getting Started
Performing initial setup
When you first turn on the unit after
purchasing it, the display for initial speaker
setup appears.
Be sure to set correctly following the
procedure below to enjoy the various sound
functions of this unit.
To skip the initial setup, press
, or insert a disc.
1
Press the control dial in the initial
setup display.
2
Rotate the control dial to set the audio
output, then press it.
If a subwoofer is connected, select “SUB
OUT.”
If a power amplifier is connected, select
“REAR OUT.”
If neither subwoofer or power amplifier
is connected, you can select either “SUB
OUT” or “REAR OUT.”
3
Rotate the control dial to select your
listening position, then press it.
Select “FRONT L” if your listening
position is front left, or select “FRONT
R” if front right.
The clock display appears when the
setting is complete.
With the card remote commander
Press
/ instead of rotating the control
dial, press
instead of pressing the
control dial.
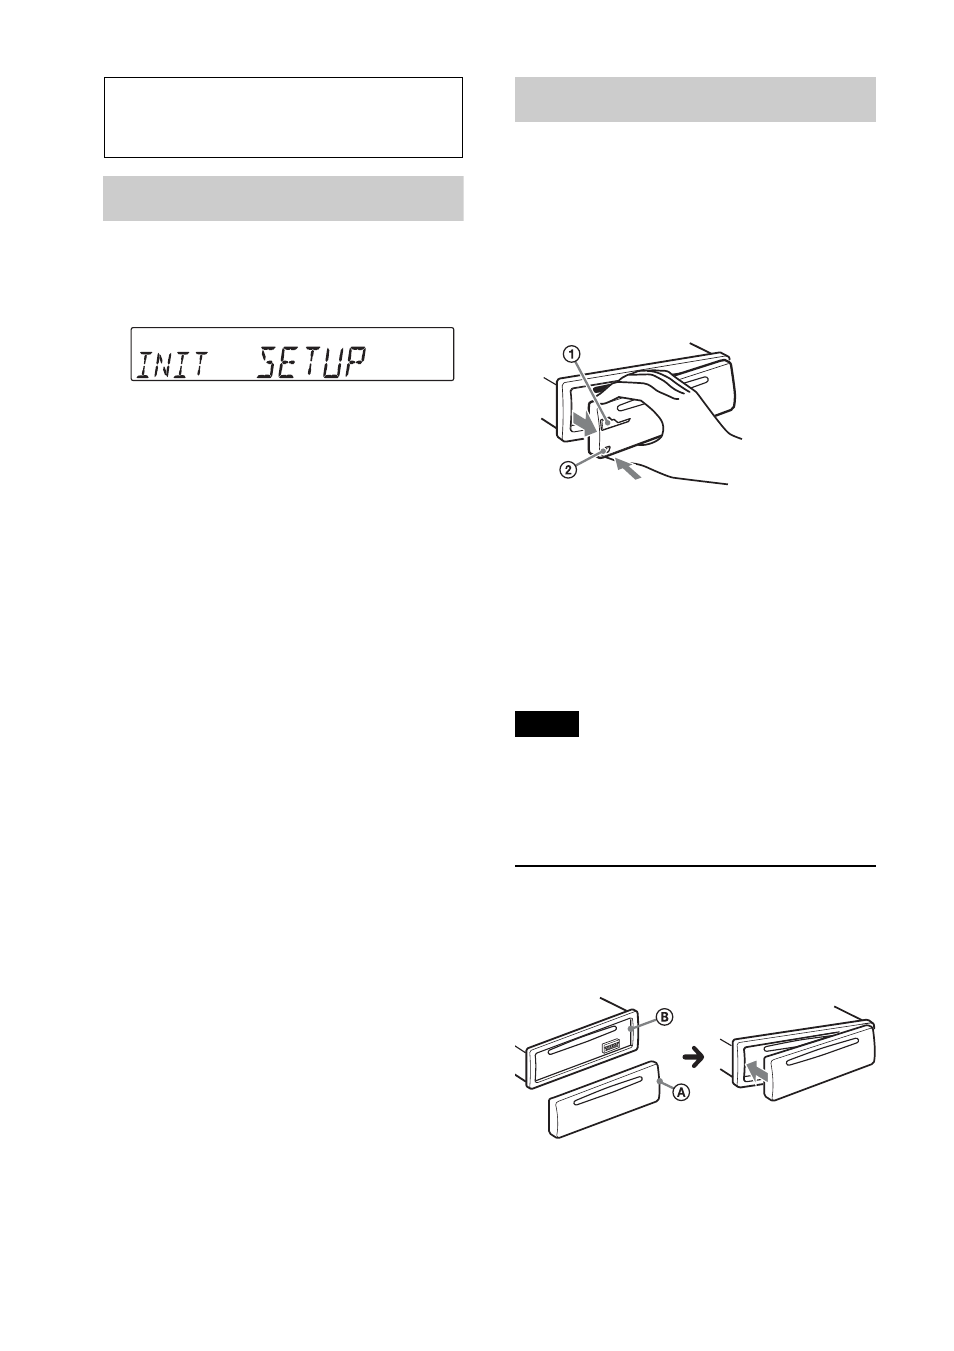
Detaching the front panel
You can detach the front panel of this unit
to prevent theft.
1
Press and hold
.
The unit is turned off.
2
Press the front panel release button
,
then pull it off towards you.
Caution alarm
If you turn the ignition switch to the OFF
position without detaching the front panel,
the caution alarm will sound for a few
seconds. The alarm will only sound if the
built-in amplifier is used.
Note
Do not subject the front panel to heat/high
temperature or moisture. Avoid leaving it in a
parked car or on a dashboard/rear tray.
Attaching the front panel
Engage part
of the front panel with part
of the unit, as illustrated, and push the
left side into position until it clicks.