Removing floppy disk drive, 2 the “unplug or eject” dialog box appears, 4 confirm the device and click ok – Sony PCG-XG500 User Manual
Page 52
VAIO Notebook User Guide
52
When the multipurpose bay is empty, attach the weight saver to it. See “Using a
Second Battery Pack” on page 64 for details on attaching the weight saver.
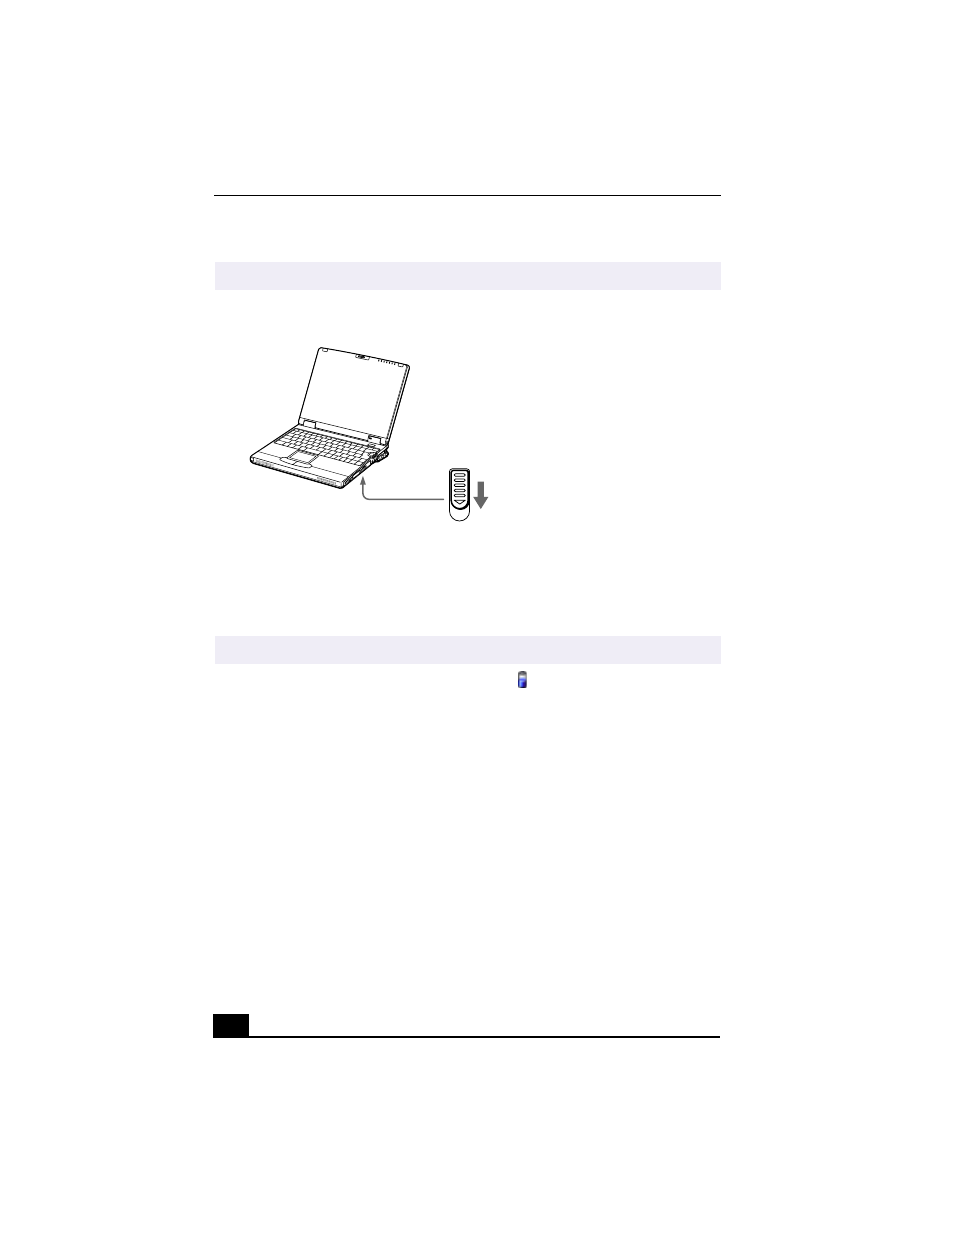
To remove the floppy disk drive (Windows 2000 models only)
1
Double-click the Power Management icon
in the system task tray.
2
The “Unplug or Eject” dialog box appears.
3
In the Unplug or Eject Hardware dialog box, select the appropriate option,
and then click Stop.
4
Confirm the device and click OK.
5
A message appears informing you that the device can now be safely removed
from the system.
6
Slide the RELEASE lever on the bottom of the computer in the direction of
the arrow, and then unplug the floppy disk drive from the computer.
✍
Note: If your computer is turned off, you do not have to follow these instructions.
Removing Floppy Disk Drive
✍
If your computer is turned off, you do not have to follow these instructions.
RELEASE lever on bottom