AMX Control System Accessories Anterus User Manual
Page 22
Anterus Configuration Manager
18
Anterus RFID Solution
This page provides basic information on the entire Anterus System (in the Global Settings row), as well
as for each ANT-RDR connected to the NetLinx Master:
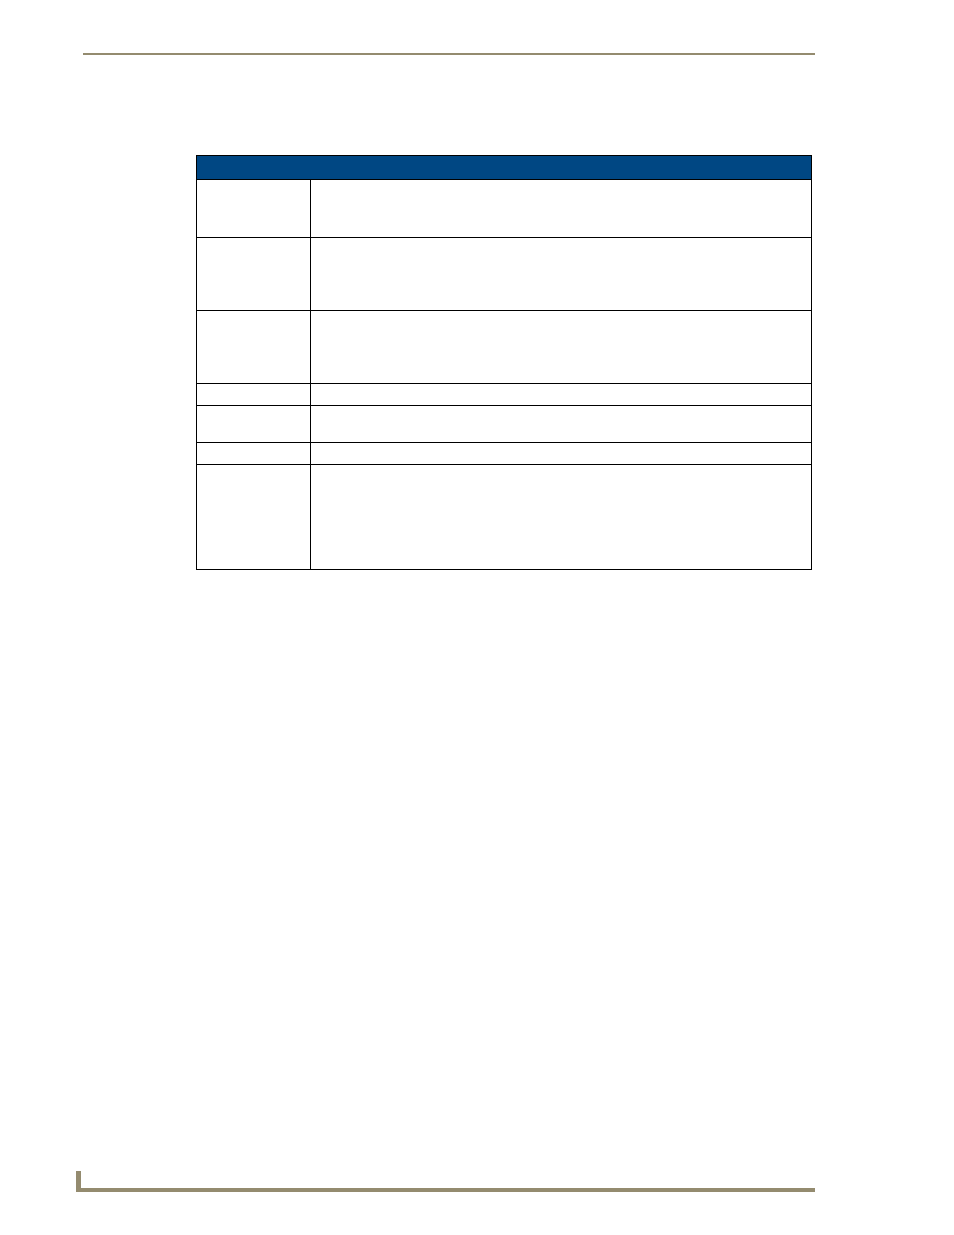
RFID Configuration Manager
• Name
Displays the Name assigned to each ANT-RDR. Reader Names can be changed, via the
Reader Configuration page - see the Reader Configuration Pages section on page 24.
Note: The "Global Settings" name cannot be changed.
• Address
Displays the device address assigned to each ANT-RDR. Reader Addresses can be
changed, via the Reader Configuration page - see the Reader Configuration
Pages section on page 24.
Note: The "Global Settings" address of zero (0) cannot be changed.
• AxLink Address Displays the AxLink device address assigned to each ANT-RDR, as it was specified on
each ANT-RDR via the 8-position DIP Switch on the rear panel (see the Assigning the
ANT-RDR Device Address section on page 13).
Note: AxLink Device Address does not apply to "Global Settings" (n/a).
• Model
Displays the Model name assigned to each ANT-RDR (read-only).
• Errors
This column indicates any errors detected by the NetLinx Master, for each ANT-RDR.
These errors are indicated by code numbers.
• Status
Indicates the status of each ANT-RDR (Online or Offline).
• Configure
• Click the icon in the Global Settings row to access the Global Register page. Use the
options in this page to specify global (system-wide) configuration options, as well as
add and remove RFID Tags from the system. See the Global Register Page section on
page 19 section for details.
• Click the icons in this column to access configuration options for the selected ANT-RDR.
See the Reader Configuration Pages section on page 24 section for details.