Accusplit AH120M9 User Manual
Page 3
REPLACING THE BATTERY
1. When the figures on the display start to blink, it is
time to replace the battery.
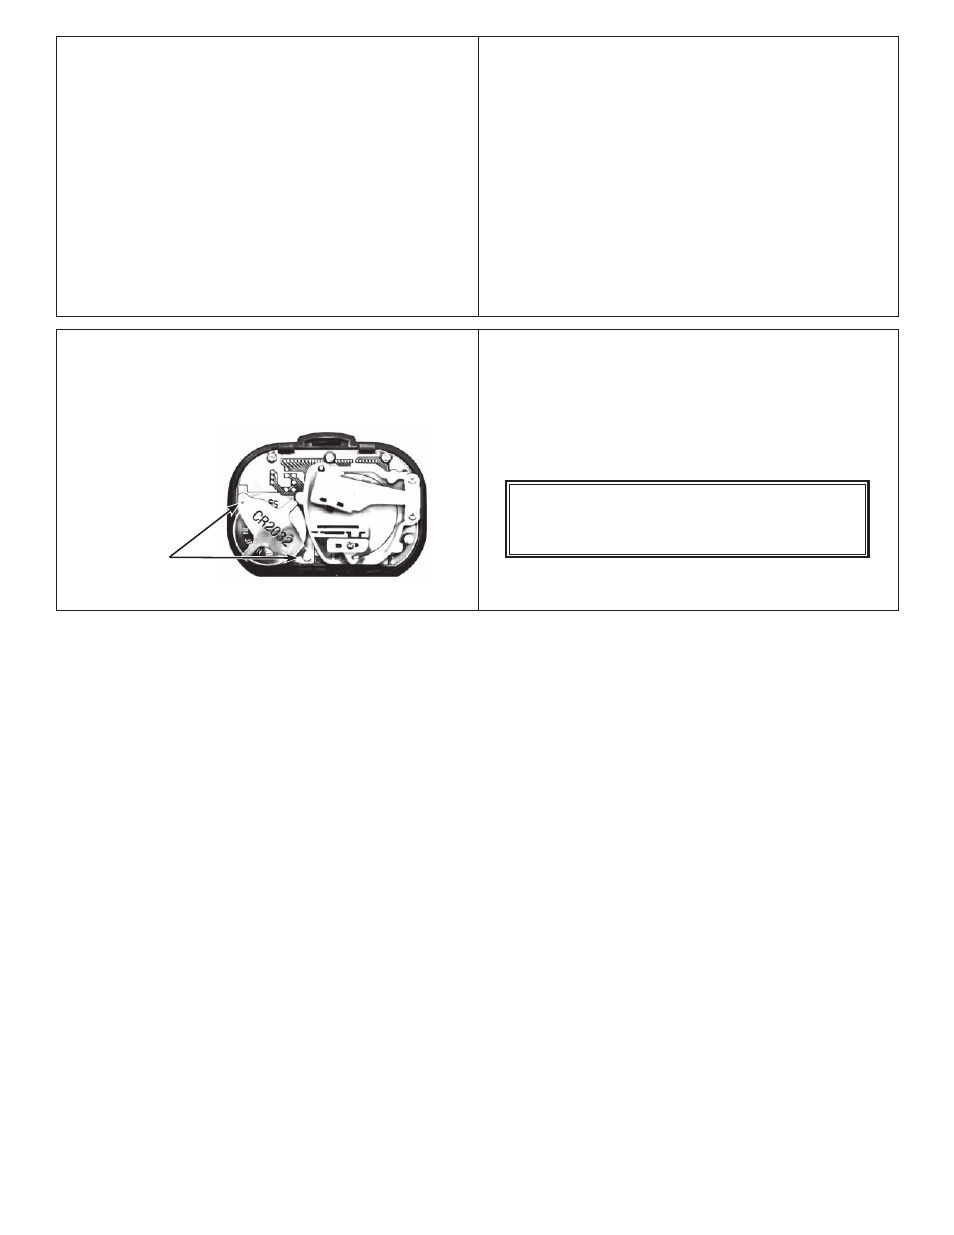
2. The unit uses one Type CR2032 3-volt lithium battery.
3. Insert a coin into the slot at the bottom of the body
case. Twist the coin to remove the front case.
4. Locate the BATTERY HOLDING PLATE at the bottom
left corner of the inside case. Remove the plate by
loosening the two small screws with a small Phillips
head screwdriver.
5. Take out the old battery and replace it with a new
battery. Place the battery’s positive (+) terminal
FACE UP while you install it into the pedometer.
CLEARING THE MEMORIES
Auto Reset: At 3:50 AM every day, the previous day’s STEP
record is automatically saved and STEP display resets to 0.
You do not need to press the RESET button every day.
Manual Reset: To reset today’s STEP data to 0, press and
hold the yellow RESET button for 2 seconds. Note: Resetting
today’s steps before automatic nightly rollover prevents them
from being tallied in memory.
System Reset: To reset all memories to 0 (including the clock),
press the recessed SYSTEM RESET button in the lower left
corner of the front of the display. (Use a pen or the end of
a paper clip.) Note: In case of irregular display due to static
electricity, pressing the SYSTEM RESET button, and then
resetting the CLOCK, will return the unit to normal.
Terminal
Screws
NO-PROOF-OF-PURCHASE LIMITED WARRANTY
Free service for first year of ownership;
$12 fee for service thereafter. See label inside unit for date.
See www.accusplit.com/support for details
and back case together, then pressing the bottom of
the case together. If the two halves don’t go together
easily, check if the front case is upside down!
7. Reset the CLOCK to restore all functions to your
pedometer.
CAUTION: Please DO NOT TOUCH inner pedometer parts,
other than battery. Touching the sensor mechanism may
affect the accuracy of the pedometer.
6. Reinstall the BATTERY HOLDING PLATE
by tightening the two
screws. Put the case
back together by
matching the
top edges of
the front case
16
17
18
19