Spektrum SPMAR6400NBL User Manual
Page 5
EN
5
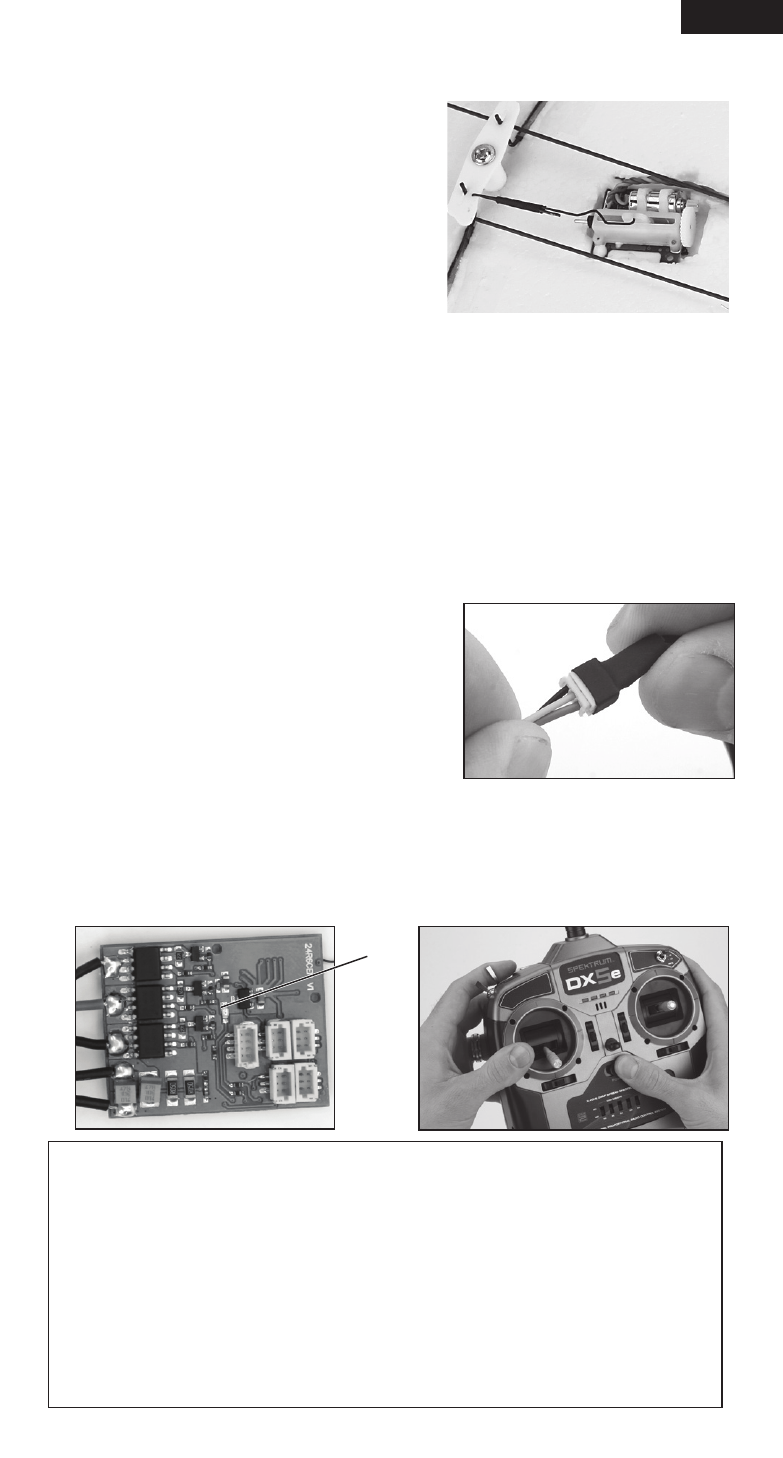
Installing and Plugging in the Optional Servos
Use double-sided foam tape strips and/or
minimal hot glue to mount the servos in place.
The servos must be in the appropriate position
to attach to the corresponding pushrods. Plug
the servo leads into the appropriate servo ports
in the receiver, noting the polarity of the servo
connector. Installation will vary depending on
application.
Smart Bind
™
You must first bind the receiver to the transmitter for it to operate. Binding is
programming the receiver of the control unit to recognize the GUID (Globally
Unique Identifier) code of a single specific transmitter. The AR6400NBL features
Smart Bind. When the receiver is first powered, the receiver looks for the signal of
its previously bound transmitter for 5 seconds. If no signal is found, the receiver
automatically goes into bind mode, indicated by a flashing LED.
Binding
1. Make sure the flight battery is fully charged.
2. Confirm the flight battery is disconnected
from the receiver/ESC unit and the
transmitter is turned off.
3. Plug the flight battery into the receiver’s
battery connector. After 5 seconds, the LED
on the receiver begins to flash.
4. After verifying the LED is flashing on the
receiver, bind the receiver to the transmitter.
5. If you entered bind mode correctly, you will see a solid LED within about 10
seconds. You should now be bound to the transmitter and have full control
and function.
Transmitter Specific Binding Instructions
1. To bind the AR6400NBL to the transmitter, plug the battery into the receiver.
The LED on the receiver will begin flashing.
2. Move the sticks and switches on the transmitter to the desired failsafe
positions (low throttle and neutral control positions).
3. Put the transmitter in bind mode. Refer to your transmitter instruction manual
for more information.
4. The LED on the receiver will turn solid and the system will connect after
several seconds.
LED