Changing the picture options, Basic features, Advanced settings – Samsung LT24C550ND-ZA User Manual
Page 25: Picture options
25
English
Basic Features
¦
Changing the Picture Options
Advanced Settings
MENU
m → Picture → Advanced Settings →
ENTER
E
Advanced Settings are available in the Standard and
Movie modes. When connecting a PC, you can only make
changes to Gamma and White Balance. They are not
available when you are watching a digital channel.
To use, select an option using the up and down arrow keys,
and then press
ENTER
E. Use the arrow keys to change a
value or setting, and then press
ENTER
E.
Advanced Settings
Dynamic Contrast :
Off
Black Tone :
Off
Flesh Tone
: 0
Color Space :
Native
White Balance
►
Gamma
: 0
Motion Lighting :
Off
U Move E Enter R Return
■
Dynamic Contrast (Off / Low / Medium / High): Adjust
the screen contrast.
■
Black Tone (Off / Dark / Darker / Darkest): Select the
black level to adjust the screen depth.
■
Flesh Tone: Emphasize pink “Flesh Tone.”
■
Color Space (Auto / Native): Adjusts the range of
colors (the color gamut) available to create images.
■
White Balance: Adjusts the red, green, and blue
brightness so that the brightest point of a picture
becomes white.
R-Offset / G-Offset / B-Offset: Adjust each color’s (red,
green, blue) darkness.
R-Gain / G-Gain / B-Gain: Adjust each color’s (red,
green, blue) brightness.
Reset: Resets the White Balance to it’s default settings.
■
Gamma: Adjust the primary color intensity.
■
Motion Lighting (Off / On): Reduces power
consumption by reducing screen brightness when the
picture on the screen is in motion.
Picture Options
MENU
m → Picture → Picture Options →
ENTER
E
Select an option using the up and down arrow keys, and
then press
ENTER
E. Use the arrow keys to change the
setting, and then press
ENTER
E.
✎
When connecting a PC, you can only make changes to
the Color Tone, Size.
Picture Options
Color Tone :
Standard
►
Size
: 16:9
Digital Clean View :
Auto
MPEG Noise Filter :
Auto
HDMI Black Level :
Normal
Film Mode :
Off
U Move E Enter R Return
■
Color Tone (Cool / Standard / Warm1 / Warm2)
✎
Warm1 or Warm2 will be activated when the
picture mode is Movie.
✎
You can adjust and store settings for each external
device you have connected to an input on the TV.
■
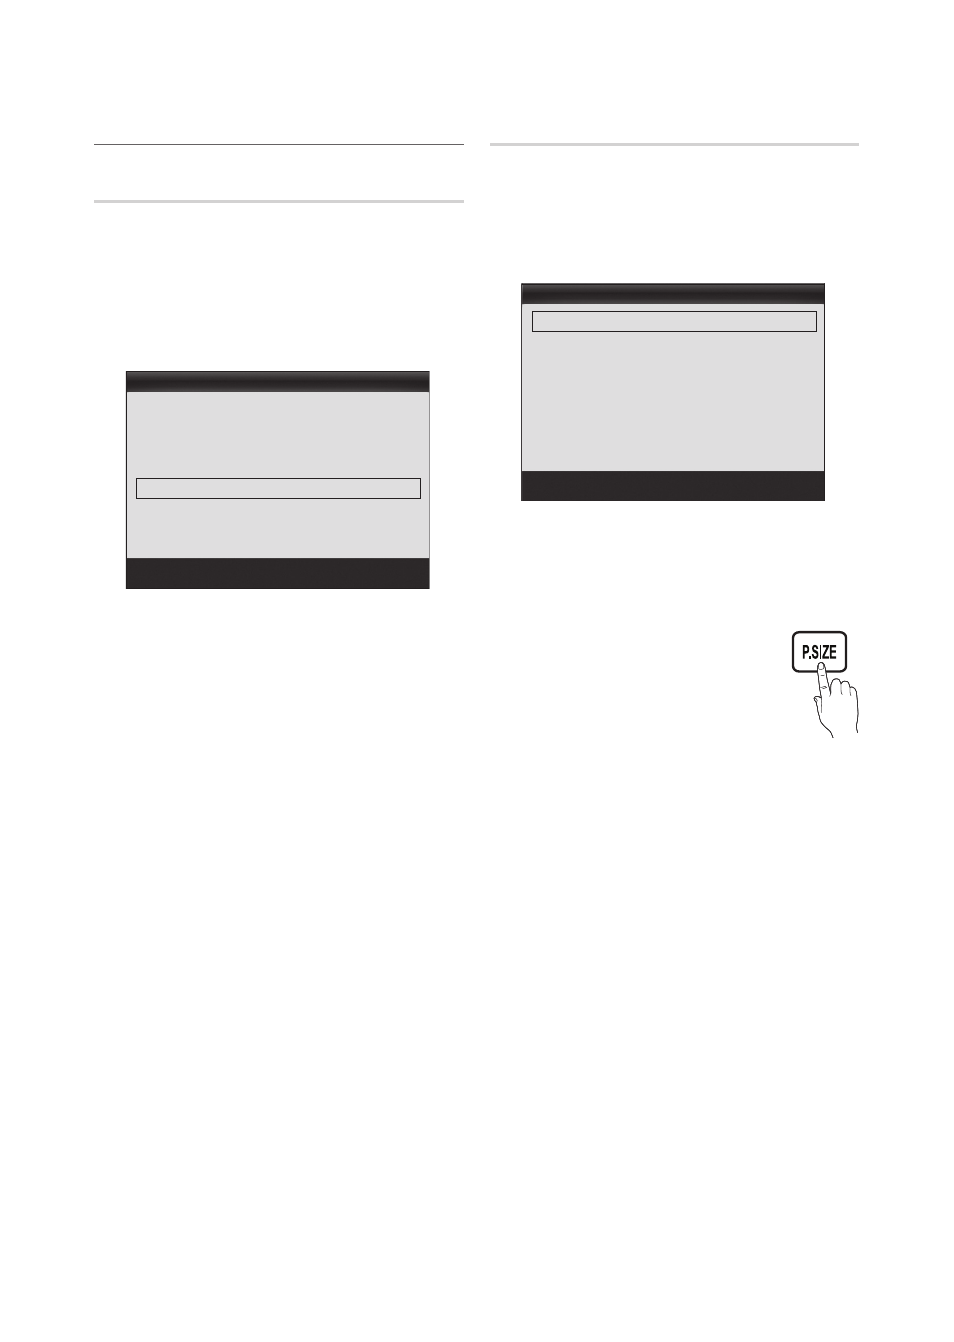
Size: If you have a cable box or satellite
receiver, it may have its own set of
screen sizes as well. However, we highly
recommend you use your TV’s 16:9
mode most of the time.
16:9: Sets the picture to 16:9 wide
mode.
Zoom1: Use for moderate magnification.
Cuts off the top and sides.
Zoom2: Use for a stronger magnification.
Wide Fit: Enlarges the aspect ratio of the picture to fit
the entire screen.
✎
Available with HD 1080i / 720p signals in 16:9
mode.
4:3 : Sets the picture to basic (4:3) mode.
✎
Do not watch in 4:3 format for a long time. Traces
of borders displayed on the left, right and center
of the screen may cause image retention(screen
burn) which are not covered by the warranty.
Screen Fit: Displays the full image without any cut-off
when HDMI (720p / 1080i / 1080p) or Component
(1080i / 1080p) signals are inputted.