Before using for the first time – Siemens TE501501DE User Manual
Page 28
24
en
“Coffee strength” rotary knob
This rotary knob (13) is used
to adjust the coffee strength
or select the setting for pre
ground coffee�
h
to
g
G
Very mild
Mild
Medium
Strong
Ground coffee
“Drink selection” rotary knob
This rotary knob (14) is
used to select the required
beverage and quantity. It is
also used to change user
settings�
a
to
c
Small espresso
Espresso
Small café crème
Café crème
Large café crème
b
to
d
2 small espresso
2 espresso
2 small café crèmes
2 café crèmes
2 large café crèmes
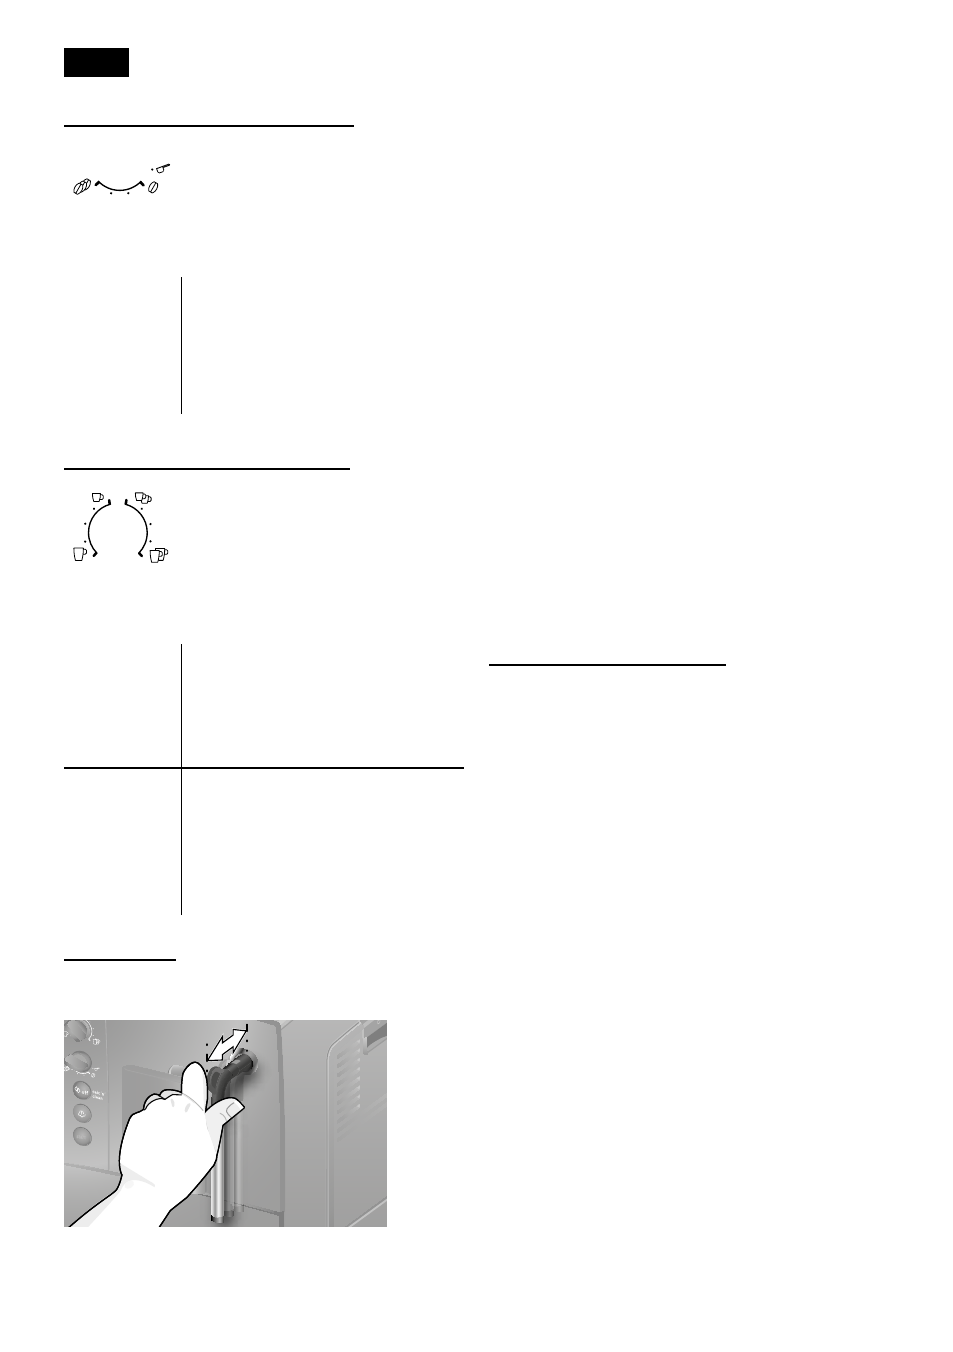
Milk frother
Pull the milk frother (6) out to open it and
push it back in to close it�
Before using for
the first time
General
Fill the appropriate container using only
pure, cold, uncarbonated water and only
roasted beans (preferably espresso or
coffee bean blends for fully automatic coffee
machines)� Do not use coffee beans that
have been glazed, caramelised or treated
with other additives containing sugar, since
they will block the brewing unit.
The water hardness setting can be adjusted
on this appliance. The factory setting for the
water hardness is 4� Check the hardness
of the water you use with the enclosed test
strip. If the test reveals a value other than 4,
change the setting on the appliance accord
ingly after switching on (see “Settings”,
“Water hardness”).
Setting up the appliance
1� Remove the protective film.
2� Place the fully automatic espresso
machine on a flat, waterresistant
surface that can take its weight�
The ventilation slots on the appliance
must not be covered�
Important: Only use the appliance in
frostfree rooms. If the appliance has been
transported or stored at temperatures below
0° C, wait at least 3 hours before operation�
3� Pull out the mains plug from the cable
compartment (20) and plug it in� Adjust
the length of the cable by pushing it
back in and pulling it out� To do this,
place the appliance with its back flush
with the edge of the work surface and
either pull the cable
downwards or
push it
upwards�