Target screen – Kestrel 4500 Horus (Ballistics) User Manual
Page 6
11
TARGET
Active
TR
DoF
Ide
g
Yes
998m
000º
0˚
• Use
and
to scroll to any existing
parameters. Use
and to adjust each value.
• To add a new entry, highlight “New Entry” and
press
.
• Use
and
to scroll to “Dist” and “BC”. Use
and to adjust each value.
• To clear a Table Item, scroll down to Clear and
press
.
• Press to exit to return to the Gun Information
screen.
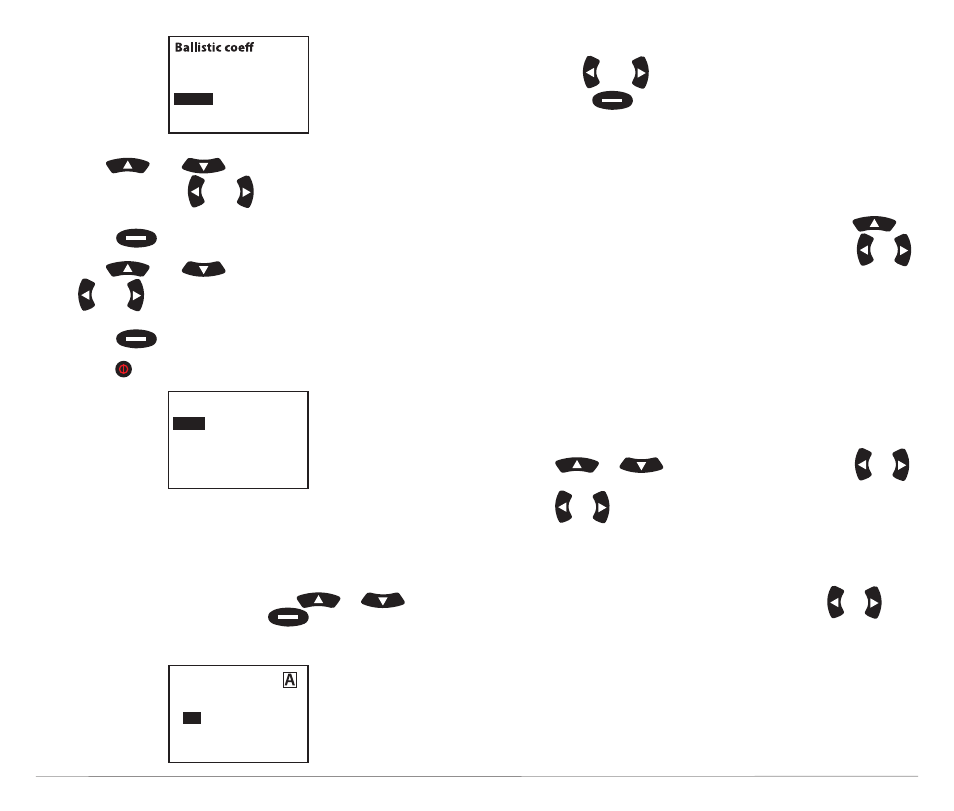
TARGET SCREEN:
You can customize up to five targets for location, distance,
direction, declination, and wind.
• From the Main Horus screen, use
or
to highlight “Tgt” and press
to enter the
Target screen.
• Use up and down to highlight a parameter.
• Use
and to adjust values for each parameter.
• Press
to enter the highlighted parameter’s
screen. Here you are able to adjust the parameter
values as well as the unit of measure.
(For example, yards to meters.)
Multiple Targets
• You may create up to 5 targets (A-E) by using
until “Target” is highlighted and then pressing
or
to move on to the next target. After changing targets
the parameters can be changed by repeating the steps
outlined above.
Active
• The “Active” status of Target A defaults to “Yes” because
the Kestrel must have at least one active target at
all times.
• To make a target active, on the Target screen use
or
to highlight “Active” and use
or
to change to “Yes.” To make a target inactive, use
or to change to “No”.
• Setting a target’s “Active” status to “Yes” allows you to
view the firing solution for that target on the Main
Horus screen.
• If multiple targets are active, you can use
or
to scroll between all active targets (and their
respective firing solutions) on the Main
Horus screen.
Dist
BC
Clear
Table item
0m
0
BC
BC-Dist
0.533