Using axis thinwizard for print server management, Installing axis thinwizard, Starting axis thinwizard – Axis Communications 540+ User Manual
Page 83
Management and Configuration
AXIS 540+/AXIS 560
83
Using AXIS ThinWizard for Print Server Management
AXIS ThinWizard software allows you to manage and upgrade
multiple Axis
products. Using a standard Web browser, you can find, install, monitor,
configure and upgrade your Axis print servers remotely in any TCP/IP network.
AXIS Thin Wizard 3.0 is Windows 2000 and Windows XP compatible.
Installing AXIS
ThinWizard
AXIS ThinWizard software is available on www.axis.com
You should only install AXIS ThinWizard on a designated computer on your
network.
To install, follow the instructions given by the Installation Wizard. During the
installation, you will be asked to enter a user id and a password — these will be
used when logging in to AXIS ThinWizard, so please take a note of them.
Starting AXIS
ThinWizard
Follow the instructions below to start AXIS ThinWizard:
1. Make sure that the computer where you installed the AXIS ThinWizard is
up and running on your network.
2. Start a Web browser on a client in your network.
3. Enter the IP address or the host name of the computer where you installed
AXIS ThinWizard. (If the server is installed on another port than 80, you must
enter the port name after the host name or the IP address).
4. The AXIS ThinWizard start page now appears in the Web browser. Enter the
user id and password you specified during installation and click
Log in.
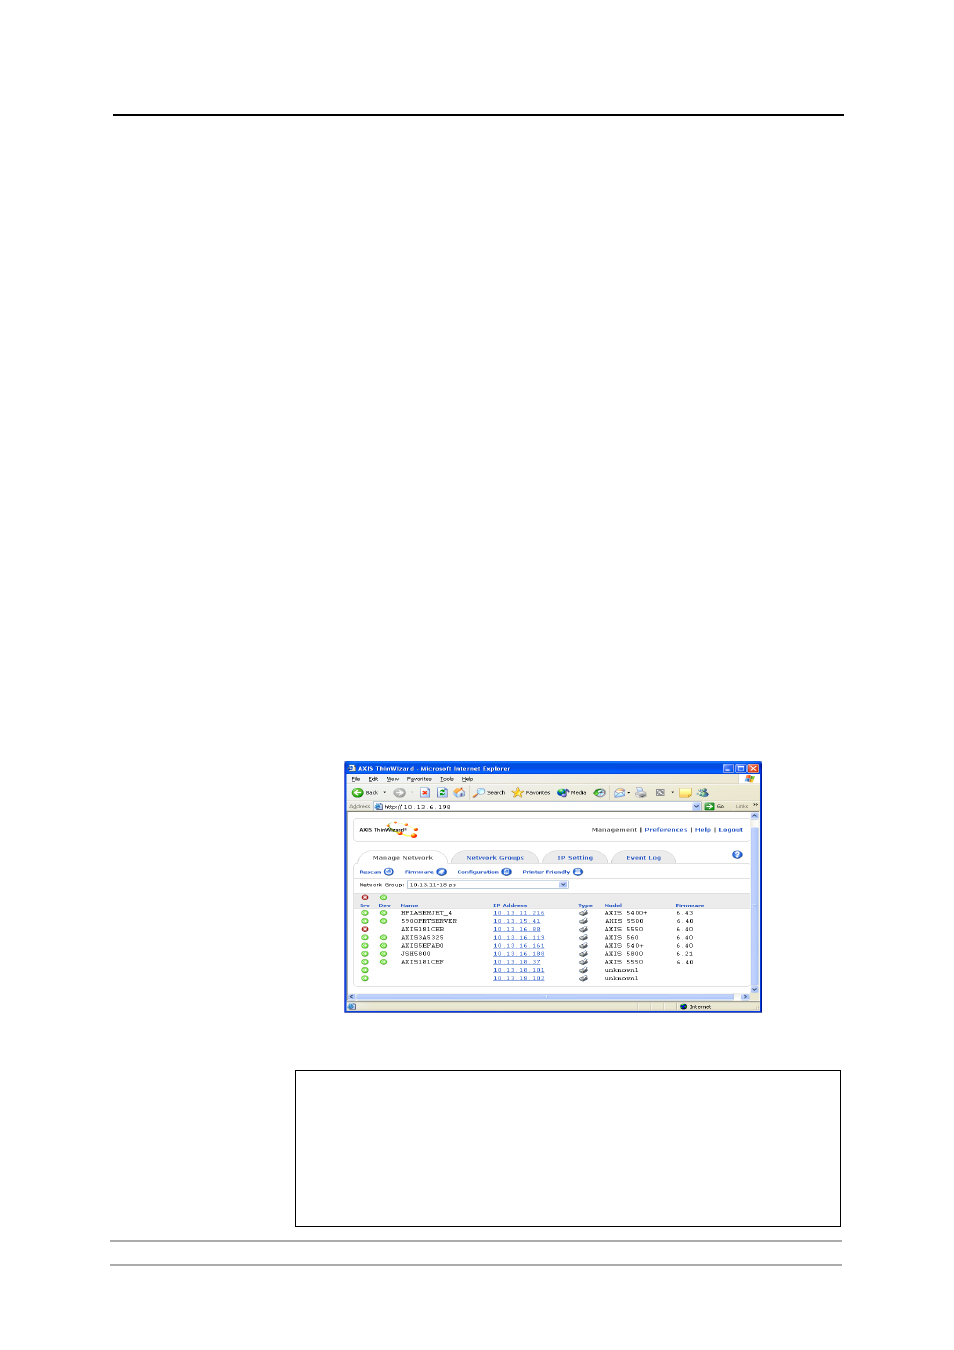
5. The AXIS ThinWizard interface appears:
Important!
These parameters must be enabled in the print server’s web interface for AXIS ThinWizard to
function properly:
• FTP_ENB (FTP enabled): click
Admin | Network Settings | Detailed view | TCP/IP | FTP
Enabed => Yes.
• SNMP_ENB (SNMP Enabled): click
Admin | Network Settings | Detailed view | SNMPv1
Enabled => Yes
These parameters are enabled by default in the print server.