Axis Communications 540+ User Manual
Page 44
Setting Up - NetWare
44
AXIS 540+/AXIS 560
7. Press
Cancel to close the NDPS Manager
To install the printer on the workstation, See “Installing an NDPS Printer on a
Workstation” on page 49.
Controlled Access
Printers
Follow these steps to create a controlled access printer as an object in the
Directory Tree, using the NetWare administrator utility:
1. Log in as Admin.
2. Start the NW Admin utility on any Workstation
(SYS:PUBLIC\WIN32\nwadmin32.exe).
3. Browse the context your NDPS Manager resides in.
4. From the
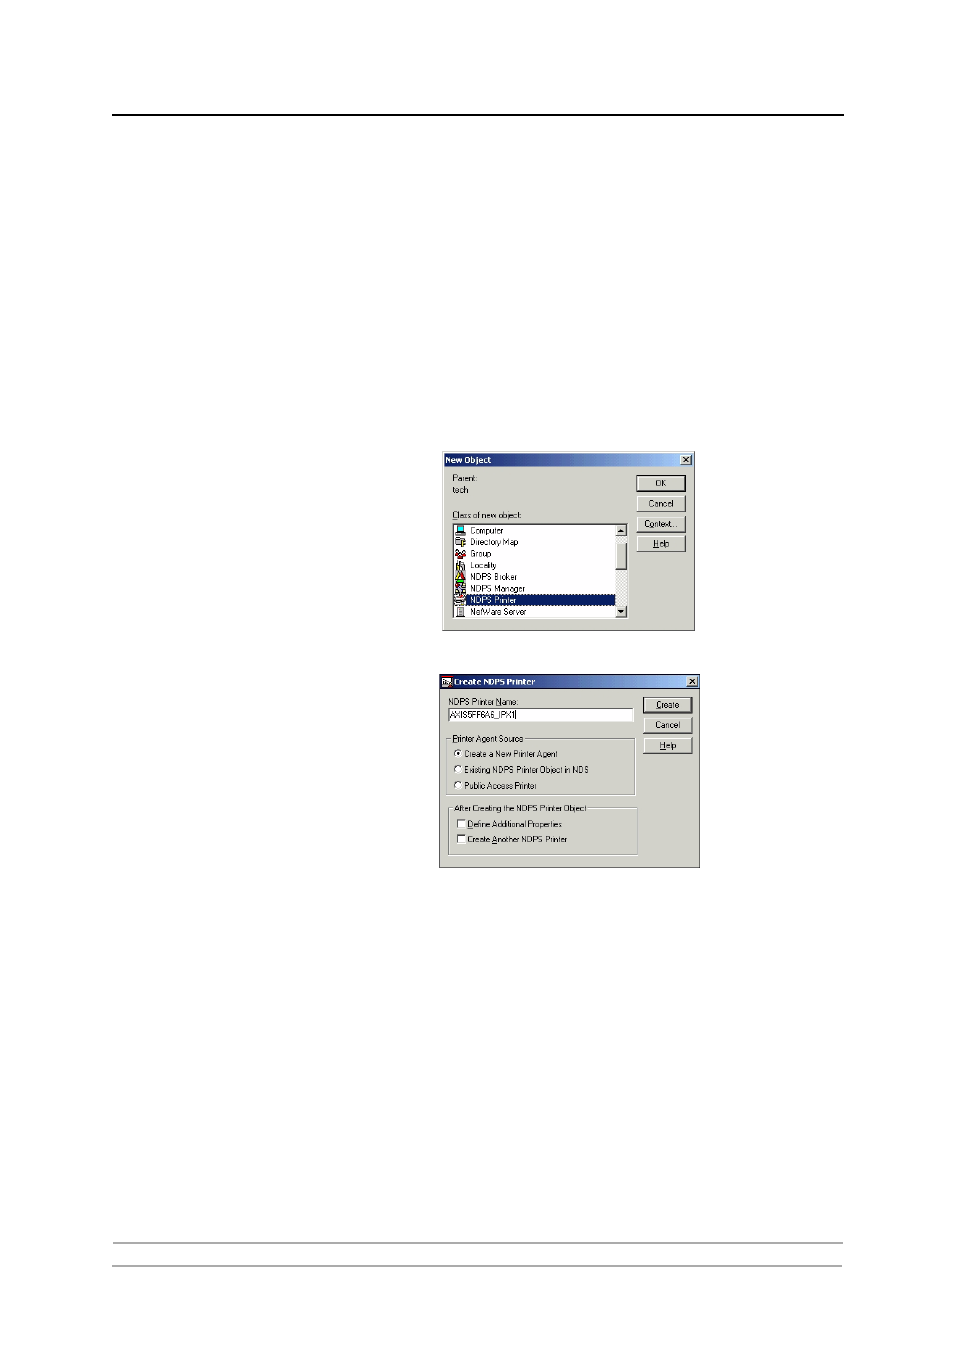
Object menu, select Create. The New Object dialog appears.
5. Select NDPS Printer. The Create NDPS Printer dialog appears.
6. Type a name of your choice in the NDPS Printer Name field, e.g.
AXIS5FF66A_IPX1
In the Printer Agent Source field, select the source of the Printer Agent. The
following options are available:
- Create a New Printer Agent. If you select this option, you are asked to select
either the Novell Gateway or a third party Gateway.
- Printer Agent on Existing NDS Object. Use a Printer already configured
as a controlled access printer (NDPS Printer Object).
If you select this option, a list of current NDPS Printer Objects in this container
will be displayed from which you can select the one you want to use.
- Public Access Printer Agent. Use an existing Printer Agent representing a
Public Access Printer.