HighPoint RocketRAID 2720C2 User Manual
Page 8
8
Mode: This column shows the current disk type and link speed. The disk running mode is
depending on the RocketRAID controller mode and disk mode.
Status: This column shows the disk status. In this section, there will be only Legacy status.
Highlight the target disks with the arrow keys, and then press the Enter key. A numeral will be
displayed before each selected disk. Once all target disks have been selected, press the ESC key.
The utility will display a warning, and ask you to press Y (yes) to initialize, or N (no) to cancel.
Once initialized, these disks can be used to create RAID arrays.
Warning: Initialization will destroy all pre- existing data on the selected hard disks. Only
initialize disks that do not contain critical data.
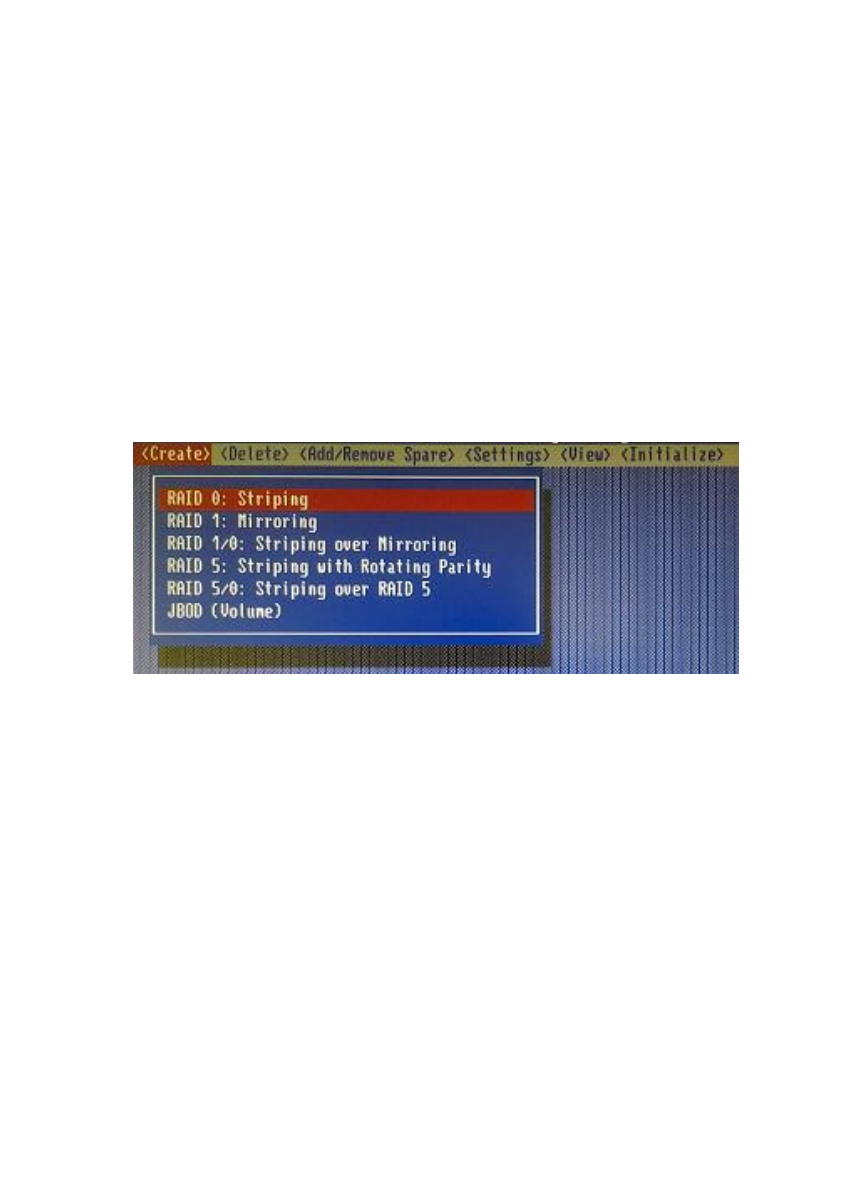
Create Arrays:
Use the arrow keys to highlight Create from the toolbar and press the Enter key
.
1.
Use the arrow keys to highlight the RAID level and press the Enter key.
Note: The RocketRAID 2700 series HBA’s RAID 6 function is not supported by the BIOS
interface. RAID 6 arrays can only be created using the WebGUI while running the operating
system. The operating system cannot be installed to a RAID 6 array.
2.
Use the arrow keys to highlight the Array Name option and press the Enter key. The array
name dialogue box will appear. Use the keyboard to input a new Array Name, and press the
Enter key.