Explosion hazard, Chemical hazard – State SBL100 76 NE User Manual
Page 23
23
remove all of the hardness (lime). For this reason it is recommended
that a regular schedule for deliming be maintained.
The time between cleaning will vary from weeks to months depending
upon water conditions and usage.
The depth of lime buildup should be measured periodically. Heaters
equipped with cleanouts will have about 2” of lime buildup when
the level of lime has reached the bottom of the cleanout opening. A
schedule for deliming should then be set up,based on the amount
of time it would take for a 1” buildup of lime. It is recommended that
the water heater initially be inspected after 6 months.
Example 1:
Initial inspection after 6 months shows 1/2” of lime accumulation.
Therefore, the heater should be delimed once a year.
Example 2:
Initial inspection after 6 months shows 2” of lime accumulation.
Therefore, the heater should be delimed every 3 months.
fIGure 22.
delIMInG solvents
UN•LIME is recommended for deliming. UN•LIME is a patented
food grade acid which is safe to handle and does not create the
harmful fumes which are associated with other products.
UN•LIME may be obtained from your dealer, distributor or water
heater manufacturer. Order Part Number 9005416105, 1 gallon,
packed 4 gallons per case or Part Number 9005417105, 5
gallon container.
note: Un•Lime is not available for use in Canada.
Hydrochloric base acids are not recommended for use on glass
lined tanks.
Observe handling instructions on label of product being used.
tanK cleanout procedure
The following practices will ensure longer life and enable the unit to
operate at its designed efficiency:
1. Once a month the heater should be flushed. Open the drain valve
and allow two gallons of water to drain from the heater. Inlet water
valve should remain open to maintain pressure in tank.
2. A cleanout opening is provided for periodic cleaning of the tank.
Gas must be shut off and heater drained before opening cleanout.
To clean heater through cleanout opening, proceed as follows:
3. Drain heater.
4. Remove outer cover plate from lower side of heater jacket.
5. Remove six (6) hex head screws securing tank cleanout plate
and remove plate.
6. Remove lime, scale, or sediment using care not to damage the
glass lining.
7. Inspect cleanout plate gasket, if new gasket is required, replace
with part no. 9004099215.
8. Install cleanout plate. Be sure to draw plate up tight by tightening
screws securely.
9. Replace outer jacket cover plate.
In some water areas the sediment might not be removed by this
method and may result in the water heater making rumbling or
boiling noises. To dissolve and remove these more stubborn mineral
deposits, UN•LIME Professional Delimer should be used.
delIMInG usInG flo-juG Method
UN•LIME in the 5 gallon size is recommended for deliming of all
models. Contact your local dealer, distributor or, water heater
manufacturer.
Prepare the Water Heater
To delime the water heater using the Flo-Jug method, first prepare
the heater for deliming.
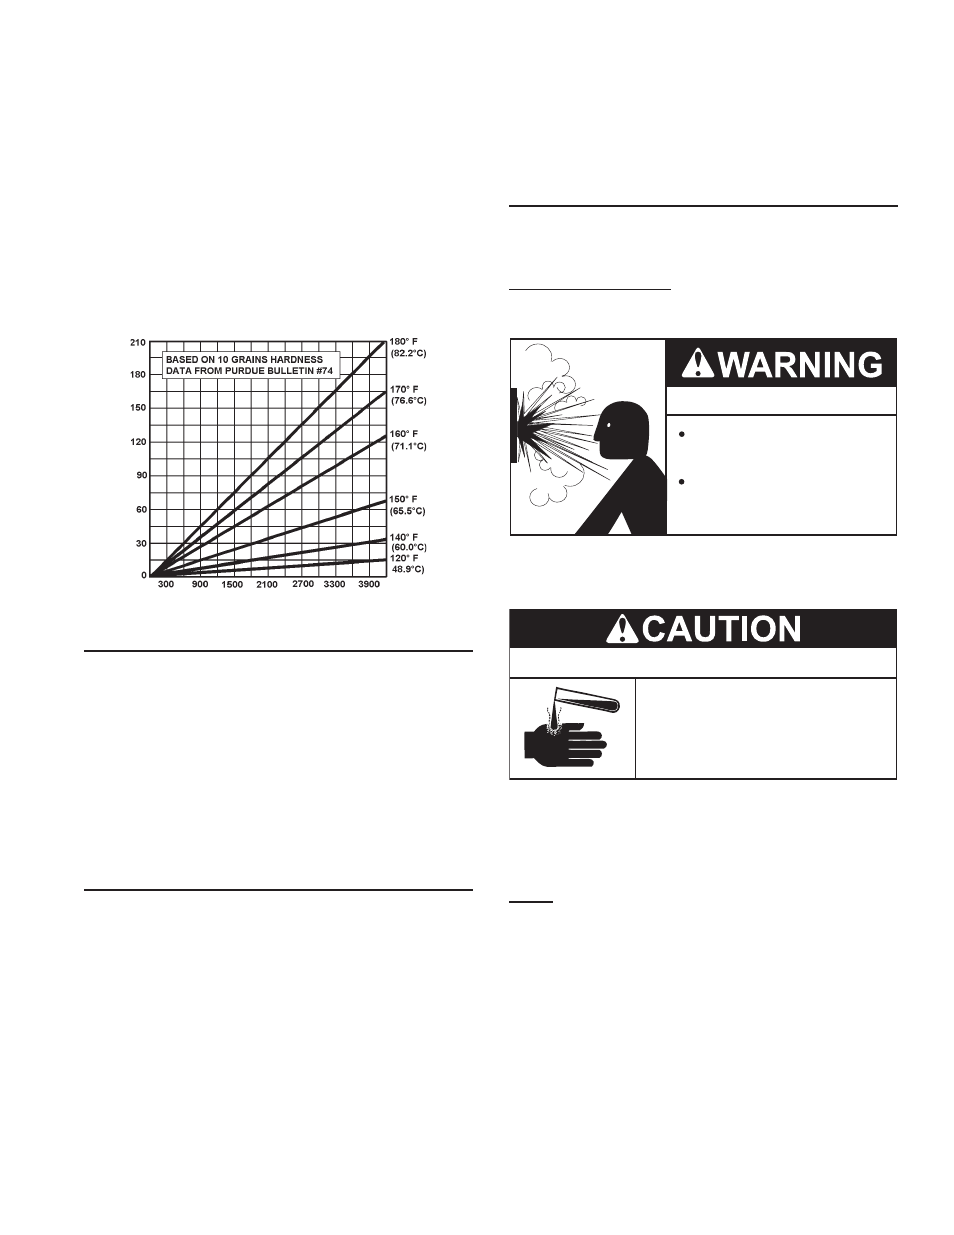
Explosion Hazard
Flammable hydrogen gases
may be present.
Keep all ignition sources away
from faucet when turning on
hot water.
Do not smoke or have open flame or sparks in vicinity of heater. Do
not mix UN•LIME with other chemicals. Do not allow contact with
magnesium, aluminum or galvanized metals.
Chemical Hazard
• Product contains phosphoric acid.
• Keep out of reach of children.
• Use rubber or neoprene gloves.
Contains phosphoric acid. In case of external contact, flush
with cool water. If irritation persists, get medical attention. If
swallowed, give 1 or 2 glasses of water or milk and call physician.
Get immediate medical attention for eyes. Keep out of reach
of children.
note: the use of ruBBer or neoprene Gloves Is
recoMMended, especIallY If You have anY open
sores or cuts to avoId unnecessarY IrrItatIon
or dIscoMfort.
1. Turn off fuel and/or power supply to heater. Also, turn off power
to any electrical device or equipment, which is attached, or part
of the system.
2. Open hot water side of faucet closest to heater and allow water
to run until it is cool enough to handle safely.
3. Close cold water inlet valve to heater.
4. Connect hose to drain valve at bottom of heater and start
draining heater into suitable floor drain area.
5. Remove relief valve while heater is draining. NOTE: Do not
replace relief valve until deliming is completed. Relief valve
opening will also act as a vent in case of possible contact
between the delimer and the anode rod(s), which may produce
flammable hydrogen-air mixtures.