2 jmicron, Raid configuration, Before creating a raid set – Asus Motherboard P5VD2-MX User Manual
Page 100: The jmicron, Windows, Os had been installed
3-2
Chapter 3: Software support
3.3.2 JMicron
®
RAID Configuration
The JMicron
®
Serial ATA controller allows you to configure RAID 0 and RAID
sets on the external Serial ATA hard disk drives.
Before creating a RAID set
Prepare the following items:
. Two HDDs, preferably with the same model and capacity.
2. A write-enabled floppy disk
3. Microsoft
®
Windows
®
OS installation disk (Windows 2000/XP/2003)
4. Motherboard support CD with JMB363 driver
Complete the following steps before you create a RAID set:
. Install the external Serial ATA hard disk drives (HDDs) on your system.
2. Set the JMicron RAID Controller item in the BIOS to [RAID]. See
section “2.4.4 Onboard Devices Configuration” for details.
3. Enter the JMB363 RAID BIOS utility to set up your RAID configuration.
4. Create a JMB363 RAID driver disk for Windows
®
OS installation. See
section “3.4 Creating a RAID driver disk” for details.
5. Install the JMB363 driver after the Windows
®
OS had been installed.
F1:Help ↑↓ : Select Item
-/+: Change Value F5: Setup Defaults
ESC: Exit →←: Select Menu
Enter: Select SubMenu F10: Save and Exit
Select Menu
Item Specific Help
Press [Enter] to set
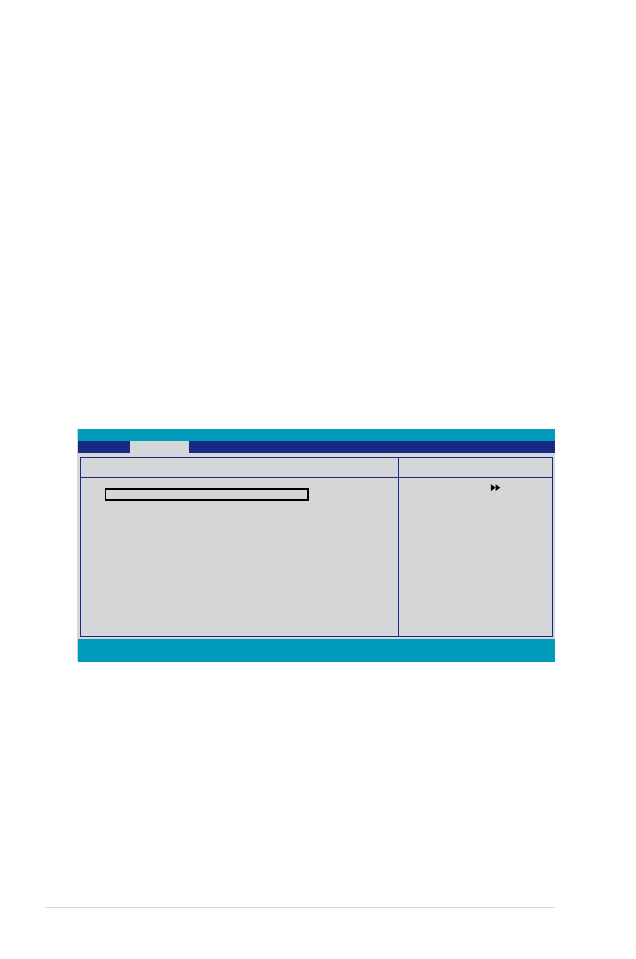
Onboard Devices Configuration
JMicron RAID controller
[
IDE
]
SATA Controller
[Enabled]
SATA Controller Mode
[IDE]
Ex-SATA/PCI-E*1 Option
[Ex-SATA]
HDA Controller
[Auto]
Onboard LAN
[Enabled]
Onboard LAN Boot ROM
[Disabled]
Serial Port1 Address
[3F8/IRQ4]
Parallel Port Address
[378/IRQ7]
Parallel Port Mode
[Bi-Directional]
ECP Mode Use DMA
[3]
Phoenix-Award BIOS CMOS Setup Utility
Advanced