Figure 23 import dialog box, Backing up and restoring data, 23 import dialog box – HP StorageWorks 2.140 Director Switch User Manual
Page 58
Using the HAFM application
56
To import files:
1.
Select SAN > Import.
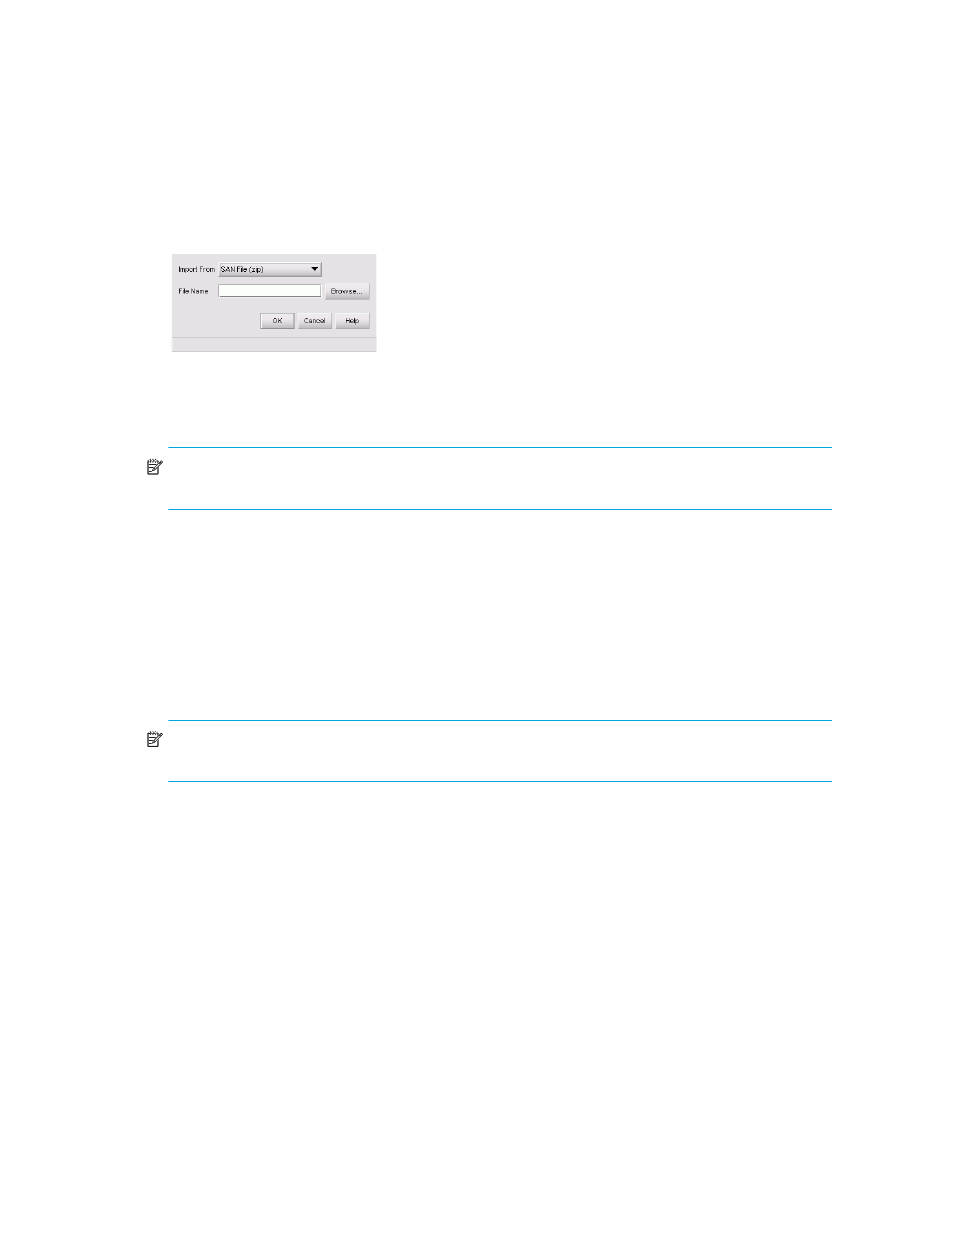
The Import dialog box is displayed (
Figure 23
Import dialog box
2.
Select the type of file you want to import from the Import From list.
3.
Enter the path and file name in the File Name box.
NOTE:
The default path is
Install_Home\ClientData\san<date>\san*.zip
. Importing
the
rep*.zip
file causes errors.
4.
Click OK.
A confirmation message box is displayed.
• If you selected SAN File, Nicknames, or Properties, continue with step 5.
• If you selected Server HBA Mappings or Storage Port Mapping, go to step 6.
5.
If you are sure you want to replace the data on the appliance, click OK.
If you are importing a SAN file or a properties file, the client is logged out and the HAFM 8.8
Log In dialog box is displayed.
6.
Log back in to the application.
NOTE:
When discovery is on, the discovered SAN is replaced with the imported data. For
information about discovery, see ”
Backing up and restoring data
You can protect your SAN data by backing up the data and then restoring it when necessary. The
HAFM appliance provides a platform for the Enhanced Base package of the HAFM application.
This provides more memory for future product enhancements.
Several types of appliance platforms can be available:
•
The rack-mount appliance provides a platform for the Enhanced Base package of HAFM. This
unit provides more memory for future product enhancements.
•
Customer-supplied server.
The following data is backed up from the
Install_Home\Call_Home
,
Install_Home\Server
and
Install_Home\Client
directories: