Installation, Venting the pellet stove – Avalon Stoves Indoor Fireplace User Manual
Page 11
Installation
1 1
Travis Industries
4 0 5 0 5 2 5
1 0 0 - 0 1 1 4 4
Venting the Pellet Stove
•
INSTALL VENT AT CLEARANCES SPECIFIED BY THE VENT MANUFACTURER).
•
DO NOT CONNECT THE PELLET VENT TO A VENT SERVING ANY OTHER
APPLIANCE OR STOVE.
•
DO NOT INSTALL A FLUE DAMPER IN THE EXHAUST VENTING SYSTEM OF
THIS UNIT.
• USE AN APPROVED WALL THIMBLE WHEN PASSING THE VENT THROUGH
WALLS AND A CEILING SUPPORT/FIRE STOP SPACER WHEN PASSING THE
VENT THROUGH CEILINGS (MAKE SURE TO MAINTAIN CLEARANCE TO ANY
C O M B U S T I B L E S .
Maximum Venting Distance:
•
Maximum venting height is 33' (maximum horizontal offset is 10')
•
Use no more than 180
°
of elbows (two 90
°
elbows, or two 45
°
& one 90
°
elbow, etc.).
Pellet Vent Type
•
Must be Type "L" vent and/or Type "L" chimney liner.
•
Use 4" diameter vent.
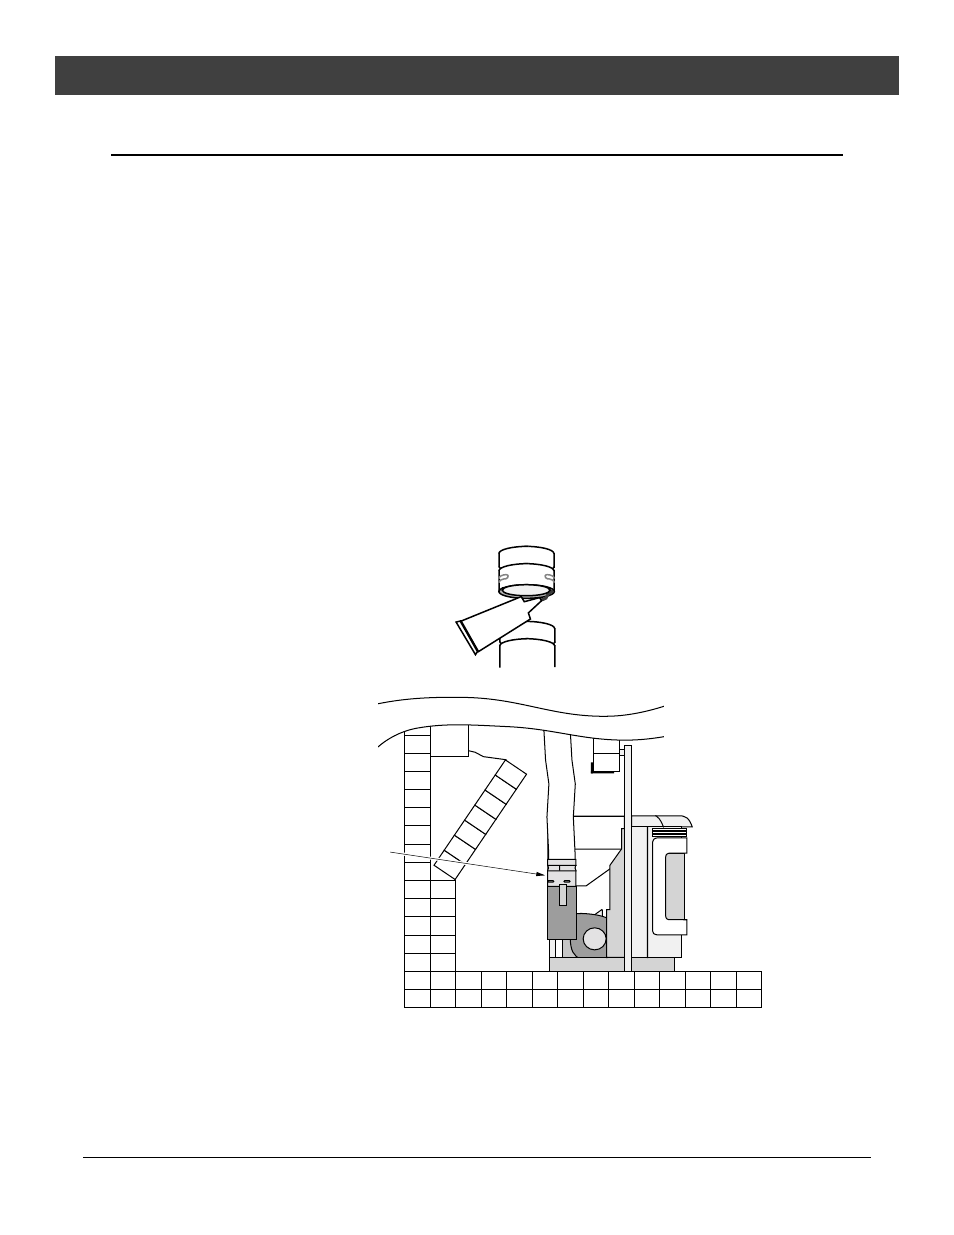
Installing the Pellet Vent
•
Pellet vent connections must be sealed
airtight with 500
°
F. RTV silicone and
screwed together with at least three
sheet metal screws.
Seal each vent section (including
adapters, elbows, etc...) by
injecting a liberal amount of 500°
F. RTV silicone into the gap
between sections.
500
° F. RTV
Silicone
The exhaust quick-
connect can be
removed to allow for
installation and
cleaning.
Pellet Vent Termination
•
Termination must be a minimum 6" above the top of the chimney (NOTE: the chimney must meet
local codes for height above the roof or other obstructions).
•
Must have an approved cap (to prevent water from entering).
•
Must not be located where it will become plugged by snow or other material.