Settings – Alpine MRD-M1000 User Manual
Page 14
14
Español
Français
English
MODE 1: INPUT MODE
Preparation:
• Set the level of the input from the head unit to the
amplifier beforehand.
1) Gradually increase the volume of the head unit until
the amplifier’s “over” indicator lights.
2) Gradually lower the head unit’s volume until the
“over” indicator turns off.
3) Once again gradually increase the head unit’s volume
and stop at the point at which the “over” indicator lights.
After doing this, leave the head unit’s volume con-
trol in that position.
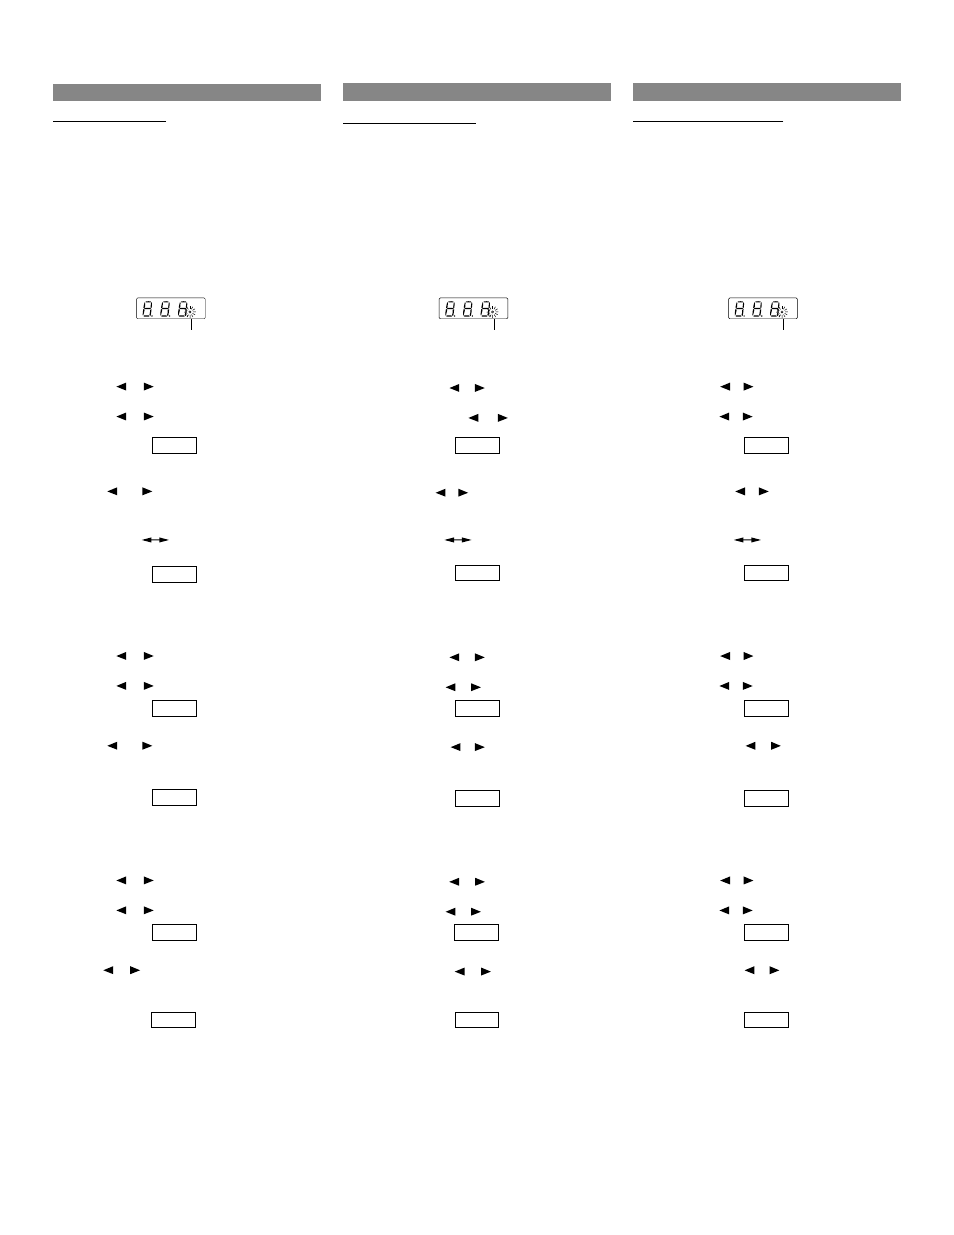
Function 1-1: Selecting the input mode
1. Press the MODE button.
Press the or button until “1” is displayed.
2. Press the ENT button.
3. Press the or button until “1-1” is displayed.
4. Press the ENT button.
5. Use the and buttons to select the input mode.
The mode switches each time one of the buttons is
pressed.
6. Press the ENT button.
Function 1-2: Adjusting the input level
1. Press the MODE button.
Press the or button until “1” is displayed.
2. Press the ENT button.
3. Press the or button until “1-2” is displayed.
4. Press the ENT button.
5. Use the and buttons to adjust the input level.
0.5 - 8.5V (0 dB ~ –24 dB, 1 dB step)
6. Press the ENT button.
Function 1-3: Adjusting the gain factor level
1. Press the MODE button.
Press the or button until “1” is displayed.
2. Press the ENT button.
3. Press the or button until “1-3” is displayed.
4. Press the ENT button.
5. Use the or buttons to adjust the gain factor level.
• Adjustment range: 0dB/+6dB/+9dB
6. Press the ENT button.
The input Mode settings (MODE 1) are now completed.
To store these settings, proceed to page 20 (MODE 0).
To make Low pass filter settings (MODE 2), turn the
next method.
1-1
2
ch
1ch
2ch
(ch1+ch2)
1-2
–24
dB
MODE 1: MODE D’ENTREE
Préparation:
• Réglez tout d’abord le niveau de l’entrée de l’unité
principale à l’amplificateur.
1) Augmentez le volume de l’unité principale petit à petit jus-
qu’à ce que le voyant “over” de l’amplificateur s’allume.
2) Diminuez le volume de l’unité principale petit à petit jus-
qu’à ce que le voyant “over” de l’amplificateur s’éteigne.
3) Une fois encore, augmentez le volume de l’unité principale
petit à petit et arrêtez lorsque le voyant “over” s’allume.
Après cela, laisser la commande de volume de
l’unité principale dans cette position.
Fonction 1-1 : Sélectionner le mode d’entrée
1. Appuyez sur la touche MODE.
Appuyez sur la touche ou jusqu’à ce que “1” soit affiché.
2. Appuyez sur la touche ENT.
3. Appuyez sur la touche ou jusqu’à ce que “1-1”
soit affiché.
4. Appuyez sur la touche ENT.
5. Utilisez les touches et pour sélectionner le mode d’entrée.
Le mode change à chaque fois que l’on appuie sur l’une des
touches.
6. Appuyez sur la touche ENT.
Fonction 1-2 : Régler le niveau d’entrée
1. Appuyez sur la touche MODE.
Appuyez sur la touche ou jusqu’à ce que “1” soit affiché.
2. Appuyez sur la touche ENT.
3. Appuyez sur la touche ou jusqu’à ce que “1-2” soit affiché.
4. Appuyez sur la touche ENT.
5. Utilisez les touches et pour régler le niveau d’en-
trée.
0,5 - 8,5V (0 dB ~ –24 dB, par pas de 1 dB)
6. Appuyez sur la touche ENT.
Fonction 1-3 : Régler le niveau du facteur de gain
1. Appuyez sur la touche MODE.
Appuyez sur la touche ou jusqu’à ce que “1” soit affiché.
2. Appuyez sur la touche ENT.
3. Appuyez sur la touche ou jusqu’à ce que “1-3” soit affiché.
4. Appuyez sur la touche ENT.
5. Utilisez les touches et pour régler le niveau du
facteur de gain.
• Plage de réglage: 0dB/+6dB/+9dB
6. Appuyez sur la touche ENT.
Les réglages du mode d'entrée (le MODE 1) sont
maintenant terminés. Pour stocker ces réglages,
procédez à la page 20 (MODE 0). Pour faire les
réglages du filtre passe bas (le MODE 2), passez au
mode suivant.
1-1
2
ch
1ch
2ch
(ch1+ch2)
1-2
–24
dB
1-1
1-2
–24
dB
MODO 1: MODO DE ENTRADA
Preparación:
• Ajustar de antemano el nivel de entrada desde la
unidad principal al amplificador.
1) Subir gradualmente el volumen de la unidad principal hasta
que se ilumine el indicador “over” del amplificador.
2) Bajar gradualmente el volumen de la unidad prin-
cipal hasta que se apague el indicador “over”.
3) Una vez más subir gradualmente el volumen de la unidad prin-
cipal y parar en el punto en el que se ilumine el indicador “over”.
Después de hacer esto, dejar el mando del volumen de la uni-
dad principal en esa posición.
Función 1-1: Selección del modo de entrada
1. Pulse el botón MODE.
Pulse el botón o hasta que se visualice “1”.
2. Pulse el botón ENT.
3. Pulse el botón o hasta que se visualice “1-1”.
4. Pulse el botón ENT.
5. Utilice los botones y para seleccionar el modo de
entrada.
El modo cambia cada vez que se pulsa uno de los botones.
6. Pulse el botón ENT.
Función 1-2: Ajuste del nivel de entrada
1. Pulse el botón MODE.
Pulse el botón o hasta que se visualice “1”.
2. Pulse el botón ENT.
3. Pulse el botón o hasta que se visualice “1-2”.
4. Pulse el botón ENT.
5. Utilice los botones y para ajustar el nivel de
entrada.
0,5 - 8,5V (0 dB ~ –24 dB, por pasos de 1 dB)
6. Pulse el botón ENT.
Función 1-3 : Ajuste del nivel del factor de ganancia
1. Pulse el botón MODE.
Pulse el botón o hasta que se visualice “1”.
2. Pulse el botón ENT.
3. Pulse el botón o hasta que se visualice “1-3”.
4. Pulse el botón ENT.
5. Utilice los botones y para ajustar el nivel del
factor de ganancia.
• Margen de ajuste: 0dB/+6dB/+9dB
6. Pulse el botón ENT.
Los ajustes del modo de entrada (el MODO 1) están
terminados. Para almacenar estos ajustes, proceda a
la página 20 (MODO 0). Para hacer el ajuste del filtro
de paso bajo (el MODO 2), vaya al modo siguiente.
1-3
ºF
ºC
V
A
Hz
dB
ms
OVER Indicator
ºF
ºC
V
A
Hz
dB
ms
Indicador OVER
ºF
ºC
V
A
Hz
dB
ms
Voyant OVER
2
ch
1ch
2ch
(ch1+ch2)
+6
dB
1-3
1-3
+6
dB
+6
dB