Thermo Fisher Scientific CyberScan PC 10 User Manual
Page 15
Instruction Manual
PC 10
- 11 -
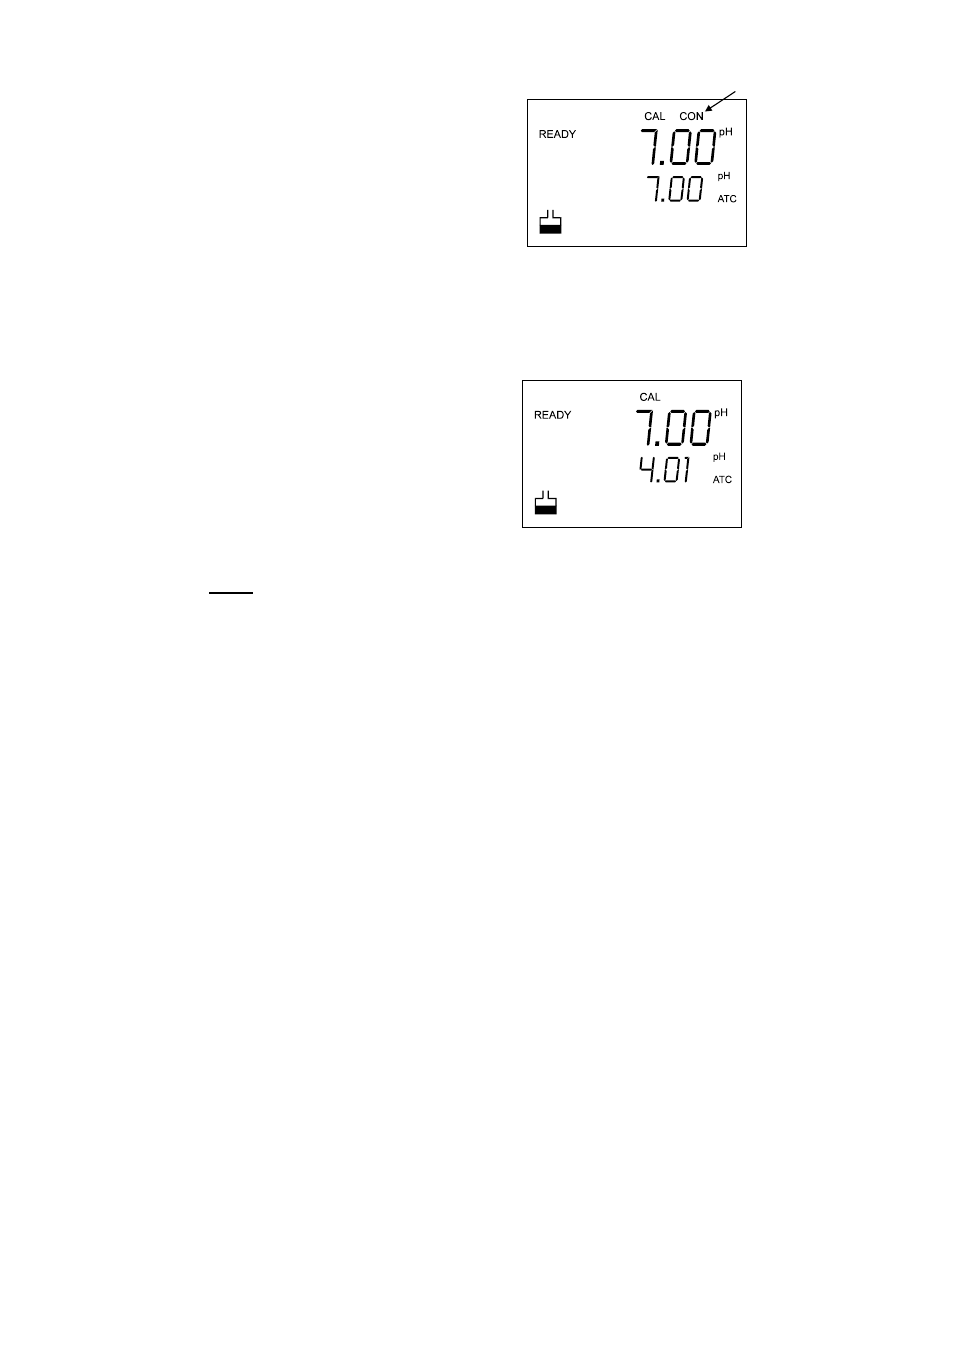
6. After the reading has stabilized and the READY
indicator is displayed, press ENTER to confirm
calibration. A confirming indicator (CON)
flashes and disappears. The meter is now
calibrated to the buffer indicated in the
secondary display.
See Figure 13.
The secondary display automatically scrolls to the
next buffer calibration option.
If you are performing multi-point calibration, go to
step 7.
If you are performing one-point calibration, go to step
10.
7. Press
the or key to select the next buffer value you want to calibrate (pH 4.00, 7.00
or 10.00).
See Figure 14.
8. Rinse the probe with DI water or a rinse
solution, and place it in the next pH buffer you
want to calibrate.
9. Follow steps 5 to 8 for all calibration processes
(up to 3 points).
10.
When calibration is complete, press
CAL/MEAS to return to pH measurement
mode.
NOTES
To exit from pH Calibration mode without confirming calibration, DO NOT press ENTER in
step 6. Press CAL/MEAS instead.
If the selected buffer value is not within ±1.00 pH from the measured pH value:
The electrode and buffer icon blink and the ERR annunciator appears in the lower left corner
of the display. These indicators also flash if the buffer used is not the same as the buffer value
on the secondary display.
Figure 13: CONFIRM calibration point
Figure 14: Next calibration point