Probe – DeFelsko PosiTector SPG v.1.1 Quick Guide User Manual
Page 3

3
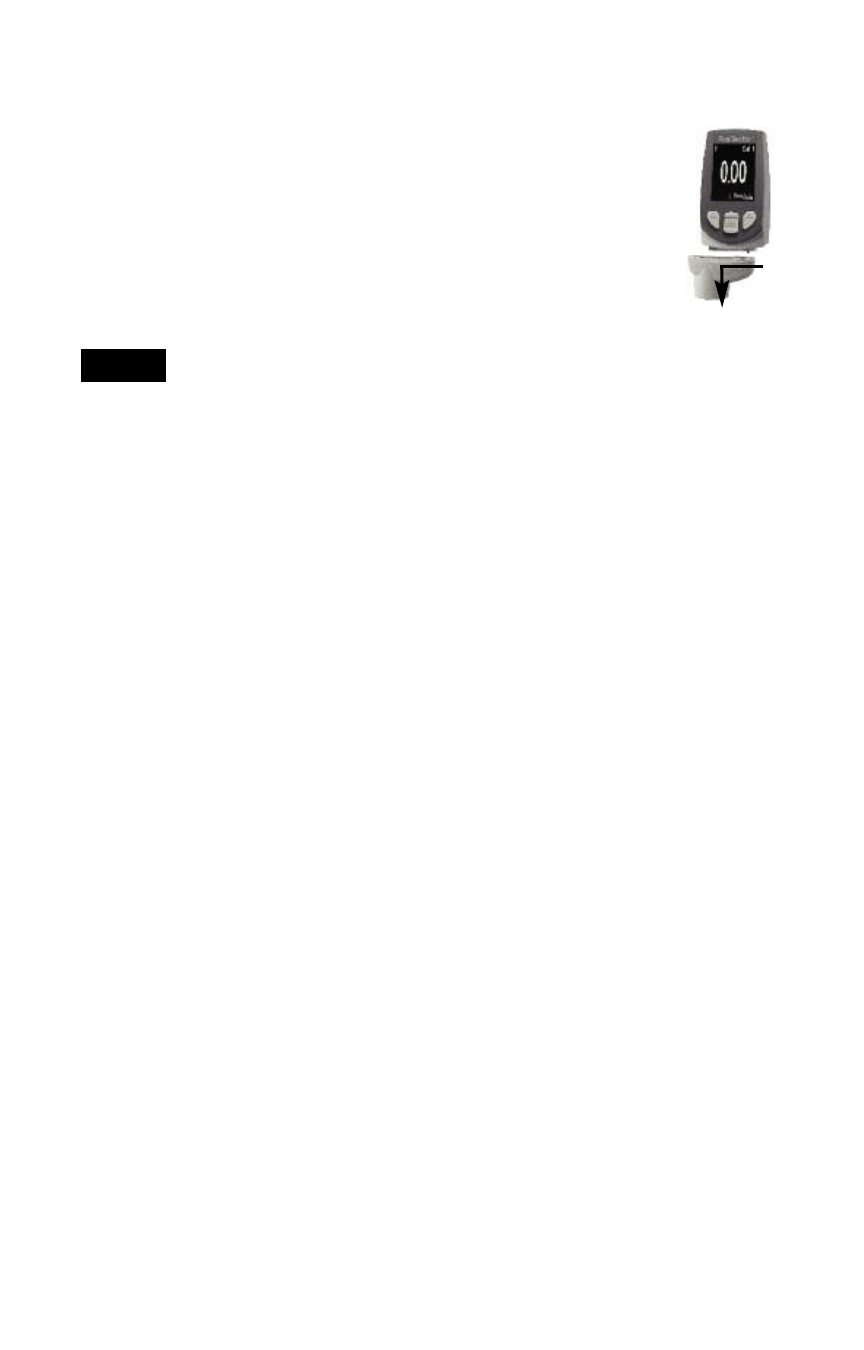
To disconnect a probe from a body, power-down the
instrument and slide the plastic probe connector
horizontally (in the direction of the arrow) away from the
body. Reverse these steps to attach a new probe.
When powered-up, the PosiTector automatically
determines which type of probe is attached and does a
self-check.
Verification of Accuracy
Instrument accuracy is verified using the included metal shim and
glass zero plate. Ensure that the glass plate and shim are clean
and dirt free before use.
Place the plate onto a stable, flat surface. Take several
measurements. If the average is greater than ±5 µm (0.2 mil), zero
the instrument (see below).
Next, place the metal shim over the glass plate and measure
ensuring the probe needle touches the glass plate in the area
between the shim’s “legs”. The average of several measurements
should be within the combined tolerances of both the gage and
the shim.
Probe
Probe
Additionally, the PosiTector accepts a number of probe types
including magnetic and eddy current coating thickness, surface
profile, environmental and ultrasonic wall thickness probes.
For the latest information on probe interchangeability, see
www.defelsko.com/probes
The supplied probe tip has a 60° angle to comply with
most test standards including ASTM D 4417 B. An optional 30°
angle tip with replacement tool is available for special applications
or to comply with Australian Standard AS 3894.5.
NOTE:
Calibration
Instrument calibration is typically done by the manufacturer or
qualified lab. All probes include a Certificate of Calibration.
