Troubleshooting tips, Using the code scanner, View freeze data – Actron 9040 User Manual
Page 6: Code lookup, Perform a visual inspection
6
Using the Code Scanner
®
Select I/M Monitors and press the ENTER key. Each I/M monitor and its status display
per screen. Use the arrow keys to view them. When done, press the BACK key.
A status of Ready means that the required driving conditions for that monitor have
been meet and it passed.
A status of Not Ready means that the required driving conditions for that monitor
have not been met.
A status of Not Applicable (N/A) means the vehicle does not support that monitor.
View Freeze Data
When an emission-related fault occurs, certain vehicle conditions are recorded by the
on-board computer. This information is referred to as a Freeze Frame data. The infor-
mation is a snapshot of the operating conditions at the time of a fault. This data can be
overwritten by faults with a higher priority. If codes were erased, then freeze frame data
may not be stored in vehicle memory.
Select View Freeze Data and press ENTER. If freeze-frame data exists, then use the
arrow keys to view the DTCs and parameter identification data (PIDs).
If more than one computer module responds with freeze frame data, then the frame
number and module display on the first line. Press the ENTER key to change modules.
When done, press the BACK key.
Code Lookup
Code Lookup is a built-in OBD II Global (Generic) DTC database. It can be used to look
up the definitions of DTCs. The DTC database does not include manufacturer specific
DTC definitions.
Select Code Lookup and press ENTER. All characters must be entered one character
can be changed at a time. The carat (^) symbol automatically displays under the first
digit.
Pressing the UP/DOWN arrow keys scrolls through the digits. Once the desired digit is
displayed, press the ENTER key and the ^ symbol moves under the next digit. Repeat for
the remaining digits in the code. After entering the last digit, the ENTER key displays the
definition. Once in the definition screen, press the UP/DOWN arrow keys to view the
previous or next code definition.
Press the ENTER or BACK key to return to the Code Lookup screen. Press BACK again
if done.
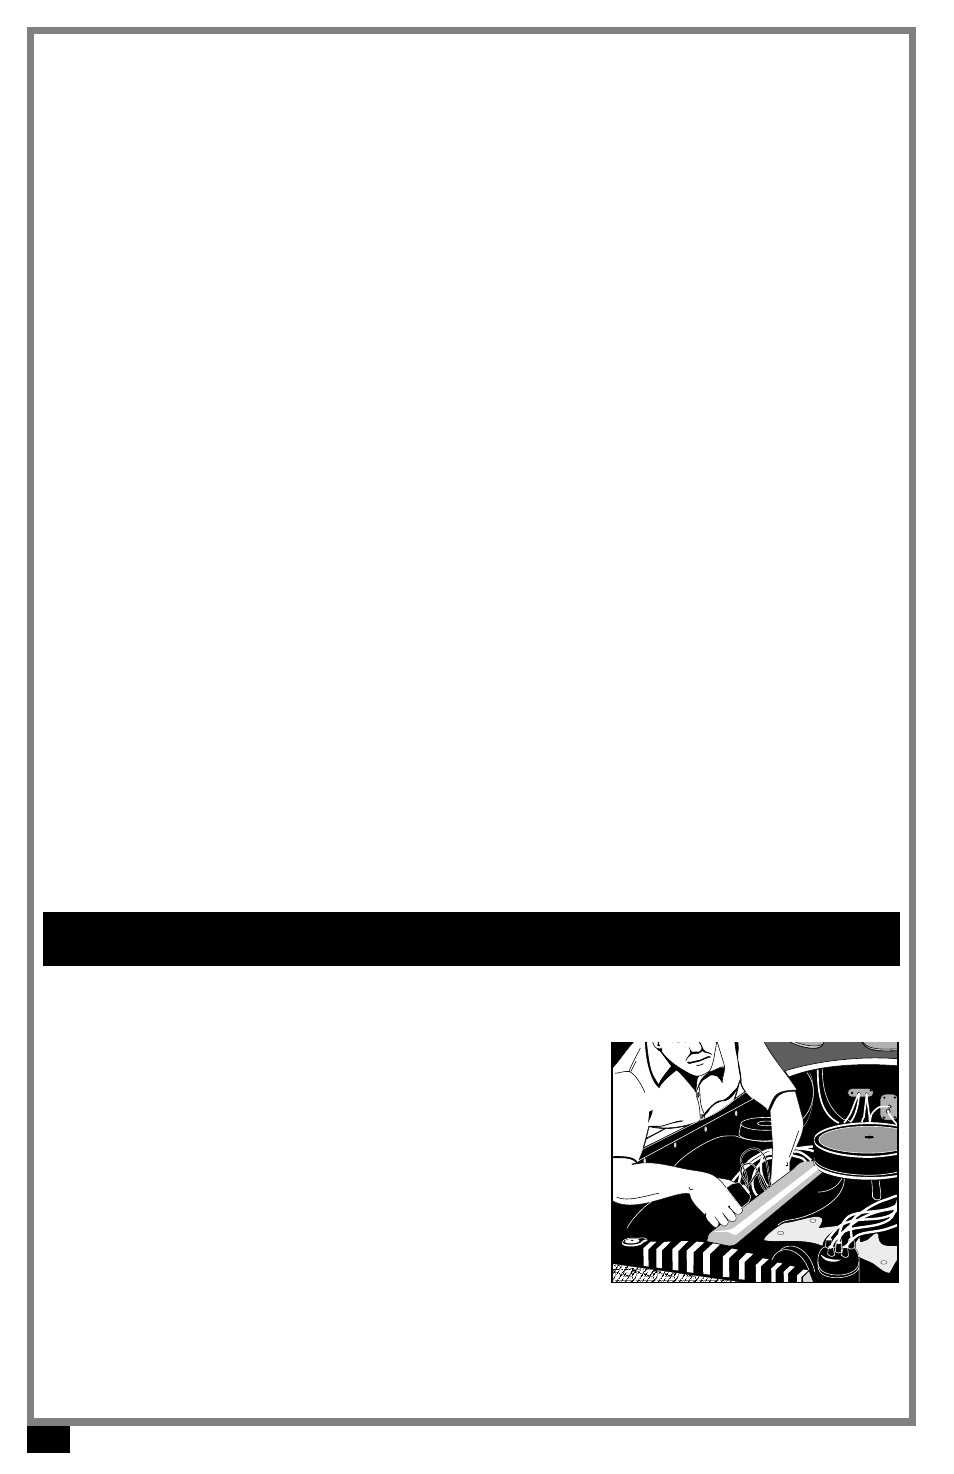
Perform A Visual Inspection
Performing a thorough visual and hands-on under-
the -hood inspection before starting any diagnostic pro-
cedure is essential. Many problems can be found this
way. Visually inspect for the following:
Has the vehicle been serviced recently? Sometimes
things are reconnected in the wrong place, or not at
all.
Do not take shortcuts. Inspect hoses and wiring
which may be difficult to see because of location
(under air cleaner housing, alternators and similar
components).
Inspect the air cleaner and ductwork for defects.
Check sensors and actuators for damage.
Troubleshooting Tips