Val-Matic Tilted Disc Check Valve User Manual
Page 9
8
OPTIONAL BOTTOM DASHPOT (Cont’d)
It is recommended that the person making
adjustments to the flow control valve be familiar with
the sounds created by water hammer and valve
slam and not confuse them with the metallic sounds
created by the valve upon metal seat closure. An
over control situation should be avoided so that
cavitation (loud rumbling) does not occur. After
setting the flow control valve, tighten the locknut or
set screw on the valve. Record the flow control
valve setting and air pressure for future reference.
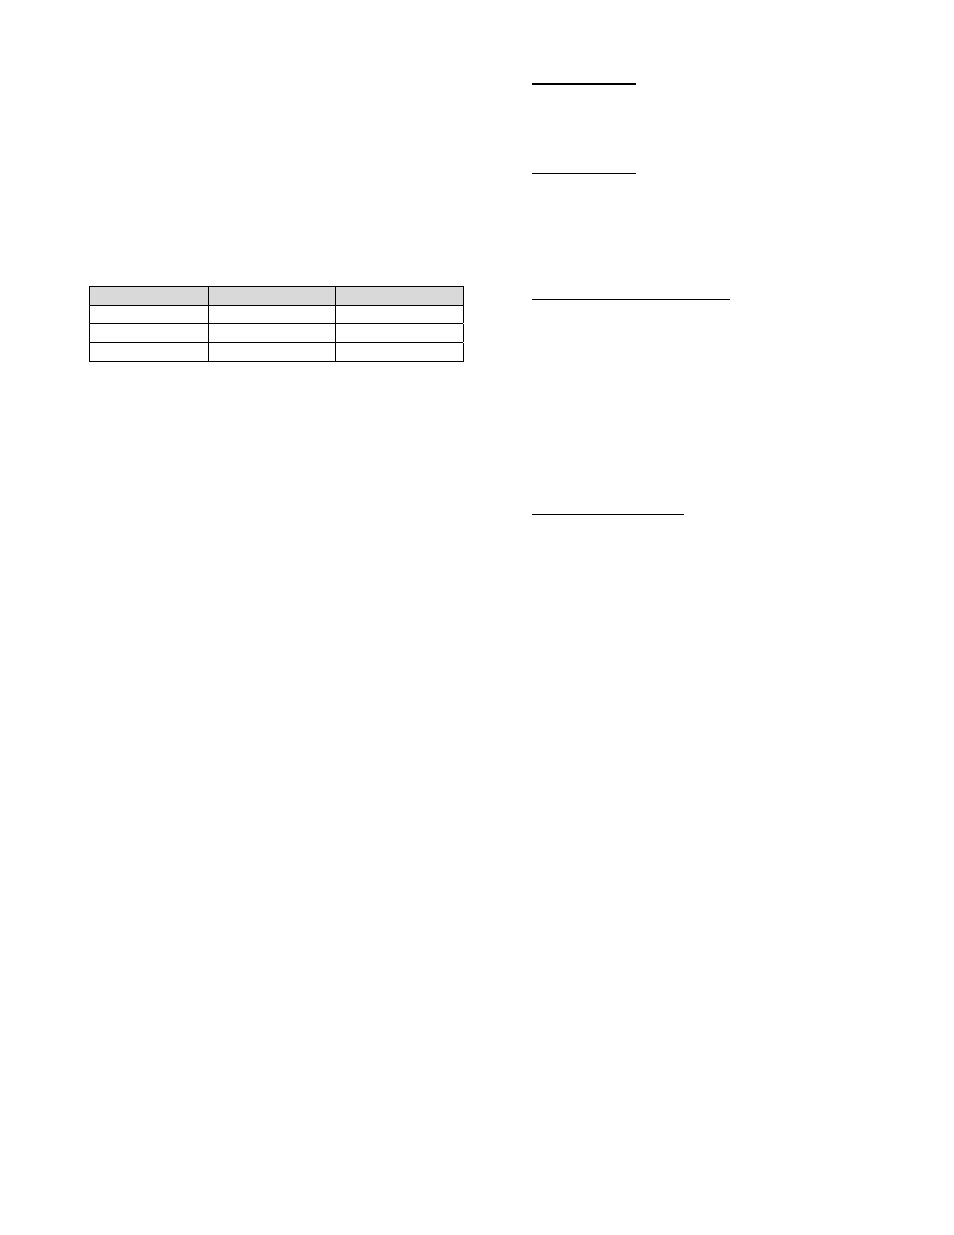
Valve Size
FCV Setting
Air Pressure
CHECKING OIL AND GREASE LEVELS:
1. The check valve should be closed.
2. The air in the oil reservoir must be bled from the
reservoir, using the air valve mounted on the
reservoir.
3. Remove the pipe plug from the oil reservoir fill
port.
4. Add hydraulic fluid equal to Mobil #DTE 24 until
fluid is up to level indicated on the reservoir.
Replace pipe plug.
5. Recharge the reservoir with air pressure to a
minimum of 50 psi over the water line pressure.
6. The grease level can not be checked but it is
recommended that the grease fitting be charged
with grease twice a year. Use a cartridge grease
gun and pump grease into the fitting using two full
strokes. An FDA approved grease such as
Lubriko #CW-606 should be used (Master
Lubricants Company, Philadelphia, PA)
DASHPOT SEAL REPLACEMENT: There are
several seals in the unit that may require
replacement.
TROUBLESHOOTING VALVE WITH BOTTOM
MOUNTED OIL DASHPOT: The bottom mounted oil
dashpot engages the disc for the last 10% of travel
and the flow control valve (38) controls the speed of
closure in the 1-5 second range.
1. Leakage of Oil: Wipe down controls and identify
the location of the leak. Tighten fittings where
needed. Cylinder seal kits can be used if cylinder
leakage persists.
2. Leakage of Air: With a minimum of 50 psi in the
tank, apply soap solution to tank, gauge, and pipe
plug and observe bubbles. Tighten fittings where
needed. Replace gauge or pipe plug using
Loctite PST pipe sealant (allow 4 hrs for full
cure).
3. Valve Does Not Close Fully: Check air pressure
in reservoir; the pressure should be 50 psi over
the water line pressure. Open flow control valve
further to allow greater oil flow. Readjust flow
control valve until slam is diminished. A
differential pressure across of the disc of at least
10 psi is typical for dashpot valves. If the
pressure is lower, the dashpot is probably not
needed and may interfere with valve operation.
Start and stop pump again with the isolation
butterfly or gate valve fully open.
4. Valve Slams Closed: Dashpot should prevent
slamming by controlling the last 10% of valve
closure. Throttle down the flow control valve to
slow down valve closure. If problem persists, the
snubber rod (63) may not be extending. The
extension can be viewed through the 3/8”
diameter drain holes in the dashpot spacer (62).
Apply grease to grease fitting (23) in dashpot.
Increase air pressure in 25 psi increments to 150
psi over line pressure. If problem persists,
remove, disassemble, clean, and install new
seals in dashpot assembly; apply lubricant to
seals and sliding surfaces before installation.
INSTALLING NEW DASHPOT SEALS:
1. Depressurize and drain the valve and pipeline.
2. Remove the dashpot from the valve and remove
the 4 nuts holding the dashpot spacer.
3. Replace the (2) rod wipers (68) and o-ring seals
(66 and 67).
4. If the oil cylinder is leaking oil, tighten the tie rod
nuts. The cylinder should be returned to the
factory for rebuilding if leakage persists.
5. Reinstall and charge the unit with air as listed
above for a new unit.