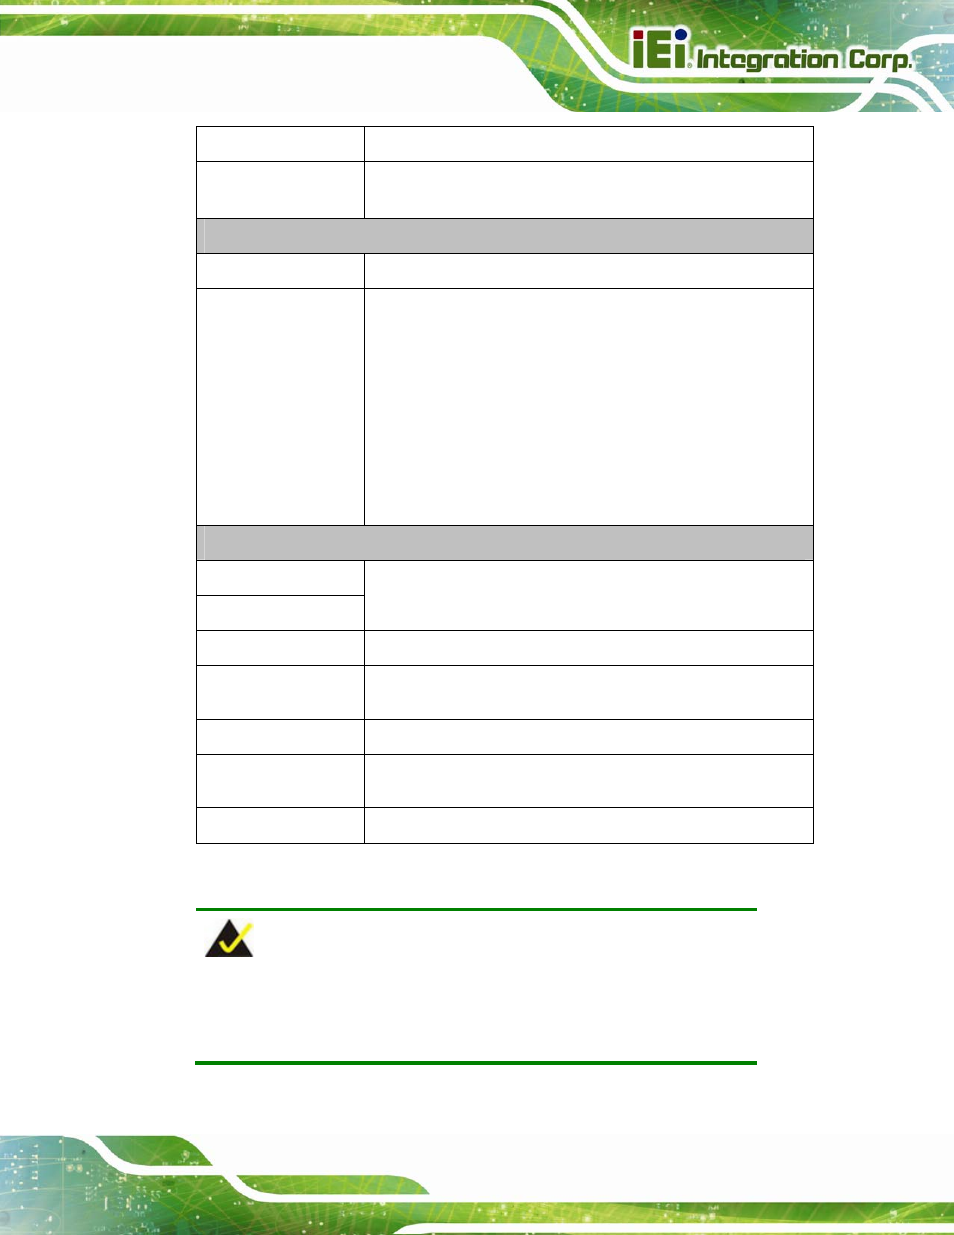
Table 1-2: function key descriptions – IEI Integration Robot-TP-65M User Manual
Page 12
Robot-TP-65M
Page 5
Cancel
Use the Cancel button to cancel.
Speed -/+
Use “-“ to decrease the speed.
Use “+“ to increase the speed.
Right
Stop
Use the Stop button to stop the operation.
Moving Direction
Keys
Use these keys to drive the robot arm manually in a designated
direction. The user have to hold down the deadman switch at
the same time when using these keys.
J1/X -/+: Motion in X direction
J2/Y -/+: Motion in Y direction
J3/Z -/+: Motion in Z direction
J4/Rx -/+: Rotation around X axis
J5/Ry -/+: Rotation around Y axis
J6/Rz -/+: Rotation around Z axis
Bottom
F1 ~ F6
Shift
F1 to F6 are function keys. These function keys can be
switched to F7 to F12 by pressing the Shift key.
Start
Use the Start button to start the motor.
Servo
Use the Servo button to enable or disable servo. If enabled, the
Servo LED indicator on the top of the front panel will light up.
Lock
Use the Lock button to place the robot in machine lock
MOD
Use the MOD button to switch between joint, X-Y or tool
coordinate mode.
Menu
Use the Menu button to bring up the menu list.
Table 1-2: Function Key Descriptions
NOTE:
Most of the front panel function buttons are active only when using the
optional operator HMI (Human Machine Interface).