Changing capture modes, Deleting photos, Connecting digital camera to pc – Argus Camera DC1510 User Manual
Page 8
NOTE: If you do not hear the "beep" and/or the frame counter does not count down 1 frame, the
photo has not yet been taken. Press Shutter button again to take the picture.
Tip:
It is recommended that you take a few trial shots at different distances to see the results of each
photo.
Changing Capture Modes
Continuous Mode
1. Press Mode button until
is shown on the LCD panel
2. Hold down the Shutter button to take photos continuously until the frame counter counts down to
00.
NOTE: In Continuous mode, 6 photos will be taken in one second.
Self-Timer
1. Press Mode button until
appears on the LCD panel
2. Press Shutter button. A beep will sound and the LED will blink for 10 seconds before a photo is
taken.
Deleting Photos
Deleting All Photos
1. Press Mode button until
is shown in the LCD panel.
2. Press Shutter button and
will flash in the LCD panel. While
is flashing, press Shutter
button again. You will hear two beeps and all photos will be cleared.
NOTE: If Shutter button is not pressed while
is flashing, the frame counter will appear in the
LCD panel in 5 seconds.
Deleting Last Photo Taken
1. Press Mode button until
is shown on the LCD panel
2. Press Shutter button and the last taken photo will be deleted and the frame counter will change in
the following pattern:
When camera is in High Resolution mode:
•
Erasing the last 1,2 or 3 photos of low resolution will toggle frame counter unchanged.
•
Erasing the last 4 photos of low resolution will toggle frame counter to go up by 1
•
Erasing the last photo of high resolution will toggle frame counter to go up by 1
When camera is in low resolution mode:
•
Erasing the last photo of high resolution will toggle frame counter to go up by 4
•
Erasing the last photo of low resolution will toggle frame counter to go up by 1
Connecting digital camera to PC
Install Arcsoft programs and camera drivers in Windows 98SE/Me
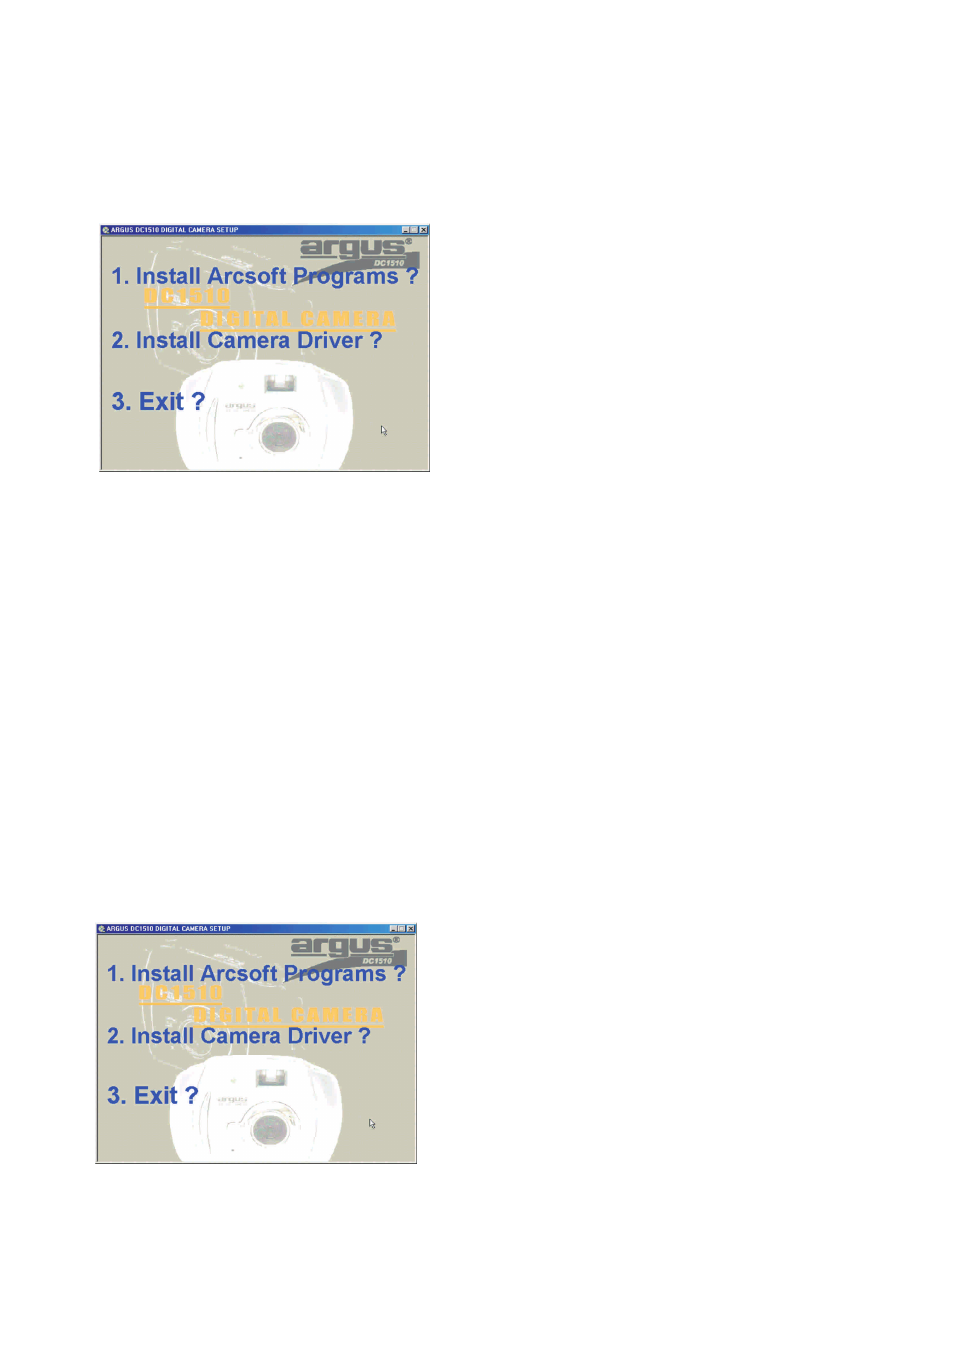
NOTE: The graphics shown are based on the user interface in Windows 98SE
1. Put the program CD into the CD-ROM drive, Autorun will commence.
2. Select 1 to install the Arcsoft programs
3. Change Destination Folder if necessary
4. Select components to install
5. Change program folder name if necessary
6. Click Finish button to complete Setup
Install camera drivers:
1. Select 2 to install the camera drivers
2. Choose Setup language
3. Click Finish button to complete Setup and restart your computer
4. After your computer is restarted, connect the camera and computer with the USB cable and the
computer will recognize the camera.
Note: The installed camera drivers may conflict other USB devices in your computer system.
Install Arcsoft programs and camera drivers in Windows 2000/XP
NOTE: The graphics shown are based on the user interface in Windows XP
1. Put the program CD into the CD-ROM drive, Autorun will commence.
2. Select 1 to install the Arcsoft programs
3. Change Destination Folder if necessary
4. Select components to install
5. Change program folder name if necessary
6. Click Finish button to complete Setup
7