Setting up the decoder – Teledyne LeCroy ENETbusD Decoder User Manual
Page 6
ENETbusD Decoder
4
922665 Rev A
3. Use the various analysis tools to verify that transitions are being correctly decoded. Tune the
decoder settings as needed.
4. Run the decoder on acquisitions of the desired length.
You can disable/enable the decoder as desired without having to repeat the set up and tuning
provided the basic signal characteristics do not change.
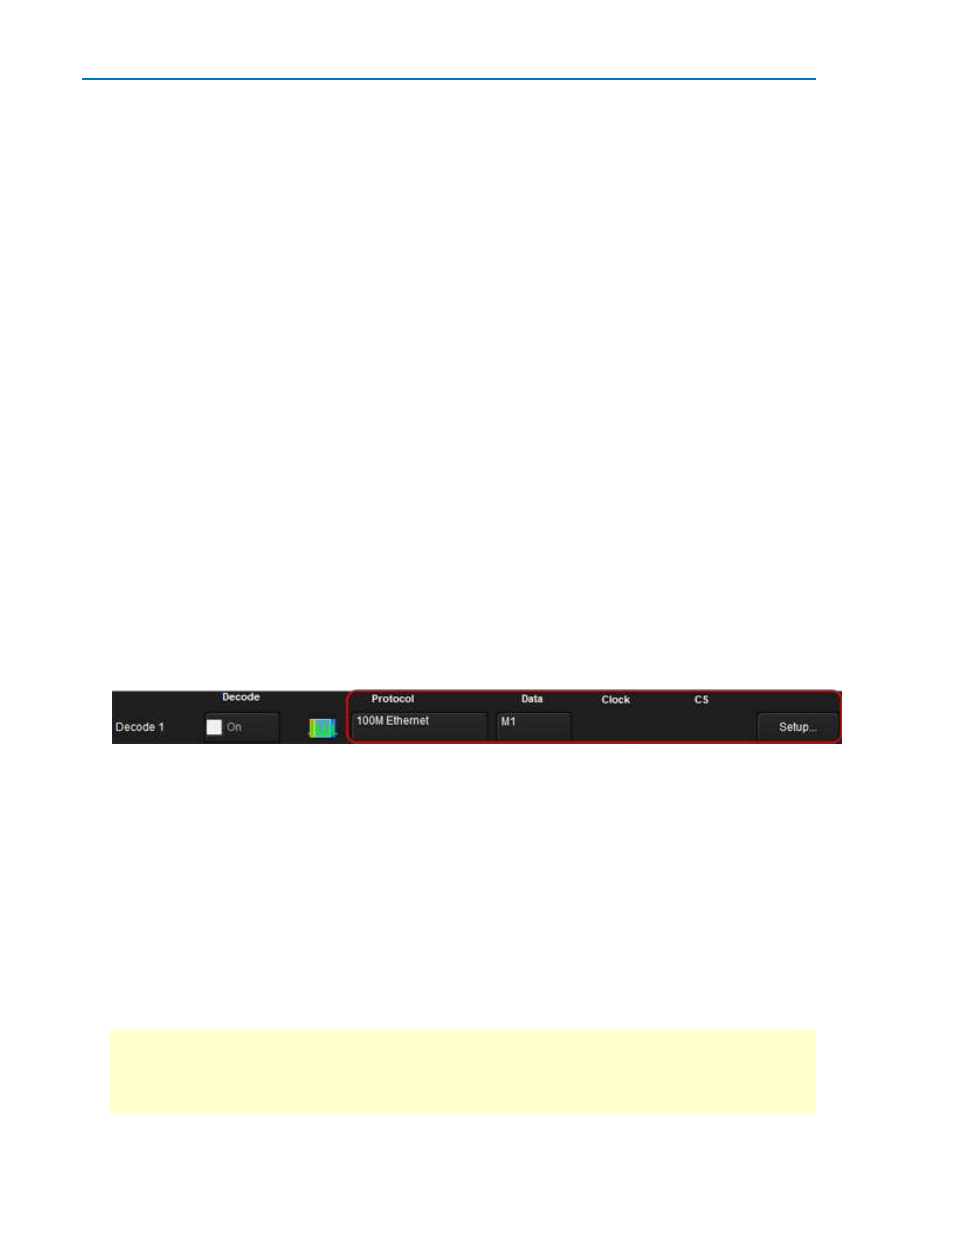
Setting Up the Decoder
You can preset up-to-four, independent decoders using the same or different protocols and data
sources. These decoders can be enabled simultaneously or separately, and for each you can select what
data appears on the display.
1. Touch the Front Panel Serial Decode button (if available on your oscilloscope), or choose Analysis >
Serial Decode from the oscilloscope menu bar to access the Serial Decode dialog.
2. On the same row as the Decode #:
Select the desired Protocol to use. The selections will depend on the software options
installed on your instrument.
Select the (Source) Data to be decoded. This can be any signal input channel, memory, or
math function. Depending on your Protocol selection, you may be required to select more
than one source. The requisite number of fields will automatically appear.
If required, select the Clock and Clock Source (CS). These controls are available for certain
protocols; they will simply not appear if not relevant.
3. Touch the Setup button to open the Decode Setup dialog. If you use this method rather than the
tab, the correct decoder will be selected by default.
4. Go on to complete the settings required for the ENET protocol on the right-hand dialogs next to the
Decode Setup dialog.
Probe Selection - choose whether your signal input device is One Differential Probe or Two-Single
Ended Probes. Depending on your selection, the left-hand side Decode Setup dialog will display
either of the following entry fields:
Dp-Dn - if you are using a single differential probe, a single entry field appears. Select the
source input channel to which the probe is connected.
Dp and Dn - if you are using two single-ended probes, two entry fields appear. Select the
input channels for both the positive (Dp) and the negative (Dn) inputs.
Detect AutoNegotiation (100M ENET only) - Check this box to mark on the decode trace
occurrences of Auto Negotiation in the decoded signal.
TIP: After completing one decoder, you can quickly start setup for the other decoders by using the
Decode # buttons at the left of the Decode Setup dialog. You don't have to step back to the Serial
Decode dialog to start the setup. Controls with the same label on either dialog share the same
function.