1 creating a new individual homeplug av(networkab) – LevelOne PLI-4510 User Manual
Page 26
24
Chapter 4 – Individual HomePlug AV Network Setup(Optional)
All HomePlug AV 500Mbps nano Pass Thru ship with a default security key so they will automatically
link to all other HomePlug AV 500Mbps nano Pass Thru or Ethernet Bridges sharing the same
electrical lines. If there are other HomePlug AV 500Mbps nano Pass Thru or Ethernet Bridges in
the building (such as in an office or apartment building), you may want to create your own individual
HomePlug AV network group so other HomePlug AV Ethernet Bridges cannot connect to your
network.
This section describes how to use the Security button for configuration in the following situations:
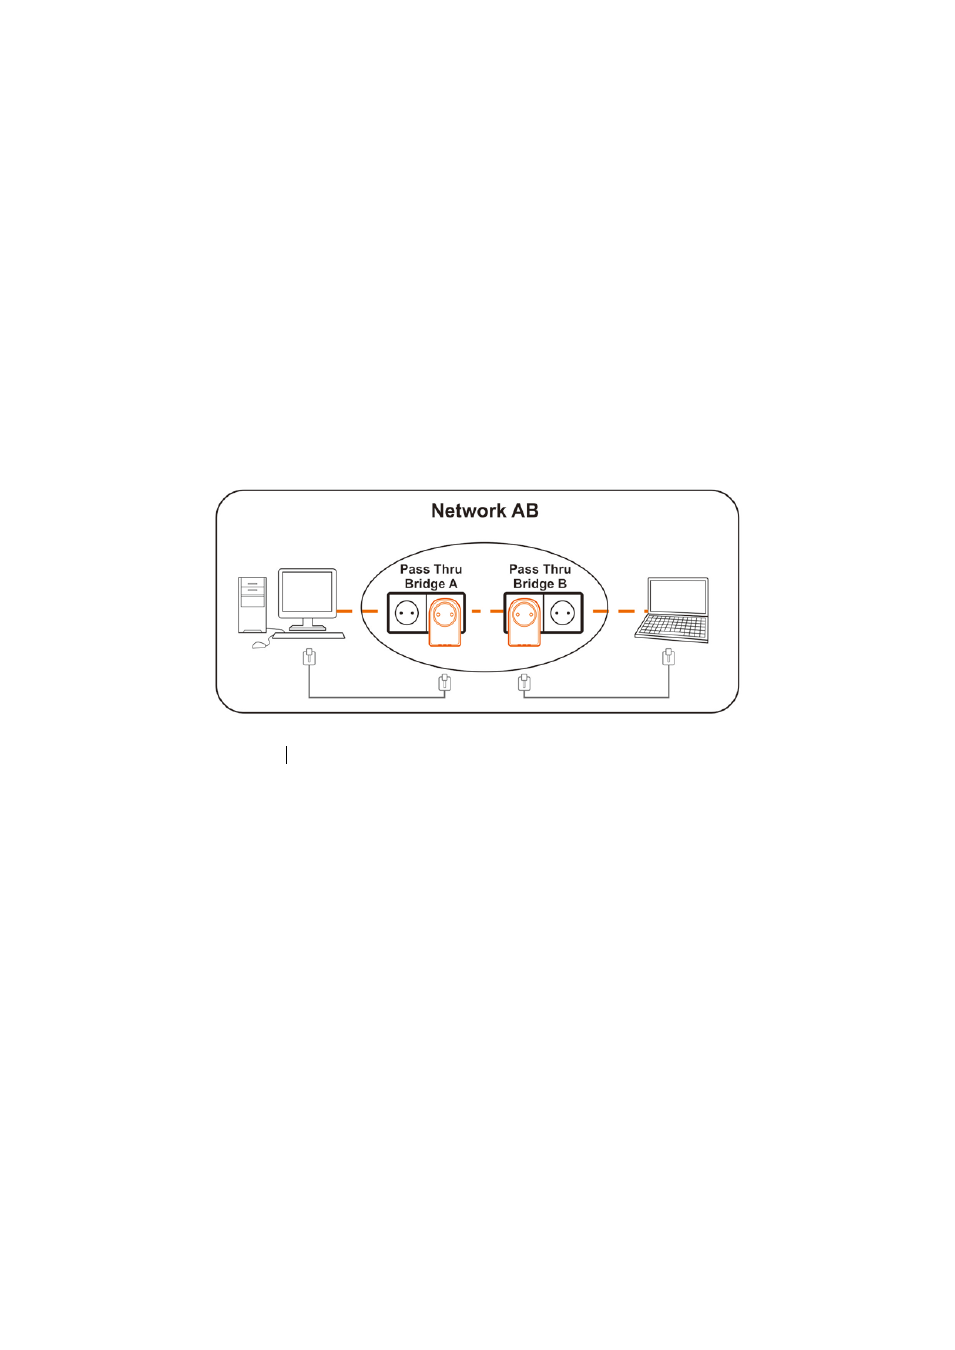
4.1 Creating a new individual HomePlug AV(networkAB)
Two unassociated Bridges (Bridge A and Bridge B) are forming a new network—Network AB
The procedure is as follows:
1. Press and hold the Security button on Bridge A for no more than 10 seconds. Must release after 10
seconds. Once released, the Power light will flash.
The password to Bridge A has just been erased and random security key has been generated. It must now
be linked to your network to adopt the new network security key.
2. Press and hold the security button on Bridge B for 10 seconds and release it when the Power light flashes.
The password to Bridge B has just been erased and random security key has been generated. It must
now be linked to your network to adopt the new network security key.
3. Currently, Bridge A and Bridge B are not networked
4. Press and hold the Security button on Bridge A for 1~3 seconds then release.
5. The Power light on Bridge A starts to flash.
6. Within 120 seconds after the Power light on Bridge A starts to flash, press and hold the Security button on
Bridge B for 1~3 seconds then release.
7. Both Bridge A and Bridge B are now networked together.