Farm Star RB-880 User Manual
Page 16
15
8
S A F E T Y I N S T R U C T I O N S
(continued)
When adjusting the angle of the moldboard assembly, be sure that your feet are never under the rear blade.
Use extreme caution when backfilling deep holes or trenches.
Be careful to avoid catching the rear blade on stumps or other immovable objects.
Use care when working on slopes.
Avoid excessive speed during operation.
Make adjustments only when the implement is attached to the tractor.
When using the rear blade in a reverse position, use extra care. Do not ram rear blade into piles of dirt.
Tractor lift arms and the rear blade are not built to take high impact loads in this position. Ramming backwards
can also dislodge operator from seat and/or tractor controls, resulting in possible serious injury or death.
Always ease the tractor into the load. It may be necessary to reposition and take less “bite” on the material to
move it safely.
Watch for and avoid hidden obstructions, i.e., buried pipes, rocks, concrete piers, uneven concrete slabs,
stumps, etc., when operating.
OPERATIONAL SAFETY (continued)
Good maintenance is your responsibility. Poor maintenance is an invitation to trouble.
Follow good shop practices.
- Keep service area clean and dry.
- Be sure electrical outlets and tools are properly grounded.
- Use adequate light for the job at hand.
Make sure there is plenty of ventilation. Never operate the engine of the towing vehicle in a closed building.
The exhaust fumes may cause asphyxiation.
Before working on this machine, drive to a level area, disengage the PTO, lower implement (or if working
underneath, raise and block securely), shut off the engine, set the brakes, and remove the ignition keys.
Be certain all moving parts on attachments have come to a complete stop before attempting to perform
maintenance.
Never work under equipment unless it is blocked securely. Never depend on hydraulic system to keep imple-
ment in raised position.
MAINTENANCE SAFETY
O P E R AT I N G I N S T R U C T I O N S
O P E R AT I O N
H I T C H I N G B L A D E T O T R A C T O R
3 PT. HITCH
The RB-880 blade fits Category I and II 3 pt. hitches and
Category II quick hitches.
Never let anyone stand between the rear of the tractor
and the rear blade while the tractor is backing up. Always
stand to the side until tractor has come to a complete
stop and the brakes set or the tractor shift placed in
“PARK”.
If you are using a quick hitch, having the parking stand
at the correct height will make hitching and unhitching
much easier. The “correct height” will vary depending on
your model tractor and the size of your rear tires.
Make sure all pins are secured and that proper adapters
are used on the lower pull pins if a quick hitch is used.
The designed and tested safety of this machine
depends on it being operated within the limitations as
explained in this manual. Be familiar with and follow all
safety rules in the manual, on the blade and on the
tractor.
The safe operation of this machine is the responsibility
of the owner / operator. The operator should be familiar
with the blade and tractor and all safety practices before
starting operation. Read the safety rules on pages 2
thru 12.
W A R N I N G !
When using the unit, a minimum 20% of tractor and
equipment weight must be on tractor front wheels.
Without this weight, tractor could tip up, causing
possible loss of control and possible personal injury
or death. The weight may be attained with a front
end loader, front wheel weights, ballast in tires or
front tractor weights. When attaining a minimum
20% of tractor and equipment weight on the front
wheels, you must not exceed the ROPS weight
certification. Weigh the tractor and equipment. DO
NOT GUESS OR ESTIMATE!
C A U T I O N !
Be sure your tractor is in good condition. Read all
the safety precautions and make sure all tractor
operators are familiar with the safety rules of
operation.
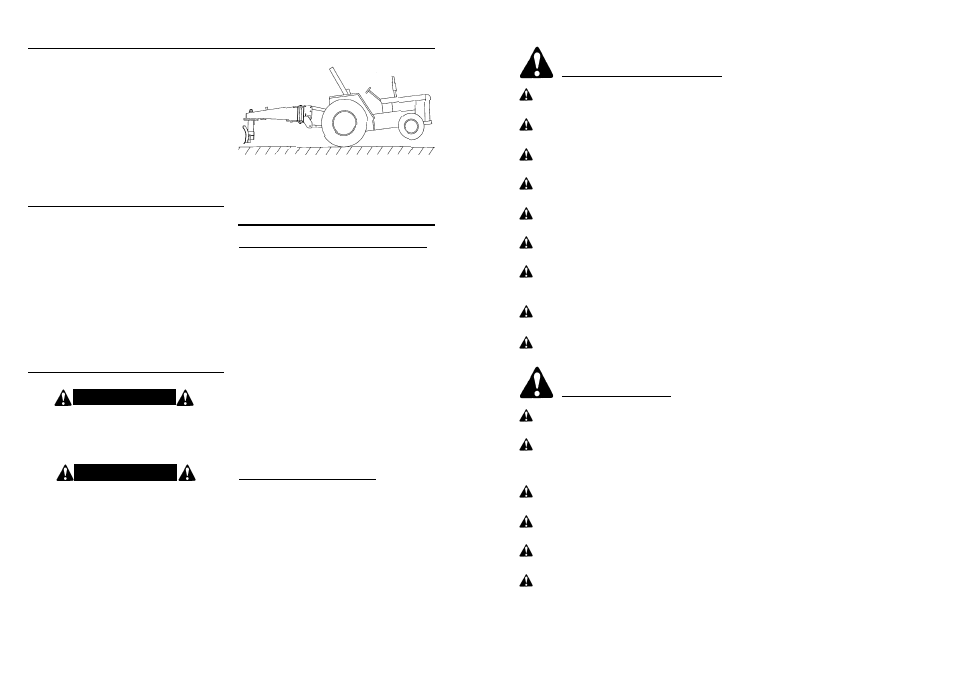
Figure 1. Tractor Stability
Make sure tractor is properly weighted.
Read all Safety Warnings.
O P E R ATING TIPS
DITCHING (V TYPE DITCH) & TERRACING
Tilt the moldboard to the desired angle (15˚ or less)
down on the right (or left) by use of the tilt adjustment. If
more or less angle is desired adjust the 3 point lower lift
arm leveling screw to obtain a finer adjustment.
Adjust the moldboard angle and swing arm to offset the
right (or left) corner of the moldboard directly behind the
right (or left) rear tire with a 45˚ to 60˚ angle between the
blade and a line parallel to the rear axle. The combined
adjustments of the moldboard pivot and the swing arm
will give this angle.
Place the right (or left) rear tractor tire in the bottom of
the ditch on succeeding passes until the ditch is
completed.
For light ditching and cleaning out ditches, operate the
tractor at slow speeds, and be careful not to hit any
hidden objects. Operating with a light load on the blade
or at high speeds will subject the blade to severe dam-
age from the impact load, if a solid object is hit.
To refill a ditch, offset the swing arm to the right (or left)
and rotate the moldboard to push the dirt into the ditch
while traveling forward.
BACKFILLING & BULLDOZING
For conventional backfilling, rotate the blade 180˚ to
place the cutting edge to the rear. Adjust the top link so
the front of the main frame is level front to rear or is
slightly lower in the front.
When operating in the backfill position, keep a light
upward lift on the three point lift to keep the blade from
digging in. Keep the load centered on the moldboard.
Operate at slow speeds to prevent damage to the unit
from impact loads. Use extreme care when backfilling
deep ditches.
Snow removal can also be done in this position.