Owner service, Safety instructions, Continued) – Farm Star LRHD-8 User Manual
Page 6: Transporting, Maintenance, Storage, Warning
10
5
SAFETY INSTRUCTIONS
(continued)
Never allow children to operate or be around equipment.
Use stabilizer bars, adjustable sway chains, or sway blocks on your tractor lift arms to keep the implement from
swinging side to side. Adjust as tightly as practical for best performance.
Keep alert and watch the front as well as the rear when working with the implement.
When maneuvering close to b uildings or passing through narro w areas, be sure to allo w sufficient clearance
for the implement.
Do not operate close to ditches or creeks. Slow down when operating over rough ground.
Always be sure the implement is in the fully r aised position when in transport.
When removing, changing the angle, or reversing the rake, be sure that your feet are never under the rake.
Use extreme caution when backfilling deep holes or trenches.
Be careful to avoid catching the rake on stumps or other immovable objects.
Use care when working on slopes.
Avoid excessive speed during operation.
Make adjustments only when the implement is attached to the tr actor.
When using the rake in a reverse position, use extra care.
Do not ram rake into piles of dir t. Tractor lift arms
and the r ake are not b uilt to tak e high impact loads in this position.
Ramming backwards can also dislodge
operator from seat and/or tractor controls, resulting in possible serious injury or death.
Always ease the tractor into the load. It may be necessary to reposition and take less “bite” on the material to
move it safely.
Operating spring steel r ake tines may suddenly fling roc ks and clods . Keep all bystanders 50 feet away and
operator must wear safety glasses.
Stop power unit and equipment immediately upon striking an obstruction. Turn off engine, remove key, inspect,
and repair any damage before resuming operation.
Before leaving operator’s seat, lower lift arms and put attachment on the g round. Engage brake, stop engine,
remove key, and remove seat belt.
Never perform service or maintenance with engine r unning.
Watch f or and a void hidden obstr uctions, i.e ., b uried pipes , roc ks, concrete piers , une ven concrete slabs ,
stumps, etc., when operating.
OWNER SERVICE
TRANSPORTING
——————————————————
Pay par ticular close attention to the Saf ety Messages
regarding tr ansport. Avoid unnecessar y injur ies and
equipment damage by exercising cautious, conscientious
travel procedures.
Attaching the landscape r ake to the tr actor increases
the o verall length of the w orking unit. Allow additional
clearance for the landscape rake to swing when turning.
Always place the r ake str aight across (90° to line of
travel) for transport.
Raise the landscape rake as high as possible for trans-
porting.
MAINTENANCE
——————————————————
The information in this section is wr itten for operators
who possess basic mechanical skills . If you need help ,
your dealer has trained service technicians available. For
your protection, read and f ollow the safety information in
this manual.
Inspect the landscape rake for loose, damaged or worn
parts and adjust or replace if needed.
Repaint parts where paint is w orn or scratched to pre-
vent rust.
Check all bolts and nuts to be sure they are tight.
Periodically grease the gauge wheel assemblies.
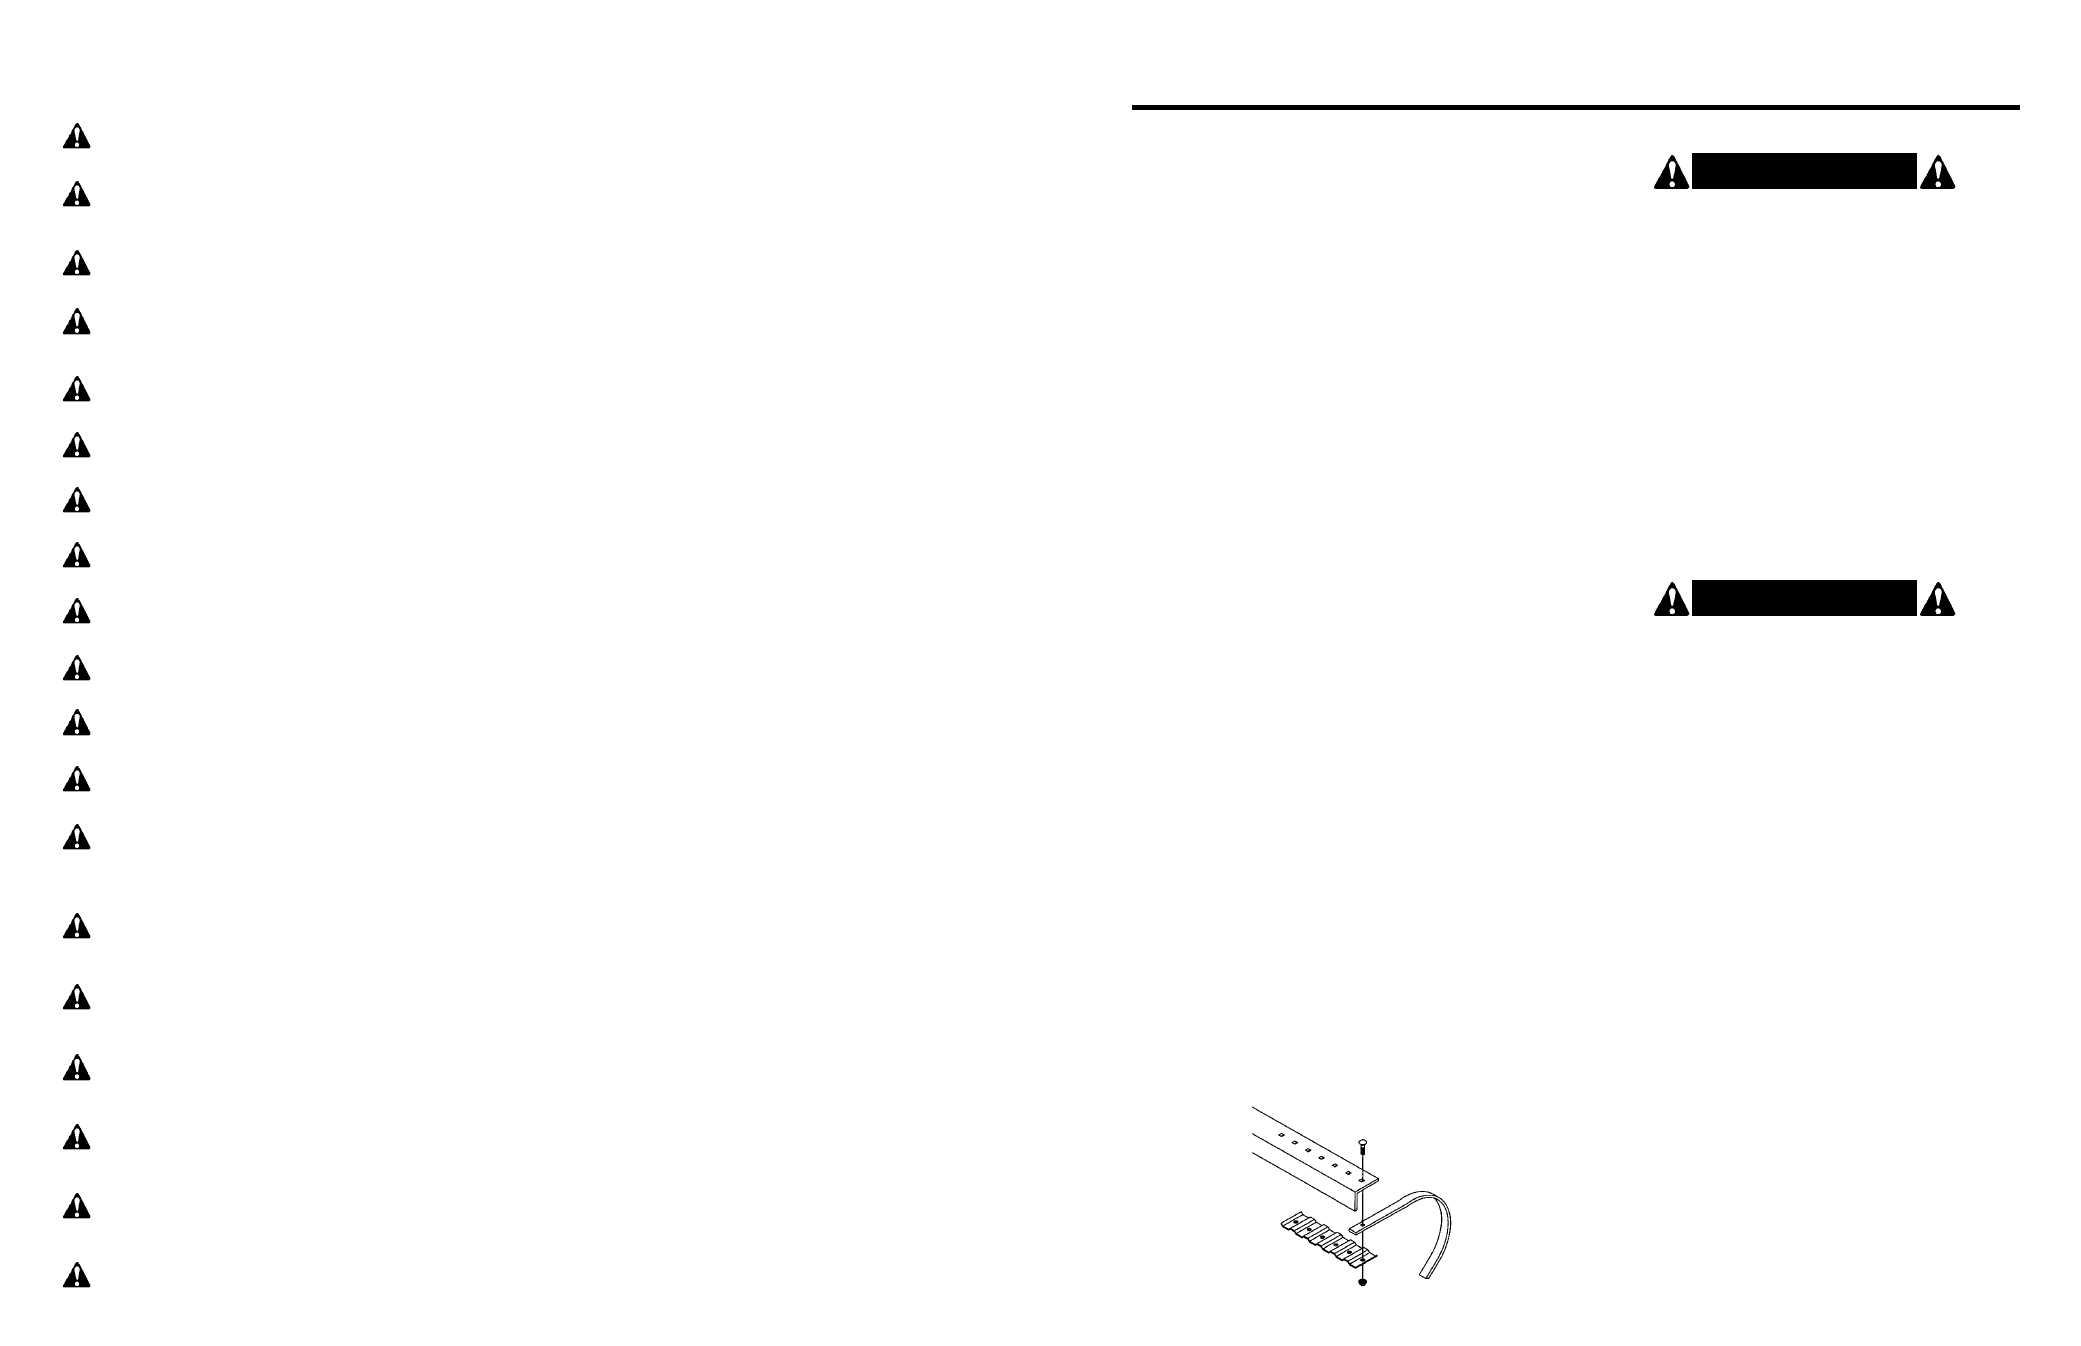
REPLACING RAKE TEETH
To ser vice the landscape r ake when attached to the
tractor, it must be blocked up off the ground.
1. Place two blocks under the tinebar . Lower the tinebar
to rest securely on the blocks.
2. Refer to parts drawing, pages 12, 13, and 14. Remove
the n uts and bolts from damaged teeth. Loosen the
other bolts holding the same tooth suppor
t plate .
Remove the damaged teeth.
3. Insert the new teeth and secure with the bolts and hex
nuts previously removed.
STORAGE
——————————————————
• At the end of the w
orking season or when the
landscape rake will not be used f or a long per iod, it is
good pr actice to clean off an y dir t that ma y ha ve
accumulated.
• Inspect the landscape r ake f or loose , damaged or
worn parts and adjust or replace if needed.
• Storage location should be le vel and solid to mak e
hitching and unhitching easy.
• Always store in a safe place away from children or live-
stock.
WARNING!
NEVER GO UNDERNEA TH EQ UIPMENT. Never
place any part of the bod y underneath equipment or
between moveable par ts even when the engine has
been turned off . Hydraulic system leak do
wn,
hydraulic system failures,
mechanical failures, or
movement of control levers can cause equipment to
drop or rotate unexpectedly and cause se vere injury
or death.
• Service work does not require going underneath.
• Read Man ual f or ser vice instructions or ha ve
service performed by a qualified dealer.
WARNING!
Keep all per sons away from operator contr ol area
while perf orming adjustments, service, or mainte-
nance.
Before dismounting po wer unit or perf orming any
service or maintenance , follow these steps: disen-
gage power to equipment, lower the 3 point hitch and
all raised components to the gr ound, operate valve
levers to release any hydraulic pressure, set parking
brake, stop engine , remove ke y, and unfasten seat
belt.