Hellwig Sway Bar 6908 User Manual
Page 5
11
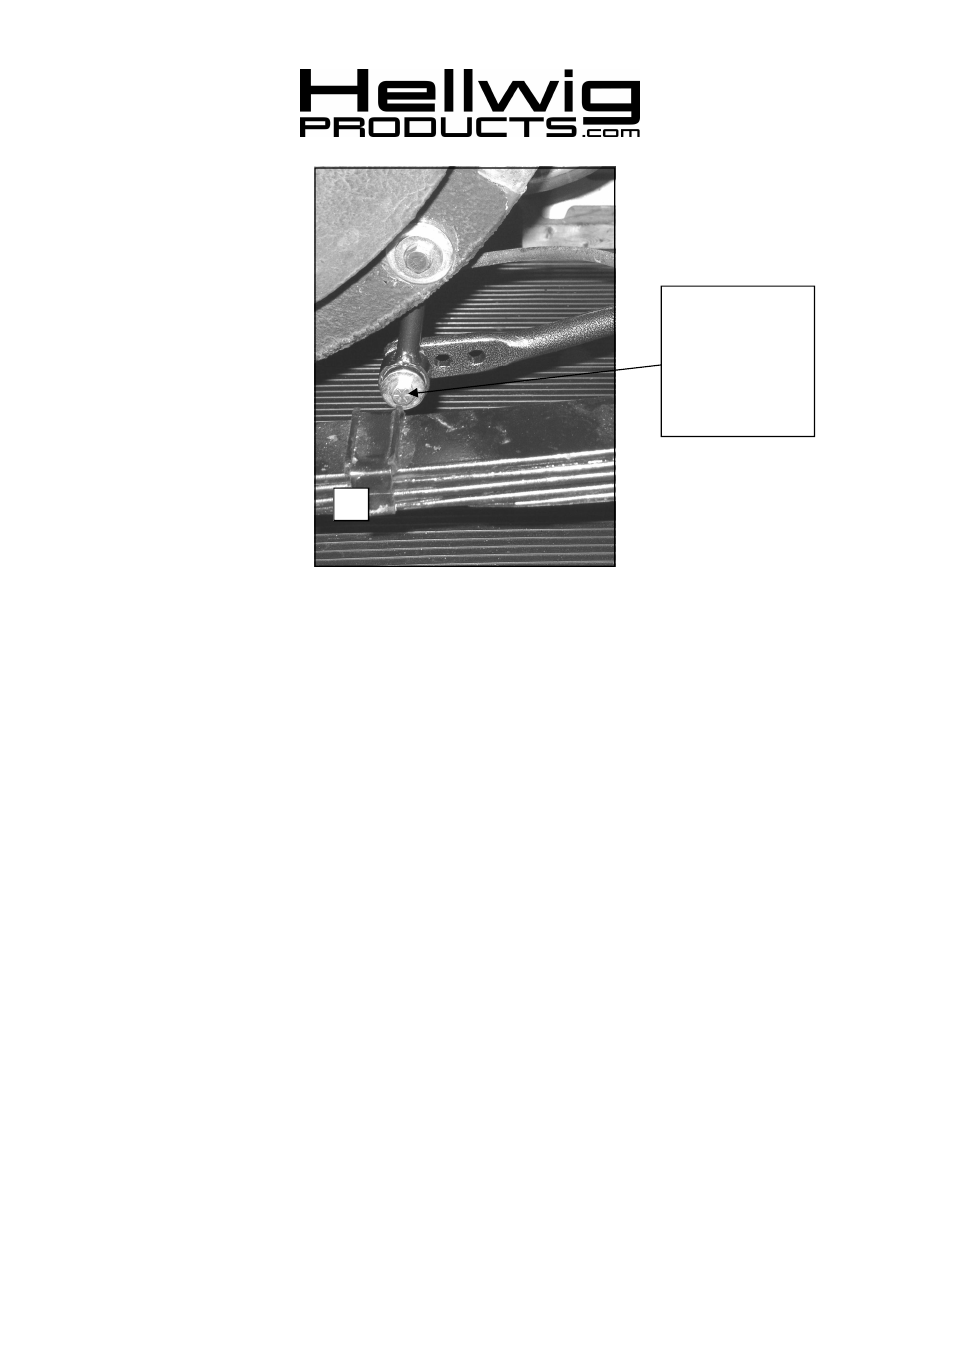
Attach end link to
outer hole as shown
before driving. DO
NOT use inner holes
until first driving ve-
hicle with end link in
outer position.
559-734-7451 800-367-5480 FAX 559-734-7460
17. The spacer tube is extra long to allow for subframe variation and subframe repair caps. If spacer
tube is not welded to outer wall, it must be fitted to the vehicle as described in step 18.
18. Review end link detail and install Large washer over spacer tube. Check that spacer tube is at least
1/32” below the surface of large washer. Failure to do this will result in insufficient preload and
noise. Cut, file or grind end of spacer tube to achieve proper length. SEE PHOTO 10.& 10a.
19. Install Large washer over spacer tube and check that spacer tube is at least 1/32” below the surface
of large washer. Failure to do this will result in insufficient preload and noise. File or grind end of
spacer tube to achieve proper length. SEE PHOTO 10.& 10a.Remove bolt and spacer and attach
end link to subframe as shown in detail and PHOTO 11. Applications with welded spacer do not
require the washers on the outboard side of subframe. Torque end link bolts to 35-40 ft-lb.
20. Replace rear wheels and torque lug nuts to factory specification. Lower vehicle so that the full
weight of the vehicle is on the suspension.
21. Tighten axle u-bolts to 40 ft-lb.
22.
Bounce the vehicle checking for clearance on all under carriage components: fuel tank, shocks,
exhaust, differential, brake and fuel lines, etc. Test drive the vehicle and recheck all clearances
and the installation alignment. Adjust as needed. Re-check your installation after one week of driv-
ing and periodically on a regular basis.
23.
The sway bar has three end link mounting holes. The end link MUST be
mounted on the outer hole for initial use. SEE PHOTO 11. For a firmer setting,
use the inner holes. You must use the outer mounting hole as shown in photo 11
until you are accustomed to the vehicles new handling characteristics. After driv-
ing vehicle, a firmer setting may be selected if desired. It is recommended that
the outer hole be used for street driving.
ATTENTION INSTALLER: BE SURE THAT THE CUSTOMER RECEIVES
THIS INSTRUCTION SHEET, ALL IMORTANT NOTE CARDS AND THE
6908 (R-6908)
04/17/07