ELRO DVR74W 7 tft 4-ch digital recorder + 500Gb hard disc User Manual
Page 20
- 19 -
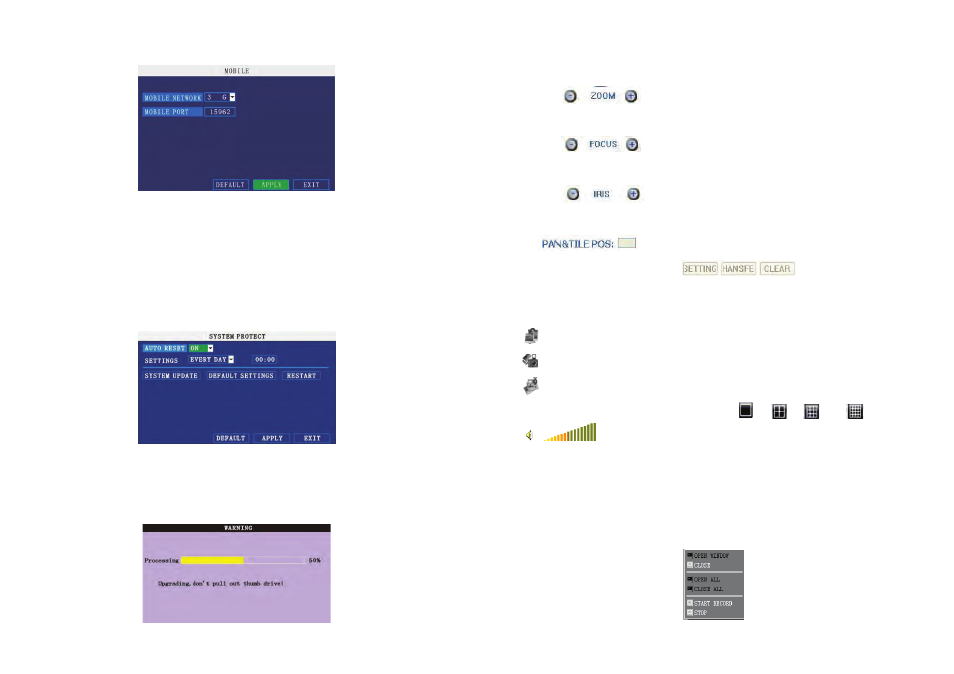
NETWORK CHANNEL: select the channel for network transfer, and press [OK] to switch different channels.
WIRELESS NETWORK: Select different mobile network from the options of 3G, 2.5G and 2.75G, and press
[OK] to switch different network.
NOTE: Detail setting up please refer to appurtenance.
16 SYSTEM PROJECT
Move the cursor to 【SYSTEM PROJECT】(Frame turns red means selected), and press【Enter】 to enter into
system project setup interface. Picture is below:
AUTO RESET: When switch is on, you can setup the time for device to restart.
SYSTEM UPDATE: Copy the update file to the root directory of the flash disk, and insert it into USB groove,
then press [OK] to upgrade the firmware, and it will display the process of the system upgrading, picture is
below:
- 28 -
4.4.3 ZOOM
Click
to zoom in and out.
4.4.4 Focus
Click
to focus
4.4.5 Iris
Click
to change the size of aperture
4.4.6 PTZ PRESET
Setup preset point.
You can control it via the below three buttons:
4.4.7 PLAY
Move cursor to the icons, it will highlighted when selected
Open all video
Capture picture, save in local disk, system save default route is C:/DVR
Quickly start all channels’ recording video, here the left up corner of each channel have normal recording
video symbol 【R】, click icon to switch between signal screen
/quad
/nine
/16 split
.
Volume adjust button
4.4.8 OTHER OPERATION
1. Select one channel at preview screen (the selected channel’s frame will be change to RED), double click left
key, enter to the selected channel single screen display.
2. Click one Chanel via left key at preview screen, then click right key, will occur window shortcut Menu, see
below picture