3 • installing the plane decal – Hunter 59031 48 Fantasy Flyer User Manual
Page 6
6
Hunter Fan Company
42813-01 • 11/27/13
Ceiling Plate
Note: Please follow the instructions carefully,
to insure proper mounting of the decal. Read
through first to understand the concept.
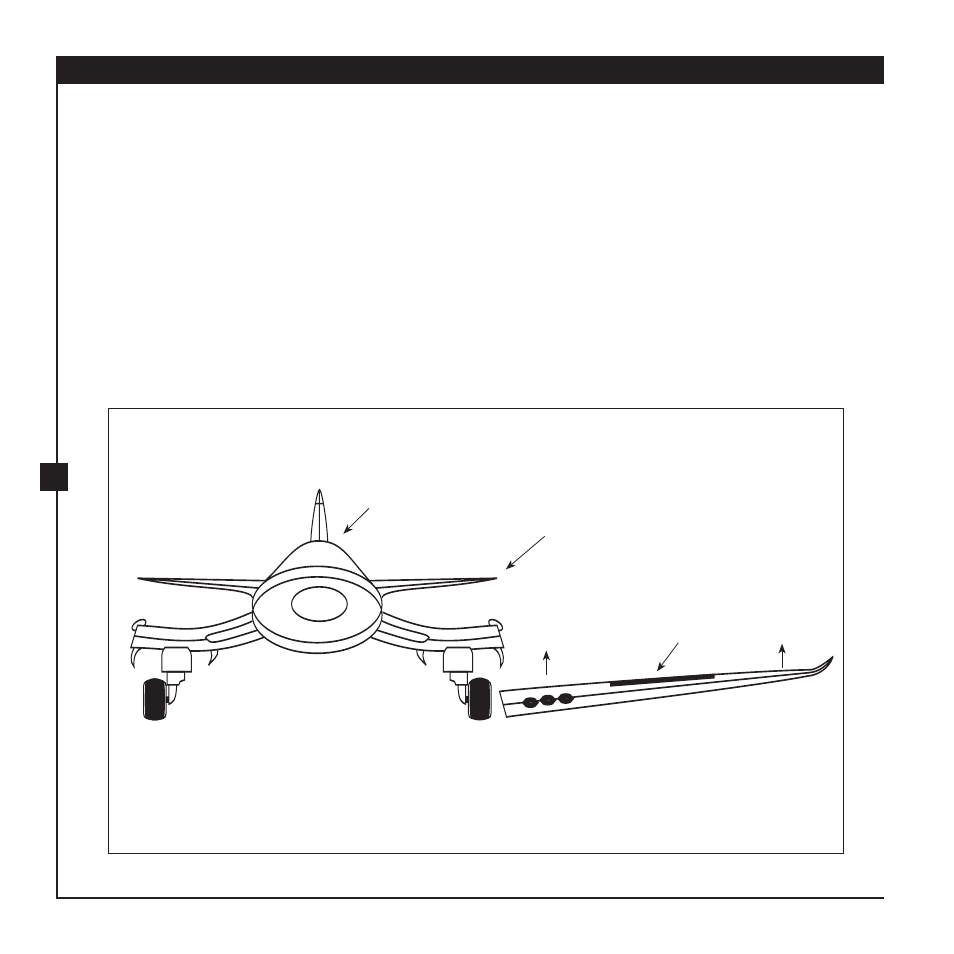
The decal comes complete with pressure sensitive
tape and special clips to hold it to the ceiling. The
decal is in four parts: the Landing Gear, Canopy/
Tail and two Wings. Be sure the insignia emblem is
mounted on top for the right wing and on bottom
for the left wing. See Step 3-4. The ceiling should
be clean and dry for proper adhesion of the tape
strips.
3 • Installing the Plane Decal
3-1. Slide the Landing Gear decal and the
Canopy/Tail decal behind the ceiling plate.
3-2. Align the decals with the ceiling plate and
with one wall for squareness.
3-3. Tighten the wood screws on the ceiling plate
just enough to hold the decals in place.
3-4. Put two small pieces of tape or another
bonding application to temporaly secure the
decal to the ceiling under the corners of the
Landing Gear decal.
Step 3-4
Tape with
Corners Marked
Insignia