5 • installing the canopy – Hunter 59009 52 Allegheny Low Profile User Manual
Page 10
10
42221-01 • 06/04/12 • Hunter Fan Company
5 • Installing the Canopy
Canopy
Screw
Canopy
Canopy
Step 5-1
Step 5-3
Step 5-4
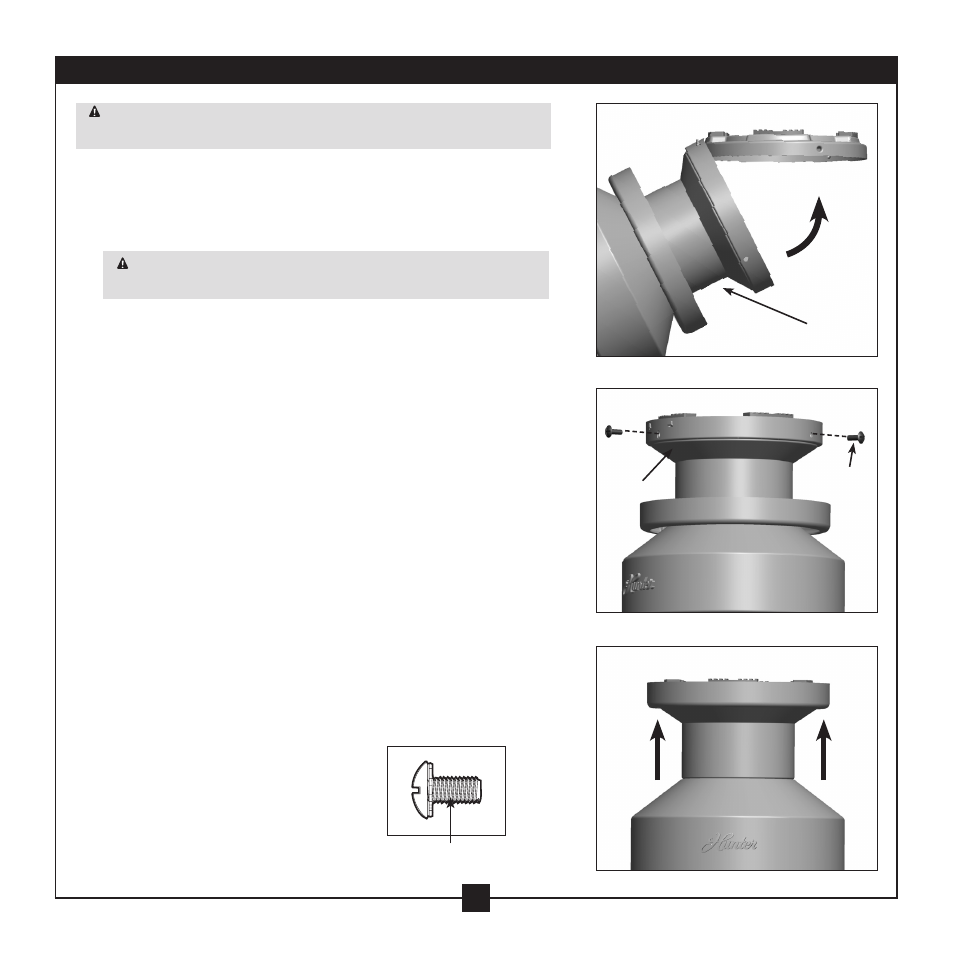
WARNING: Failure to complete the following steps could cause the
fan to fall.
Note: It is recommended you use a magnetic tip screwdriver for the
following steps.
5-1. Swing the fan up to align the canopy screw holes with the
mounting holes on the ceiling plate.
WARNING: The slots in the canopy must remain engaged while
swinging the canopy for alignment.
5-2. Holding the canopy up with the screw holes aligned, partially
install two canopy screws into the holes opposite the ceiling
plate tabs.
5-3. Partially install a canopy screw between the slots in the canopy.
When all the holes are properly aligned, securely tighten all three
canopy screws.
5-4. Using both hands, push the canopy trim ring up to the top of
the canopy. The canopy trim ring will snap and lock into place.
Note: Should you need to remove the trim ring, press firmly on
opposite sides of the trim ring. The tabs will flex out releasing
the canopy trim ring.
Canopy Screw