Bird•b•gone, Installation, Warning – Bird B Gone Goose Sonic User Manual
Page 3: Iii. volume control, V. programming, Iv. installation
web site: www.birdbgone.com
E-mail: [email protected]
HOT LINE
800-392-6915
TEL 949-472-3122 • FAX 949-472-3116
BIRD•B•GONE
3
INSTALLATION
III. VOLUME CONTROL
WARNING
!
A. INSURE that the Power Switch is in the
“OFF” Position.
B. ADJUST the Volume Control to the
“MIN” Position.
A. Remove contents from the box.
V. PROGRAMMING
F. Locate the Power Jack on the Side of the
Operating Unit. (POWER INPUT)
Insert the other end of the power cord into
the POWER INPUT jack.
H. If everything in #G. is operational, proceed
to programming the unit.
Turn Dial “Counter Clockwise” to
the lowest position.
IV. INSTALLATION
B. Open the waterproof cover of the Control
Box by pressing down on the grey tabs with
both thumbs, and lifting up the middle tab.
C. INSURE that the Power Switch is in the
“OFF” position.
D. ADJUST the Volume Control to the “MIN”
position.
E. Plug the Power Pack Adaptor into the 110v
Power Source.
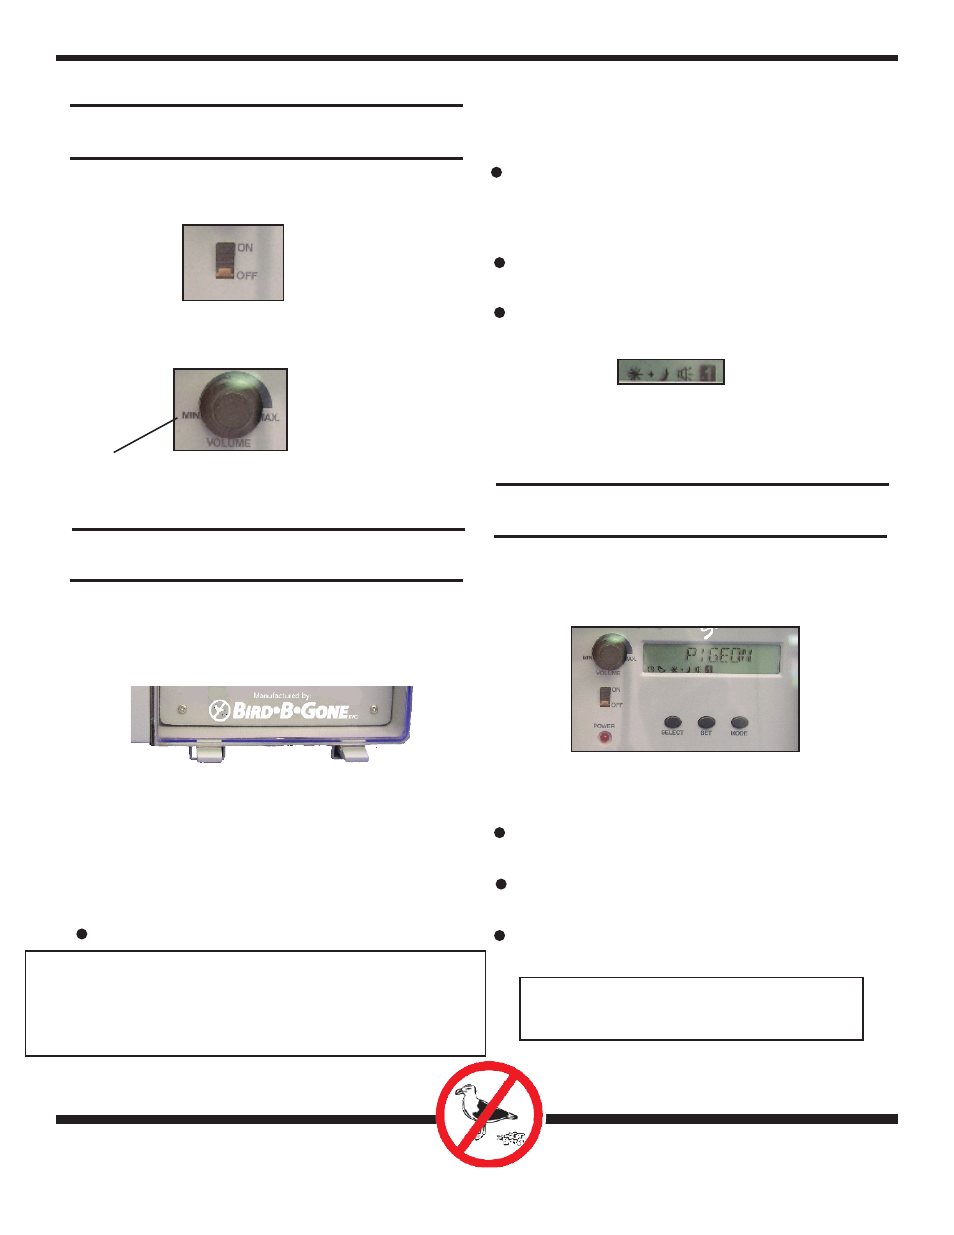
G. Turn the Power Switch to the “ON” position.
For 220v, use adaptor purchased separately.
The Red Power Light will indicate that the
unit is ON and ready for programming.
The LED display will show icons for Sun
(daytime), Moon (nighttime) and Sound.
A. Make sure the unit is in the “ON” position,
and the volume control is turned down to
“MIN”.
B. The “Select” button will allow you to
program the unit for:
Daytime Only - the system will only play
when the sensor senses “light”.
Nighttime Only - the system will only play
when the sensor senses “no light”.
All The Time - the system will play at all
times - regardless of light.
When you choose your desired mode of
time, Push the “SET” button.
POWER PACK ADAPTOR MUST BE PROTECTED.
DO NOT LEAVE IN THE ELEMENTS, DO NOT USE
AN EXTENSION CORD.
Plug into an inside or protected receptacle.