Remove the seal assembly – Bell & Gossett P81568D Series 1535 User Manual
Page 20
Do not reinstall the plug or close the drain valve until the reassembly is complete.
7. Drain the liquid from the piping and flush the pump if it is necessary.
8. Disconnect all auxiliary piping and tubing.
9. Loosen the volute capscrews but do not remove them.
10. Shift the pump position slightly in order to allow the pressurized water to escape.
WARNING:
Make certain that the internal pressure is relieved before you continue.
Failure to follow these instructions can result in serious personal injury
and/or property damage.
11. Remove the volute capscrews and remove the pump assembly from the volute.
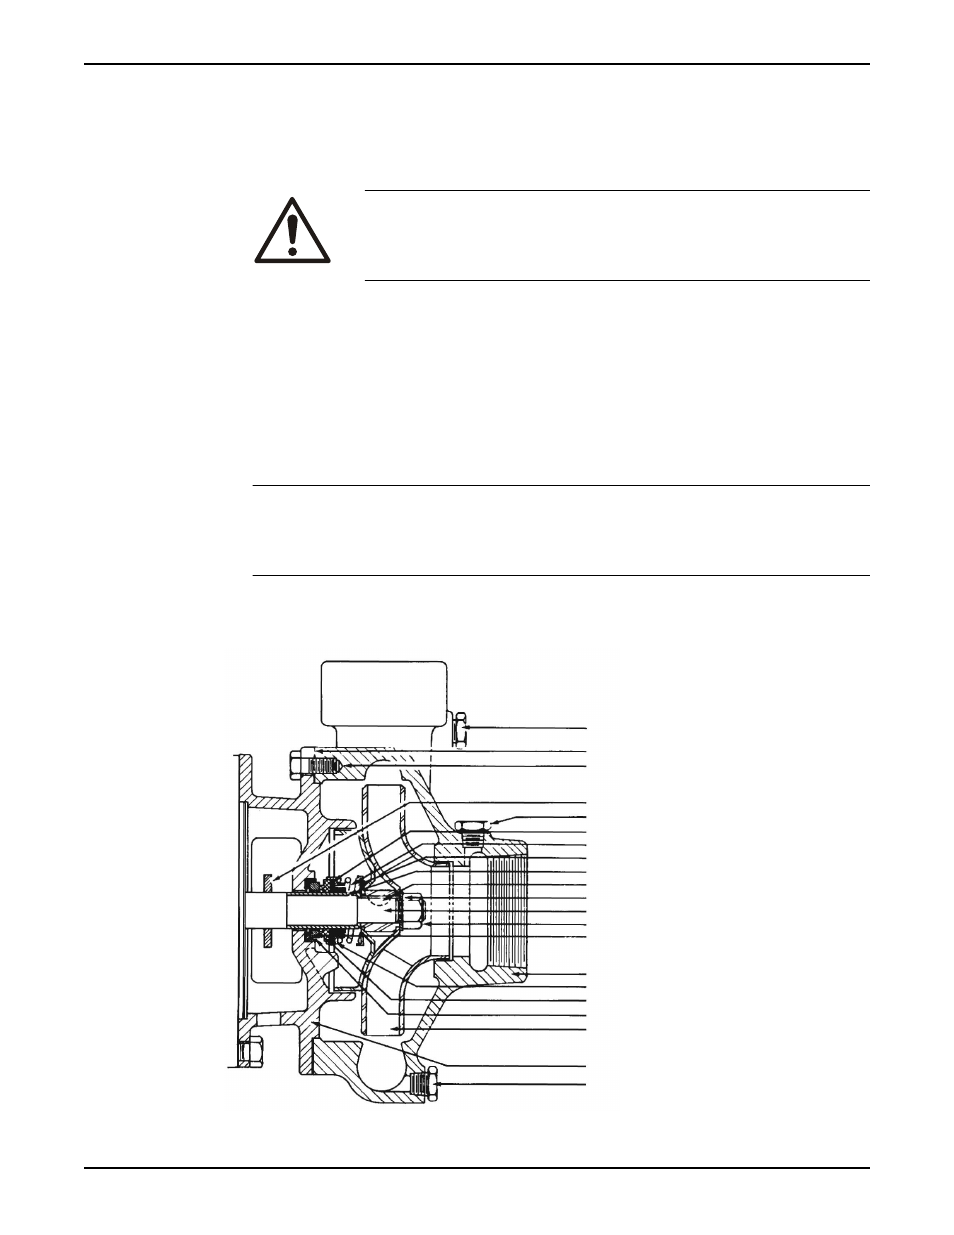
Remove the seal assembly
1. Remove the motor assembly from the system.
2. Use either a strap wrench or a rag in order to prevent the impeller from turning with
one hand while you loosen the impeller nut with the other hand.
3. Lift the spring retainer and the seal spring from the shaft.
4. Remove the compression ring from the seal collar by inserting a small screwdriver
underneath the ring and carefully applying an upward force.
NOTICE:
These seal assemblies consist of a stationary seal insert assembly and a rotating seal
assembly. Each of these components must be replaced when you replace the
mechanical seal. Never replace individual components separately.
5. Remove the ring collar and remaining seal components from the shaft.
6. Use a clean, lint free rag in order to remove any debris that has accumulated in the seal
recess.
1
2
3
4
5
6
7
8
9
10
11
12
13
14
15
16
17
18
19
20
21
Maintenance
Series 1535 Installation, Operation, and Maintenance Manual
19