Datalogger operation – Xylem 380340 Heavy Duty Datalogger Module User Manual
Page 4
V2.0 3/04
4
Datalogger Operation
Note: The Heavy Duty Meters have an Auto-Shutoff feature that automatically turns off the
meter (after 10 to 30 minutes depending on the model). This feature should be disabled
during a datalogging session. Press the ‘RECORD’ button on the meter to disable the Auto-
Shutoff feature.
Automated Datalogging Preparation
This function permits the Datalogger to automatically collect readings at the sample rate
set by the user.
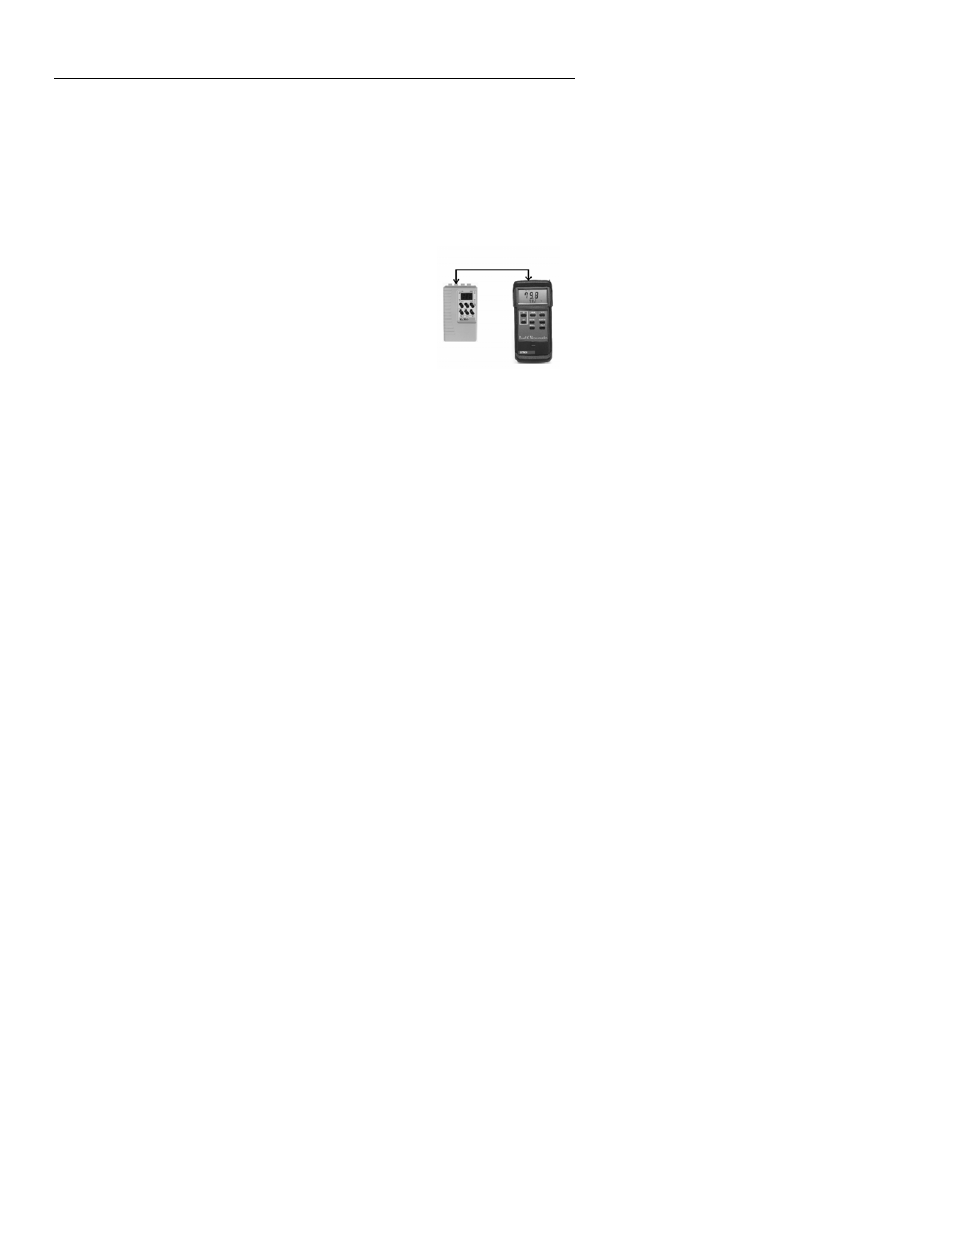
1. Connect the Datalogger's IN port to the Heavy Duty Meter as shown in the
illustration. (The supplied cable connects the Heavy
Duty meter to the Datalogger). Use the Isolated or
Direct (non-isolated) port on the Datalogger as desired.
2. Turn the Datalogger OFF (‘0’ switch position).
3. Slide the Auto/Man/Out switch to the Auto position.
4. Slide the Time switch to the ‘S’ (seconds), ‘M’ (minutes)
or ‘H’ (hours) range position depending on the data
sampling rate desired.
5. If this is the first time the datalogger is being used,
reset (erase) the datalogger's memory per the Reset Function section below.
6. Power the datalogger (slide switch to the ‘I’ position).
7. To set the sample (recording) rate, press and hold the SET button and, while holding
the SET button, press the INC 1 button to adjust the units digit (use the INC 10
button to adjust the tens digit). Release the SET button when complete. You can set
the interval from 1 to 99 seconds, 1 to 99 minutes, or 1 to 99 hours.
Note: Always set the AUTO and TIME switches to the desired setting before turning
on the Datalogger.
Begin Automated Datalogging
1.
Press the PAUSE button to begin logging measurements. The PAUSE LED will
switch off and the DATA LED will blink each time a measurement is recorded.
2.
Press the PAUSE button a second time to pause datalogging (PAUSE LED lights).
3.
Use the PAUSE button to toggle recording ON (resume) and OFF (pause). When
datalogging is resumed, new readings are recorded right where the datalogger left
off so that readings are not overwritten.
RESET Function
The RESET function erases all of the stored Datalogger readings.
1.
Connect the datalogger to the meter as previously described.
2.
Set the Auto/Man/Out switch to either the AUTO or MAN position.
3.
Power the datalogger and the meter.
4.
Press and hold the RESET button for approx. 4 seconds, until "00" is displayed.
NOTE: It may take up to three RESETS to clear all the datalogger memory levels. To be
sure, repeat the RESET procedure three times in succession.