Bell & Gossett 6 71 075 111A Autocirc Instant Hot Water Pump Model ecocirc 23 5 ACT User Manual
Page 4
4
Remove the existing flexible line connection to the hot and
cold water faucet/tap threaded nipples (see Fig. 3). (TIP:
Mark the hot and cold water flexible lines to easily
identify them).É
Note: If necessary, replace the existing flexible hosesÉ
with new stainless steel braided flexible hoses in the
lengths required.Й
Й
Step 4É
Screw on the two existing 1/2” hose connections to the
corresponding hot and cold sides of the pump housing
(see Fig. 4). Be sure not to “kink” these existing hose
lines during bending which may prevent adequate flow
and/or cause the valves to break.É
Note: It is recommended that the rubber washers in
the hose connections be inspected to ensure theyÉ
are in reusable condition. If not, they should be
replaced.É
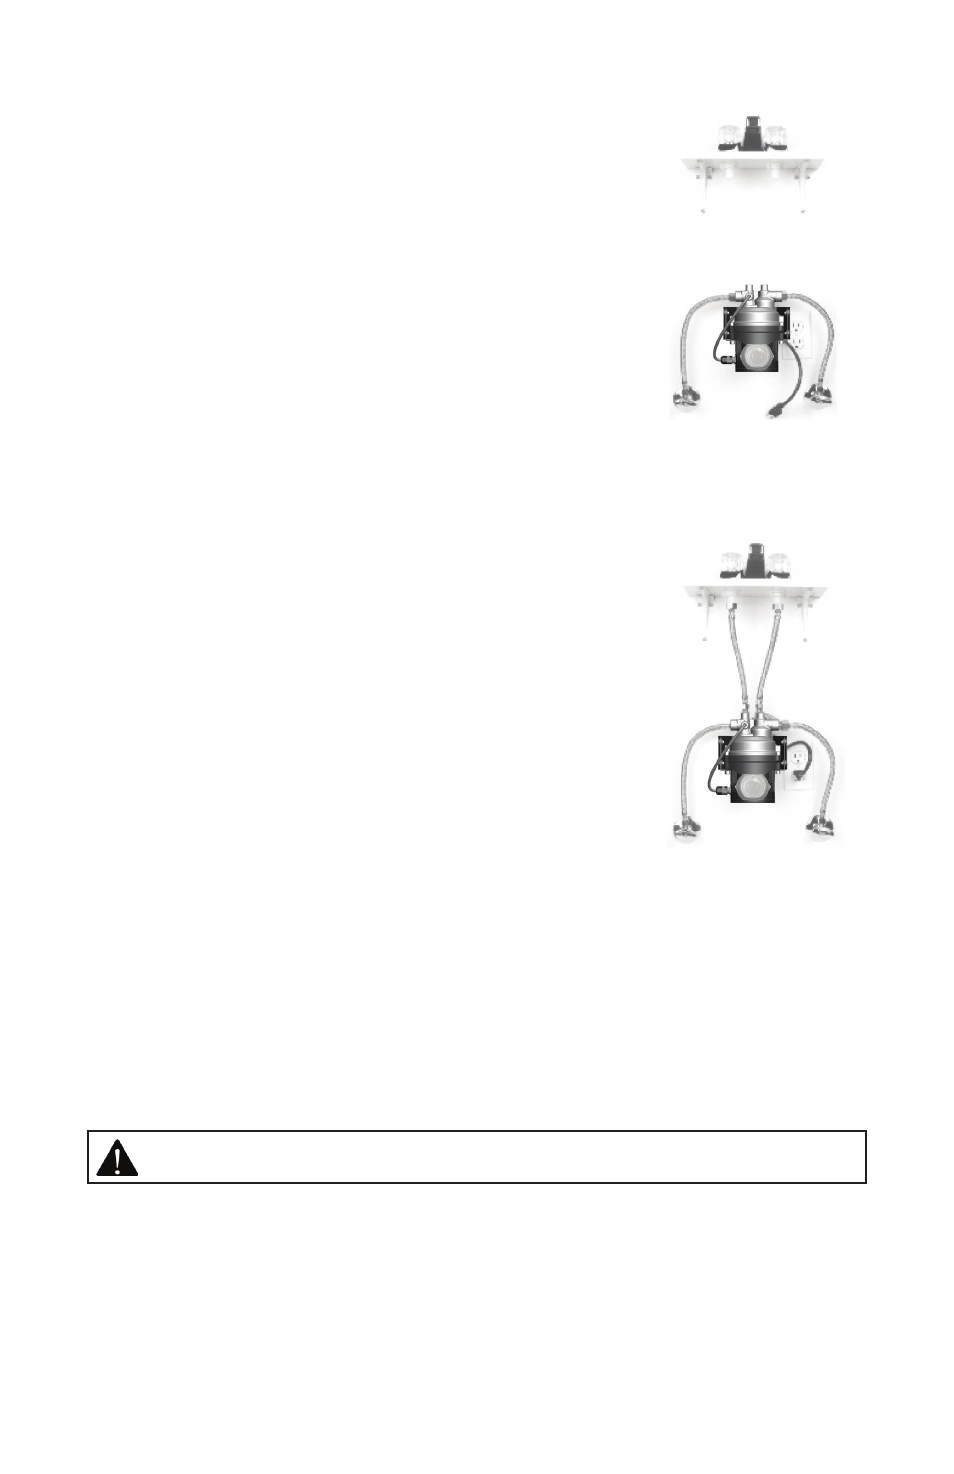
Step 5É
Screw on the 3/8” end of the purchased flexible hoses
to the 3/8” connections on the pump housing. Screw
on the 1/2” end of these same two hoses to the
underside of the hot and cold water faucets/taps
making sure to match the hot and cold sides marked on
the pump housing with the corresponding faucet/tap.
Be sure the hot side connection hose is attached to the
hot water faucet/tap and the cold water side
connection is attached to the cold water faucet/tap. Be
sure the hoses used are long enough to allow the pump
to be positioned as originally planned. (see Fig. 5)É
Step 6É
Be sure the screw ring attaching the motor to the pump housing is securely
hand tightened. Do not over tighten the screw ring. Open the faucet/tap hot
and cold riser shut off valves to insure there are no water leaks at any
connections.É
Step 7É
Plug the pump cord into the wall outlet and start up the pump system (see
next page).É
Figure 4É
Figure 5É
CAUTION: Fasten screw ring until tight to prevent leakage.Й