Analytical Industries GPR-1200 ATEX Portable Trace PPM Oxygen Analyzer User Manual
Page 21
21
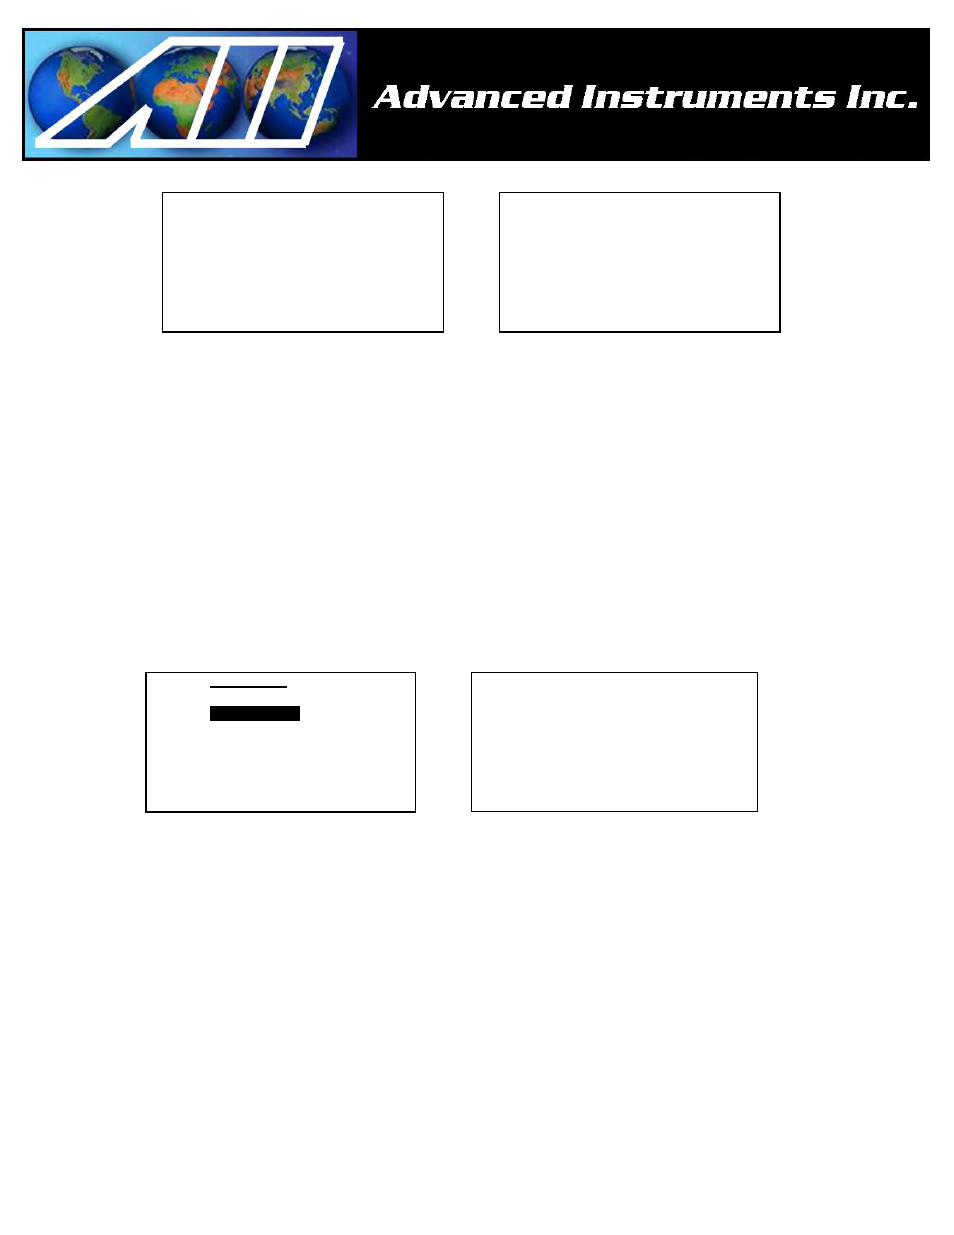
FACTORY
DEFAULTS
SET
3.3
PPM
AUTO SAMPLING
10 PPM RANGE
24.5 C
Procedure Span Calibration:
This procedure assumes the span gas is under positive pressure.
Caution: The user must ascertain that the oxygen reading (actually the sensor’s signal output) has reached a stable value
before initiating the SPAN CALIBRATE function. Failure to do so will result in an error.
For calibration purposes, use of the AUTO SAMPLE mode is recommended. However, the user can select the full scale MANUAL
SAMPLE RANGE for calibration as dictated by the accuracy of the analysis required –
¾ ppm analyzer: Span gas with an 80 ppm oxygen concentration with the balance nitrogen would dictate the use of the 0-100
ppm full scale range for calibration and a 0-10 ppm measuring range.
¾ Percent analyzer: Span gas with a 4% oxygen concentration with the balance nitrogen would dictate the use of the 0-5%
full scale range for calibration.
¾ Select as described in Range Selection above.
1. Access the MAIN MENU by pressing the MENU key.
2. Advance the reverse shade cursor using the ARROW keys to highlight AUTO SAMPLE.
3. Press the ENTER key to select the highlighted menu option.
4. The following displays appear:
MAIN MENU
AUTO SAMPLE
MANUAL SAMPLE
CALIBRATION
3.3
PPM
AUTO SAMPLING
10 PPM RANGE
24.5 C
5. Assure there are no restrictions in vent line.
6. If the analyzer is equipped with an integral sampling pump, toggle the pump’s ON/OFF switch to the OFF position.
7. Regulate the pressure and control the flow rate as described above at 5-30 psig and a 2 SCFH flow rate.
8. Place the SAMPLE/BYPASS valve in the BYPASS position.
9. Disconnect the sample gas line and install the span gas line.
10. Allow the span gas to flow for 1-2 minutes to purge the air trapped in the span gas line.
11. Place the SAMPLE/BYPASS valve in the SAMPLE position.
12. Caution: Wait until the reading is stable before proceeding with calibration. The wait time will vary depending on
the amount oxygen introduced to the sensor when the gas lines were switched.
13. Return to the MAIN MENU by pressing the MENU key.
14. Advance the reverse shade cursor using the ARROW keys to highlight CALIBRATION.
15. Press the ENTER key to select the highlighted menu option.
16. Repeat to select SPAN CALIBRATE and the following displays appear: