4 software information, Asus pc probe ii – Asus P2-M2A690G User Manual
Page 42
3-6
Chapter 3: Starting up
Installing PC Probe II
To install PC Probe II on your computer:
1. Place the support CD to the optical drive. The Drivers installation tab
appears if your computer has an enabled Autorun feature.
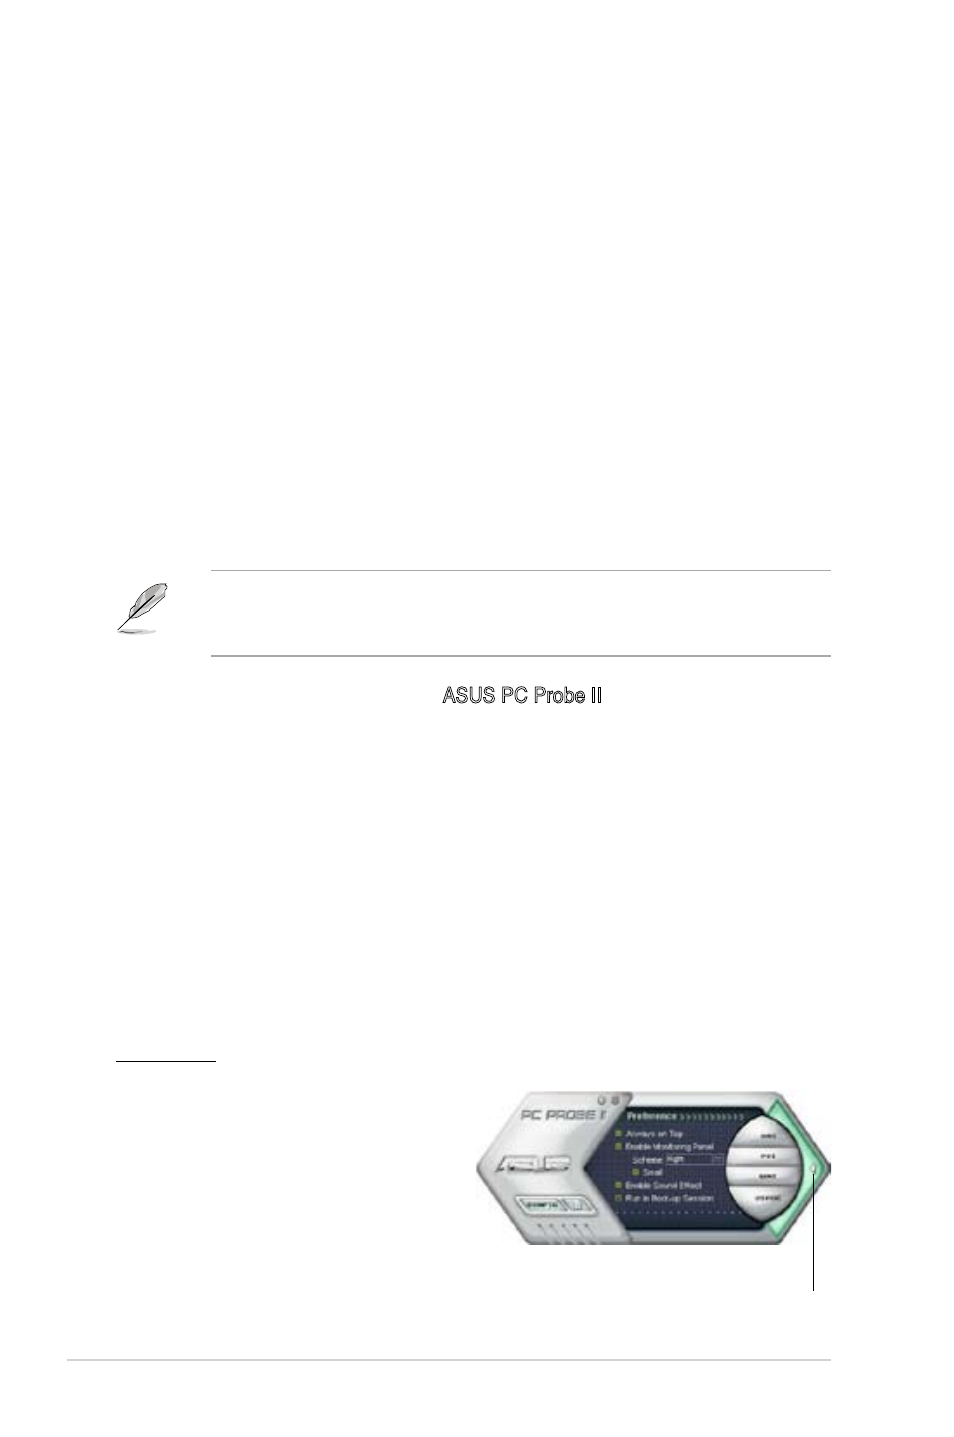
Click to close the
Preference panel
2. Click the Utilities tab, then click ASUS PC Probe II.
3. Follow the screen instructions to complete installation.
Launching PC Probe II
You can launch the PC Probe II right after installation or anytime from the
Windows
®
desktop.
To launch the PC Probe II from the Windows
®
desktop, click Start > All Programs
> ASUS > PC Probe II. The PC Probe II main window appears.
After launching the application, the PC Probe II icon appears in the Windows
®
taskbar. Click this icon to close or restore the application.
Using PC Probe II
Main window
The PC Probe II main window allows
you to view the current status of
your system and change the utility
configuration. By default, the main
window displays the Preference
section. You can close or restore the
Preference section by clicking on
the triangle on the main window right
handle.
If Autorun is not enabled in your computer, browse the contents of the support
CD to locate the setup.exe file from the ASUS PC Probe II folder. Double-click
the setup.exe file to start installation.
3.4
Software information
Most of the applications in the support CD have wizards that will conveniently
guide you through the installation. View the online help or readme file that came
with the software for more information.
ASUS PC Probe II
ASUS PC Probe II is a utility that monitors the computer’s vital components
and alerts you of any problem with these components. PC Probe II senses fan
rotations, CPU temperature, and system voltages, among others. PC Probe II
is software-based, allowing you to start monitoring your computer the moment
you turn it on. With this utility, you are assured that your computer is always in a
healthy operating condition.