Asus Xonar HDAV1.3 User Manual
Page 23
7
ASUS Xonar HDAV .3
No Item
Description
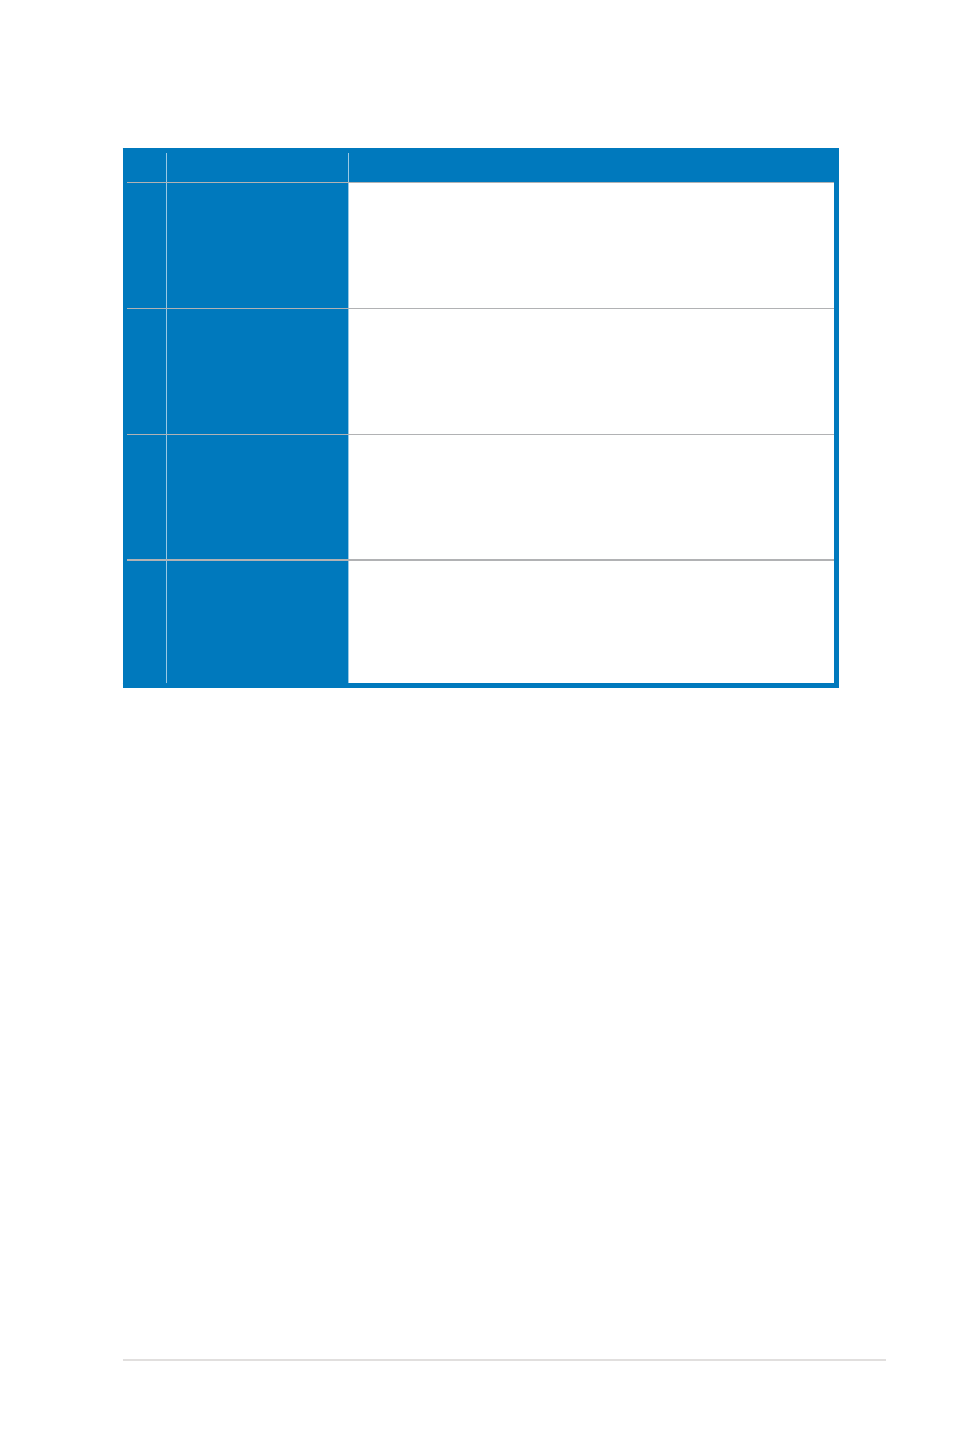
1
Front Left/Right Out
Connects to the “left front” and “right front” input ports of the
analog amplifier with the mini-jack-to-RCA cable, and then
connect the other end to the bundled stereo RCA-to-3.5mm
cable. Finally, connect the Left/Right ends to the Front Left/
Right Out ports on the Xonar HDAV card.
2
Left/Right Side
Surround Out
Connects to the “left surround” and “right surround” input
ports of the analog amplifier with the mini-jack-to-RCA cable,
and then connect the other end to the bundled stereo RCA-
to-3.5mm cable. Finally, connect the Left/Right ends to the
Left/Right Side Out ports on the extension board.
3
Center/Subwoofer
Connects to the “Center” and “subwoofer” input ports of the
analog amplifier with the mini-jack-to-RCA cable, and then
connect the other end to the bundled stereo RCA-to-3.5mm
cable. Finally, connect the Left/Right ends to the to Center/
Subwoofer Out ports on the extension board.
4
Left/Right Back
Surround Out
Connects to the “left back” and “right back” input ports of the
analog amplifier with the mini-jack-to-RCA cable, and then
connect the other end to the bundled stereo RCA-to-3.5mm
cable. Finally, connect the Left/Right ends to the to Left/Right
Back Out ports on the extension board.