Using the cooking timer, Cooking modes – Hotpoint Ariston CP77SP2-HA S User Manual
Page 25
GB
25
Oven light
This is switched on by selecting
using the SELECTOR
knob. It remains lit when a cooking mode is selected.
Cooling ventilation
In order to cool down the external temperature of the oven, a
cooling fan blows a stream of air between the control panel
and the oven door.
! Once cooking has been completed, the cooling fan
continues to operate until the oven has cooled down
sufficiently.
Using the cooking timer
1. To set the buzzer, turn the COOKING TIMER knob
clockwise almost one complete revolution.
2. Turn the knob anticlockwise to set the desired time: align
the minutes shown on the COOKING TIMER knob with the
indicator on the control panel.
3. When the selected time has elapsed, a buzzer sounds
and the oven turns off.
4. When the oven is off the cooking timer can be used as
a normal timer.
! To use the oven manually, in other words when you do not
wish to use the end of cooking timer, turn the COOKING
TIMER knob until it reaches the symbol.
Cooking modes
! A temperature value between 50°C and MAX can be set
for all cooking modes except the following:
• BARBECUE (recommended: set only to MAX power level)
• GRATIN (recommended: do not exceed 200°C).
TRADITIONAL OVEN mode
Both the top and bottom heating elements will come on.
When using this traditional cooking mode, it is best to use
one cooking rack only. If more than one rack is used, the
heat will be distributed in an uneven manner.
BAKING mode
The rear heating element and the fan are switched on,
thus guaranteeing the distribution of heat in a delicate and
uniform manner throughout the entire oven. This mode is
ideal for baking temperature sensitive foods (such as cakes,
which need to rise) and for the preparation of “bitesize
pastries” on 3 shelves simultaneously.
FAST COOKING mode
The heating elements and the fan are activated, guaranteeing
the distribution of heat consistently and uniformly throughout
the oven. Preheating is not necessary for this cooking mode.
This mode is particularly suitable for cooking pre-packed
food quickly (frozen or pre-cooked). The best results are
achieved using one cooking rack only.
MULTILEVEL mode
All the heating elements (top, bottom and circular) switch
on and the fan begins to operate. Since the heat remains
constant throughout the oven, the air cooks and browns
food in a uniform manner. A maximum of two racks may be
used at the same time.
PIZZA mode
The circular heating elements and the elements at the
bottom of the oven are switched on and the fan is activated.
This combination heats the oven rapidly by producing a
considerable amount of heat, particularly from the element
at the bottom. If you use more than one rack at a time,
switch the position of the dishes halfway through the cooking
process.
BARBECUE mode
The central part of the top heating element is switched on.
The high and direct temperature of the grill is recommended
for food that requires a high surface temperature (veal and
beef steaks, fillet steak and entrecôte).
This cooking mode uses a limited amount of energy and is
ideal for grilling small dishes. Place the food in the centre
of the rack, as it will not be cooked properly if it is placed
in the corners.
GRATIN mode
The top heating element and the fan will begin to operate.
This combination of features increases the effectiveness of
the unidirectional thermal radiation provided by the heating
elements through forced circulation of the air throughout the
oven. This helps prevent food from burning on the surface
and allows the heat to penetrate right into the food.
! The BARBECUE and GRATIN cooking modes must be
performed with the oven door shut.
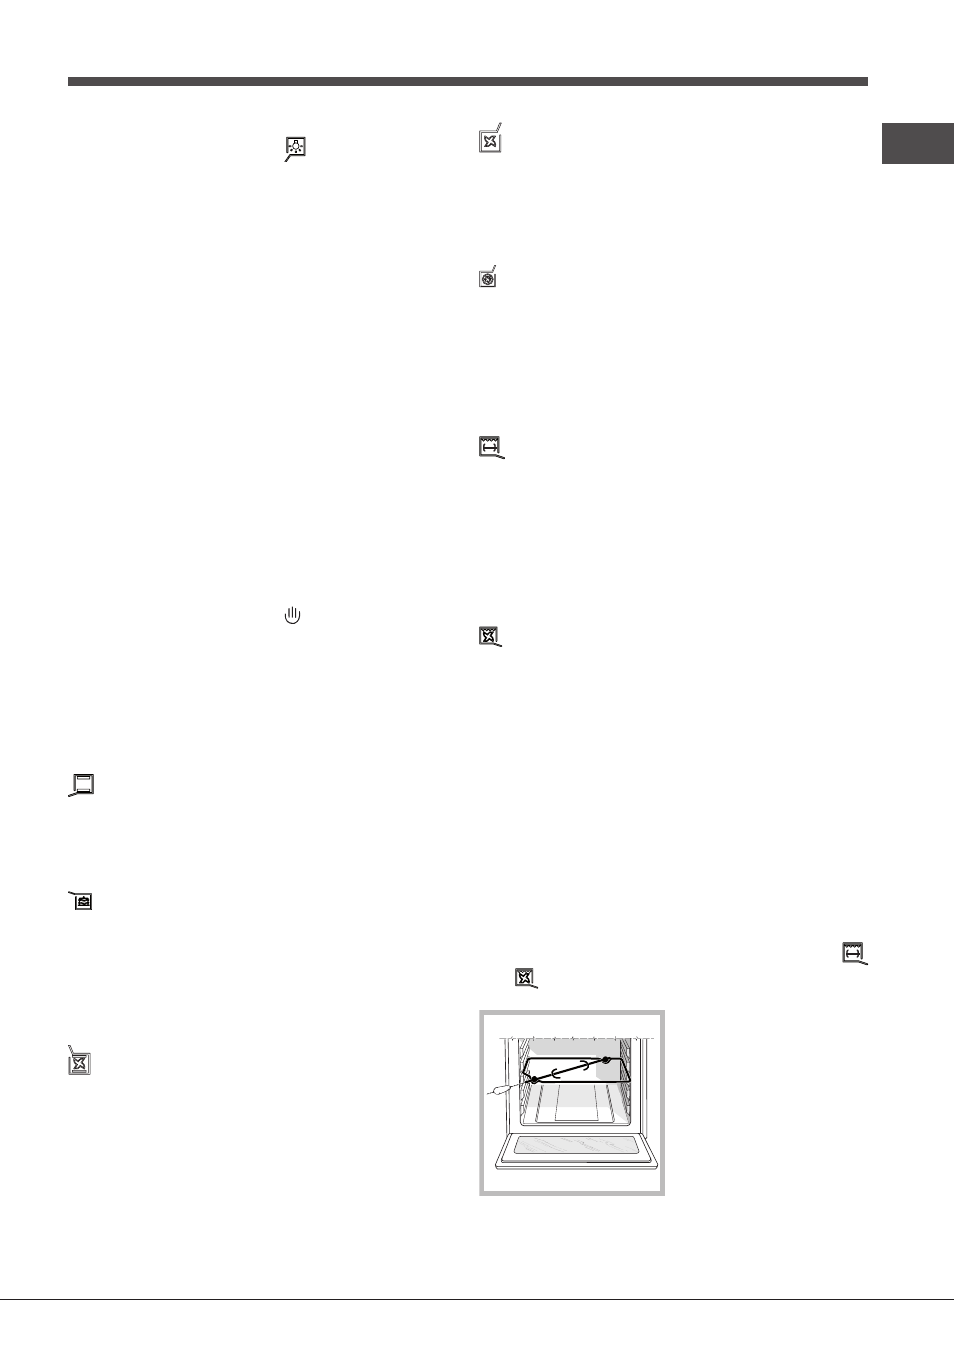
The rotisserie spit
To activate the rotisserie spit, proceed as follows:
a) Place the dripping pan on the 1st rack.
b) Position the rotisserie support on the 3rd rack and insert
the spit towards the rear, threading it through the hole
provided.
c) Start the rotisserie by turning the oven knob to the
or
position.