Asus Xonar D1 User Manual
Page 53
5
ASUS Xonar D1
For other applications that support ASIO, such as WaveLab, Cubase, Reason,
Winamp, etc, the setup will be very similar to the above.
No Item
Description
1
Audio Options
Step 1 is to open the “Audio Options” window from the
Options tab.
2
Driver Mode
Step is to select “ASIO” as the driver mode in Advanced
tab. (WDM and MME are Windows driver types) The
changes will take effect after you restart the program next
time.
3
Playback Timing
Master
After step , Sonar LE will display 4 output drivers: “ASUS
Xonar D1 ASIO Out -00~06”. Make sure you are using 00 or
another one.
4
Recording Timing
Master
After step , Sonar LE will display 1 input driver: “ASUS
Xonar D1 ASIO In -00”. Make sure you are using it.
5
Sample Rate
Step 5 is to select the default file sample rate (44.1, 48, 96,
or 192KHz) for your Sonar project.
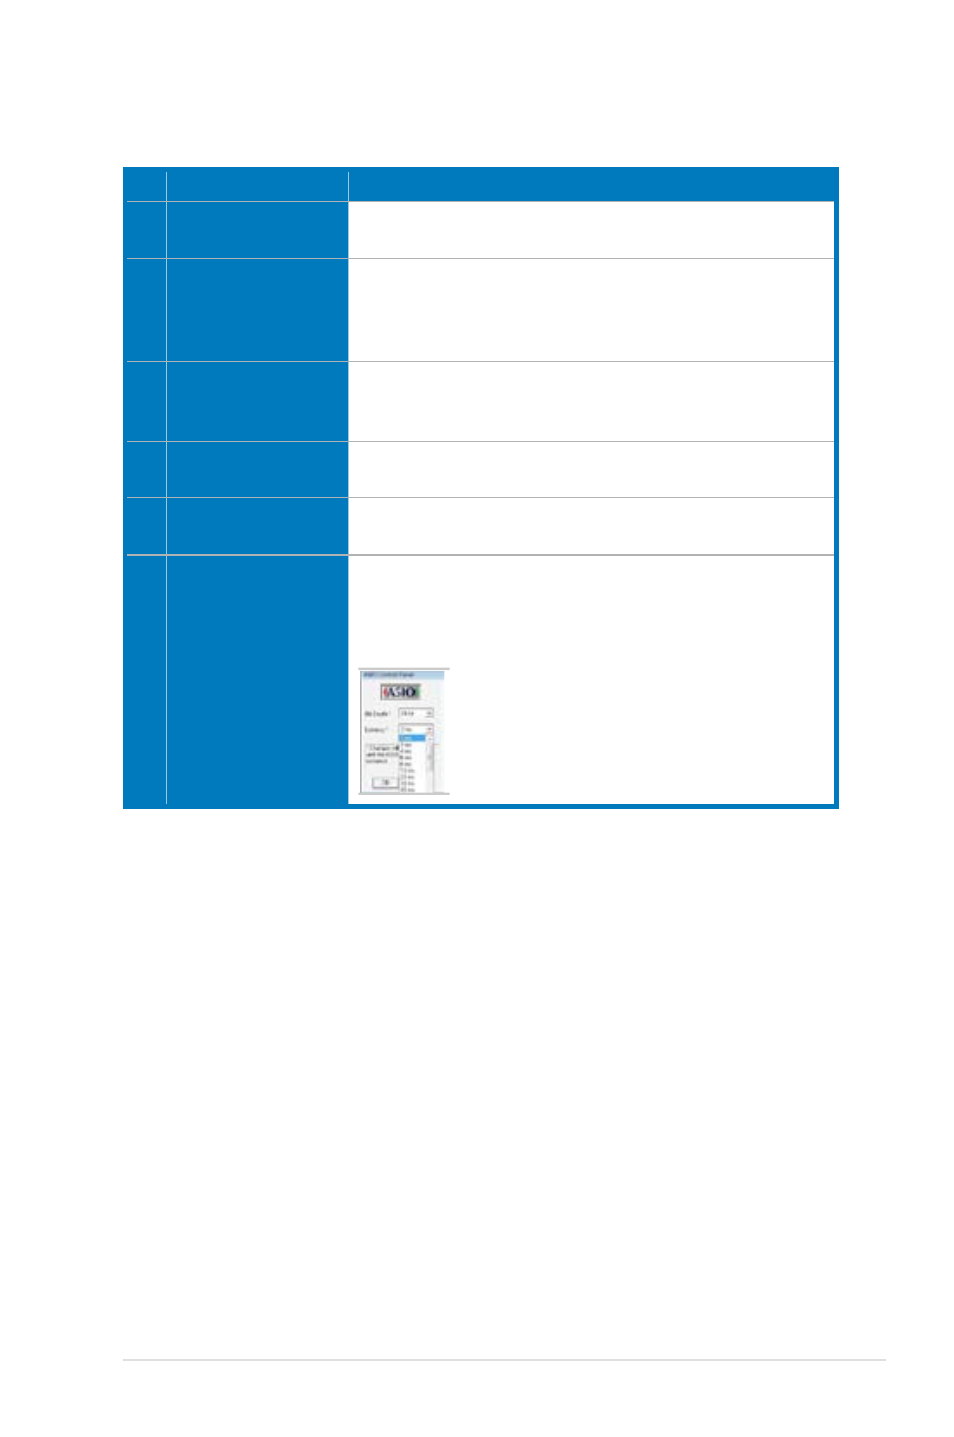
6
ASIO Panel
If you would like to configure bit-depth (16/24bit) and latency
(1ms~00ms) of the Xonar D1 ASIO driver, click this ASIO
panel to reset them. The changes will take effect the next
time you start the program.