0 instructions for use – GC EUROPE G-aenial Bond User Manual
Page 39
39
G-ænial Bond Technical Manual
12.0 instructions For use
G-ænial Bond
One cOmPOnent SelF-etchinG liGht-cuReD aDheSiVe
For use only by a dental professional in the recommended indications.
Recommended Indications
1. Bonding of light-cured composites and acid-modified composites (compomers) to tooth
structure.
2. Bonding of dual-cured luting and core build-up composites to tooth structure, provided these
materials are light-cured.
Contraindications
1. Pulp capping.
2. in rare cases, this product may cause sensitivity. if any such reactions are experienced, discontinue
use of the product and refer the patient to a physician.
Not to be used
1. in combination with chemically cured composite resin.
2. in combination with eugenol-containing materials as eugenol may hinder G-ænial Bond from
setting or bonding properly.
3. in combination with desensitisers as these may hinder G-ænial Bond from setting or bonding
properly.
4. in combination with dual cured luting and core build up composites in case these materials will
not be light cured.
Directions for Use
1. caVitY PRePaRatiOn
Prepare tooth using standard techniques. make sure that any temporary
material is thoroughly removed from the surface. use rubber dam for
protection. Dry the prepared tooth surfaces by gently blowing with an
air syringe.
note: For pulp capping, use calcium hydroxide.
2. techniQue OPtiOnS
Select from the following 2 technique options
a) Self-etch technique – apply G-ænial Bond to bur cut enamel and
dentine, without a separate etching step.
b) Selective etching of enamel – prior to applying G-ænial Bond to
enamel and dentine, etch (bur cut) enamel with 35-40% phosphoric
acid gel for 10 seconds, rinse for 5 seconds and gently dry.
note: non-bur cut enamel should always be treated with a 35-40%
phosphoric acid gel for 10 seconds, rinsed with water for 5 seconds and
gently dried.
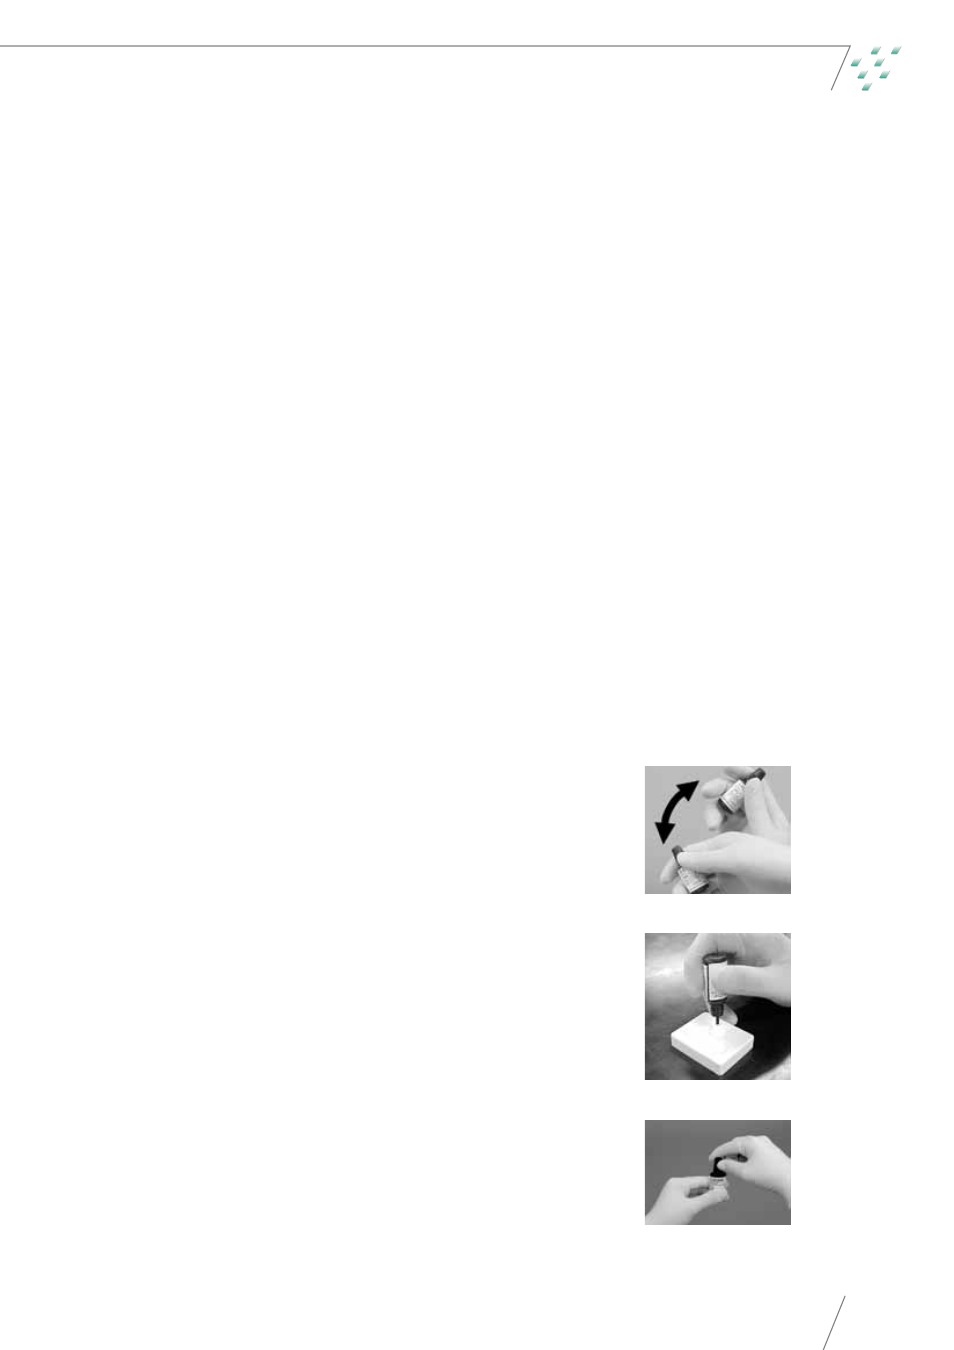
3. aPPlicatiOn
a) Prior to dispensing, shake the bottle of G-ænial Bond thoroughly
(Fig. 1). Dispense a few drops into a clean dispensing dish (Fig. 2).
Replace bottle cap immediately after use (Fig. 3).
Fig. 1
Fig. 3
Fig. 2