3 connecting parani100 to host – SENA Parani100 User Manual
Page 11
- 11 -
11
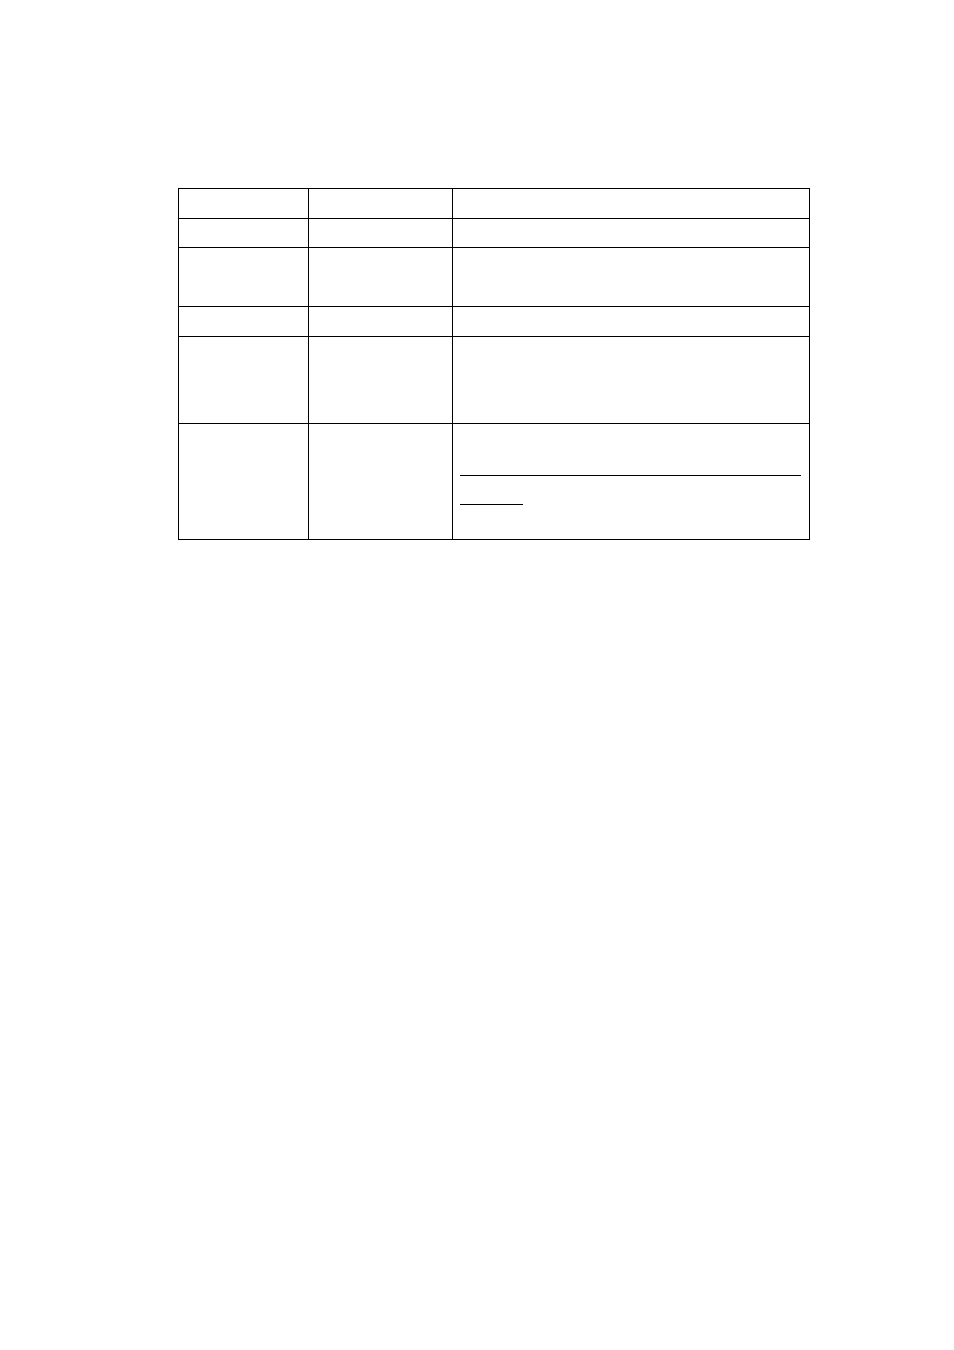
STATUS LED
ERROR LED
Description
ON
OFF
Normal
Blinking
OFF
Connecting to Station Parani100
(In Repeater Mode)
OFF
ON
Internal Bluetooth module operation malfunction
ON
Blinking
LAN connection Error
(Connecting to ADSL or waiting for DHCP
server response)
Flashing
Flashing
Upgrading Firmware
DO NOT turn off Parani100 during firmware
upgrade; turning off Parani100 during firmware
update may cause malfunction.
2.3 Connecting Parani100 to host
Step 1: Connect the power jack to the power connector of the Parani100 using DC power
adapter included in the package. If power is properly supplied, the LEDs for ‘Power’and ‘Status’
will maintain a solid green color.
Step 2: Connect the one end of the Ethernet cable to the ‘EXT’ port of the Parani100 and the
other to the Ethernet network. If the cable is properly hooked up, the Parani100 will have a valid
connection to the Ethernet network by indicating ‘EXT’ LED becomes green and is blinking if
there’s any corresponding packet traffic.
Step 3: Only for 1
st
time installation, attach the serial console cable to the Parani100. You are
ready to install the Parani100 using serial console.