3B Scientific Digital Counter with Interface (230 V, 50__60 Hz) User Manual
Page 3
3
4. Technical data
Input A and B
Input impedance:
500 kΩ
Sensitivity: 200
mV
Trigger
polarity:
positive going or
negative going, indi-
vidually selectable in
each function if rele-
vant
Frequency
Range:
0.01 Hz – 99,9 kHz
Resolution:
0.01 Hz - 10 Hz
Method: continuous
/
single
measurement
Period
Range:
0.01 Hz – 99.9 kHz
Resolution:
0.01 ms - 10 ms
Method: continuous
/
single
measurement
Impulse count
Range:
0 - 9999 impulses per s
Resolution: 1
impulse
Method: continuous;
counting for 1 s; 6 s; 10
s and 60 s;
counting for 10 s fol-
lowed by 5 s pause;
counting for 10 s con-
tinuous
Start A - Stop B
Range:
0.01 ms - 100 s
Resolution: 0.01
ms
Pass time
Range:
0.01 m - 100 s
Resolution: 0.01
ms
Method:
simultaneous on both
channels
Memory:
up to 9 times per
channel
Pass / Run time
Range:
0.01 ms - 100 s
Resolution: 0.01
ms
Method:
first pass time on A,
then pass time on B
Memory:
one set of measure-
ments (run time A to
B, pass time A and
pass time B)
Geiger-Müller amplifi er module
Anode resistor:
10 MΩ (Ri)
GM voltage range:
325 – 650 V DC con-
tinuously adjustable
Hint: Voltage can be measured with a 10 MΩ
multimeter, and multiplied by 2.
General data
Mains connection:
1003122:
115 V (±10 %), 50/60 Hz
1003123:
230 V (±10 %), 50/60 Hz
Power consumption:
20 VA approx.
Dimensions: 95x245x185
mm
approx.
Weight:
5 kg approx.
5. Operation
The instrument is powered by activating the
switch marked ‘POWER’.
Immediately on power-on the instrument dis-
plays the version number (i.e. ‘r 1 1.00 .00 .00’
for approx. 2 secs.).
The counter is now ready for use.
The selected function and method of measure-
ment are shown in the LCD-display.
To change language turn off the power, hold the
‘SELECT’
and simultaneous switch on the power.
Use the ‘SELECT’ button to change the lan-
guage, press ‘FUNCTION’ to store the selection
in memory.
Select a function with the push-button ‘FUNC-
TION’
and then the measuring method with the
pushbutton ‘SELECT’.
If the selected function has the option to select
the trigger polarity, then a simultaneous push on
‘FUNCTION’
and ‘SELECT’ displays the trigger
polarity in the LCD-display for each input.
Pushing the ‘SELECT’ changes the trigger po-
larity. Push the ‘START/STOP’ to store the se-
lection in memory.
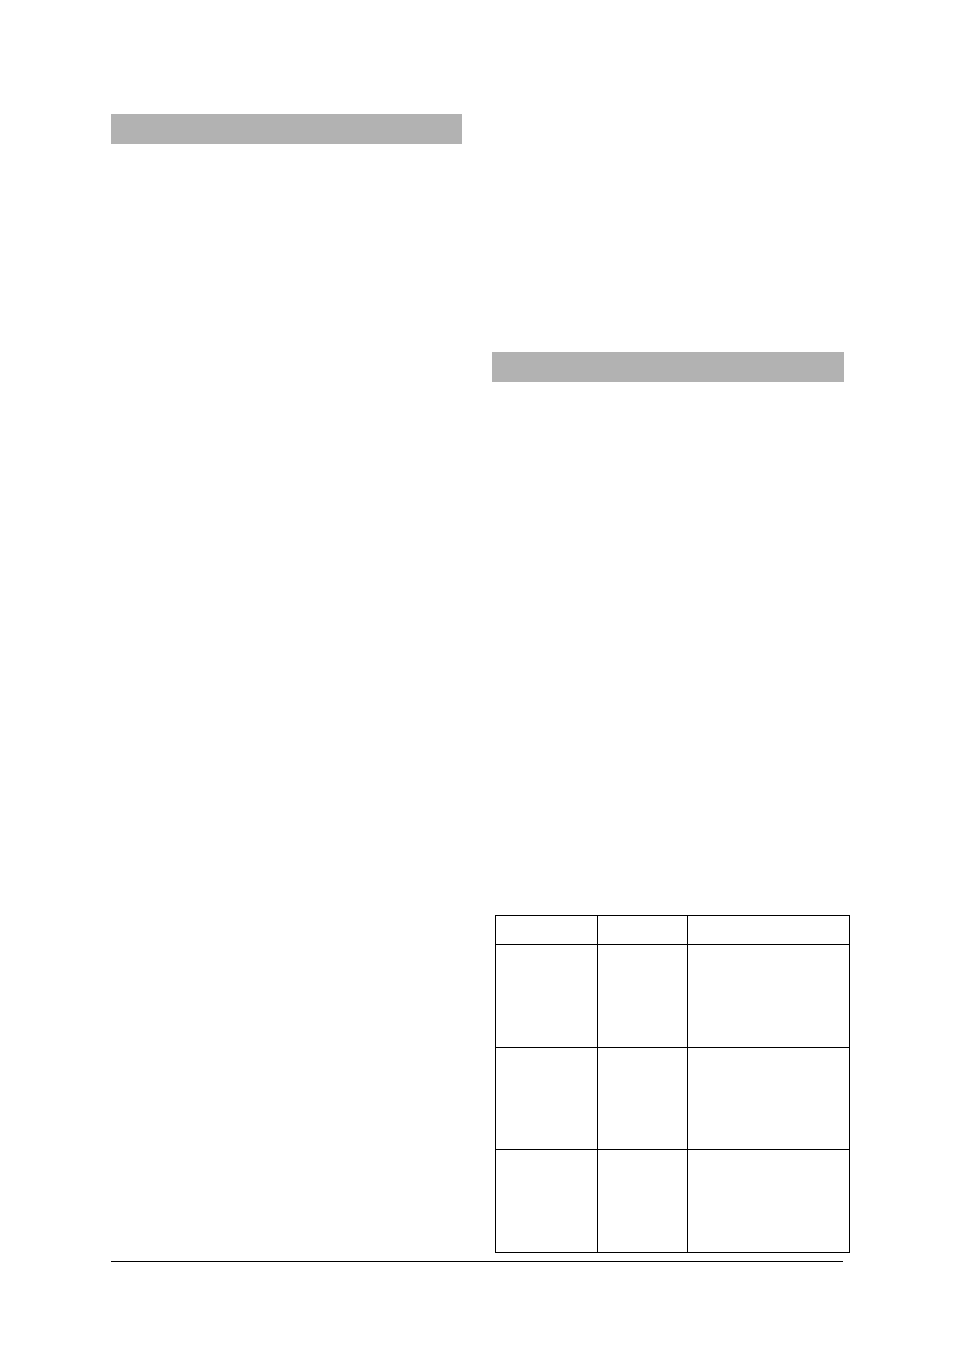
List of the functions and measurement me-
thods:
Function
Select
Description
FRE-
QUENCY
Continu-
ous
When button
‘START/STOP’
is
pressed, frequency
is continuously
measured
Single
measu-
rement
When button
‘START/STOP’
is
pressed, a single
measurement is
started
Pendulum
continu-
ous
When button
‘START/STOP’
is
pressed, a pendu-
lum’s freq. is con-
tinuously measured